May 2007
I finally got a call back from Kool-O-Matic. The guy I spoke to said he doubted we could match the motor in the aftermarket, since they had it specially designed for them. In addition to Barry’s parts and prices, he mentioned the Hood Assembly, RV-12, which is the shroud and exhaust ducting, and is priced at $188.86. He mentioned the risk of UV deterioration, pluse a possible contact with a tree branch, that could make it worthwhile to stash a spare somewhere, though it would be too unwieldy to carry in the coach.
Brett
It is always nice to hear from Kool-O-Matic owners as we are proud to have been able to design and manufacture the ideal ventilation product for the RV industry.
We still have Model RV12 Units and parts available and would be pleased to furnish them to you and your friends while they last.
motor – $85
grill cover – $31
grill – $74
rubber isolators – $3
Hood Assembly, RV-12 – $188.86
Sincerely, Kool-O-Matic Corp.
NO MORE PARTS AVAILABLE 9/12
——————————————————————————————————————
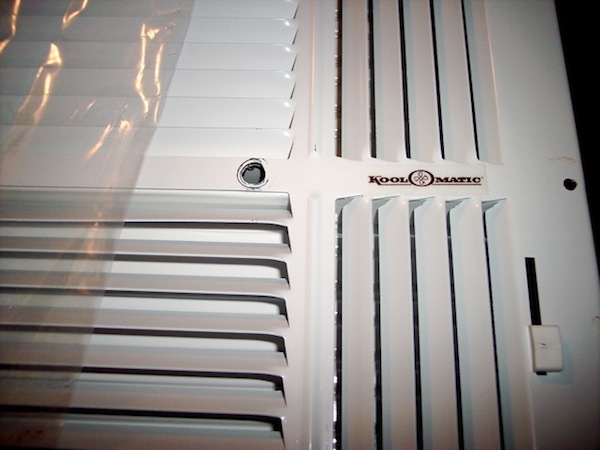
For those that may be considering replacing their grill with a new one: I received my nifty new Kool-O-Matic grate, cover and switch. There’s a hitch, however. The grate had a crude hole drilled in its center and the switch had one pole sawed off. I just talked to Paul (used to be President of Kool-O-Matic before they went out of business in 2006).
Anyhow, he said only a couple of coach manufacturers used the wall thermostat and the two speed. He routinely cut off the third pole as it was causing confusion in the field. Most of the units sold were controlled by a three speed switch that was controlled by a knob in the middle of the unit.
The rest of his grills are all drilled and all of the switches have the pole cut off. I don’t need the switch right now but if I ever do, I’ll have to solder that connection. I’m going out this afternoon and see if I can find some kind of nifty plug to cover the hole. jor 11/11/10
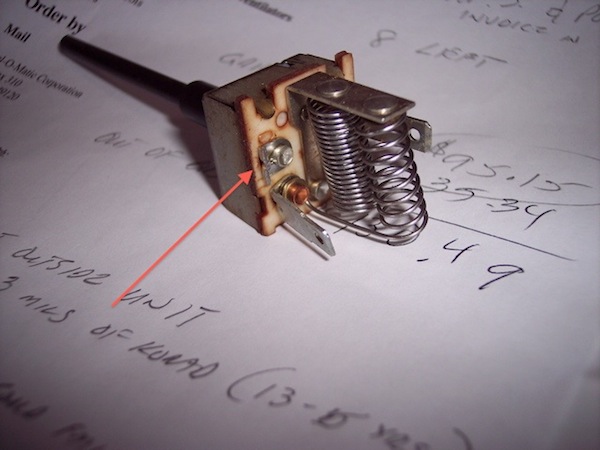
Replacement 3 Speed Switch Part # 119-9910
Servicing
On our fan you need both the wall thermostat set correctly and the fan mounted on/off/high/med/low dial set…these all seemed fine. I removed the grill and checked the wiring at the motor. Using voltmeter found good 12+ volts reaching the fan motor but the motor was not working. Turning current off to fan I spun the blade manually and it was free spinning. I turned on the fan again and the motor made a “humm” and the blade was trying to move. I shut off current and removed the motor for a closer examination. Note polarity of wiring.
Checking the internet I used the above referenced resource site to learn a bit about what to check and this was very helpful.
I then worked on the motor as follows:
1. Remove two small nuts on top of motor. Withdraw the two bolts that pass through the motor. You can then gently pull the black outer metal case apart until you can see the interior. You will have about 2” separating the two metal casings…wiring will prevent you from complete separation.
2. I found the stator and brush area very dirty and dusty…the stator was very dark, no shiny copper at all. I used a toothbrush and q-tips to clean the area. I sprayed the area with air and then some electrical contact cleaner as needed. I then polished the stator contact area where the brushes contact with an abrasive cloth until shiny and smooth. A final air brushing to remove any debris.
3. I put a very light coating of white lithium grease on the bearing areas at both ends of the motor.
4. I lubed the brush housing with a very light application of a Teflon lube.
5. To reassemble…first close up the upper area (where brushes are) together. You need to ease the drive shaft in-between the brushes and a small screwdriver can be used to hold back the brush on one side then the other. Once this end is fully seated, you do the bottom.
6. Reattach the nuts & bolts. You may have to push the interior wiring around a bit to get the bolt to go through the holes for the nuts…try a toothpick.
7. Test motor rotation manually…should turn smoothly.
8. Apply 12 volts to test motor. In my case it runs great now…warranty? only the future will tell…
When the day comes I’ll put a Fantastic Fan up there next – likely the best quality most effective replacement. The Kool-o-Matic company folded a few year back. Frank W.
The KOOL-O-MATIC fan motor in our coach developed an annoying squeak and last year I disassembled the motor and cleaned/lubed it and the problem seemed to be solved. However, the squeak returned and it became obvious the only fix would be a new motor.
Knowing that new OEM parts are almost impossible to find I replaced the motor with a universal blower motor from NAPA. The original motor is 3″ in diameter and the replacement is 3 1/4″ but the mounting band “adapted” by using one longer 1/4″ diameter bolt. The replacement motor will rotate cw or ccw so the orange wire will need to be + for proper rotation (cw looking down at the shaft). Because on high speed the starting amperage of the new motor is higher I changed the (labeled “ventilator”) fuse to 20 amp (the wiring is more than adequate for 20 amps). As a test I ran it four hours yesterday and all was well.
The NAPA part number is 6552378 and my cost was $36.42 plus tax.
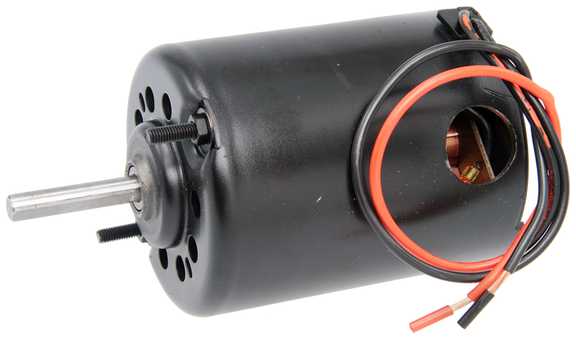
Don 1998 U270 36′
The cover on the new style will not stay in the old style opening. It will fall out. So if you want a oem cover, you need the new style grill. Pat C. 1994 U225 6/2010
As an alternative vent cover you can use one by MCD-RV
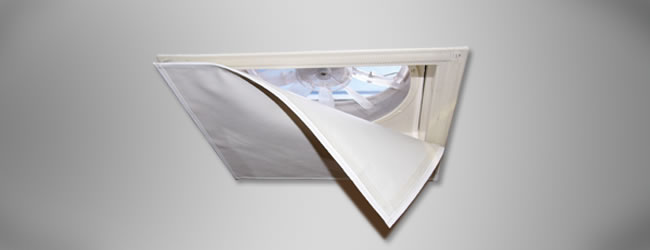
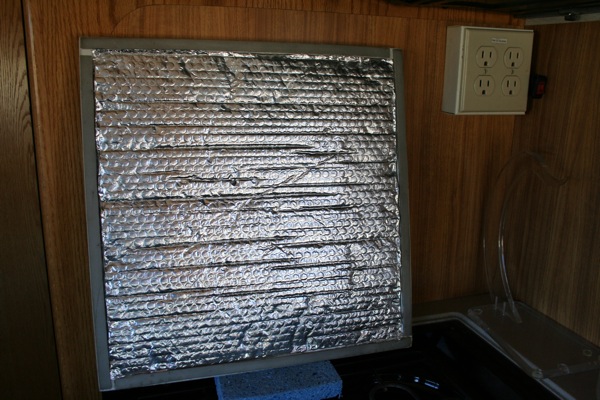
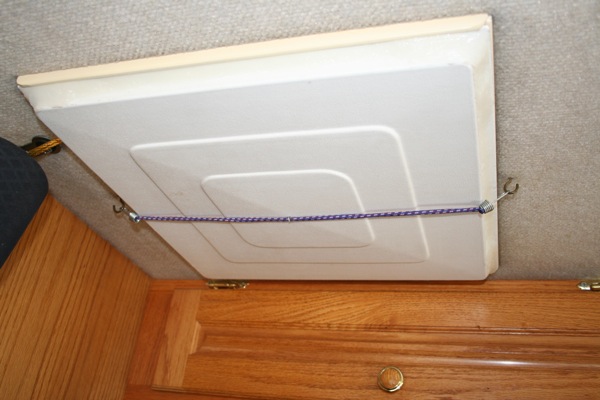
OR
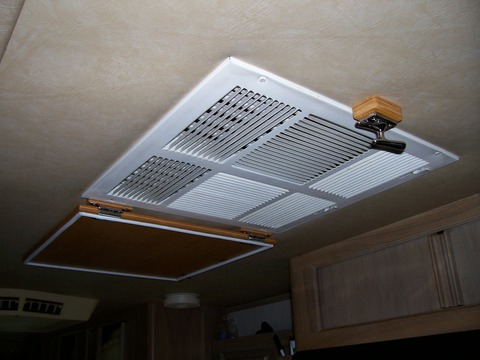
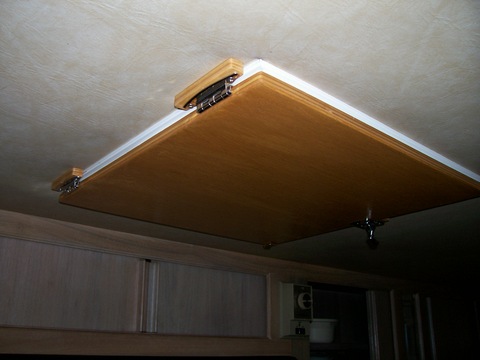
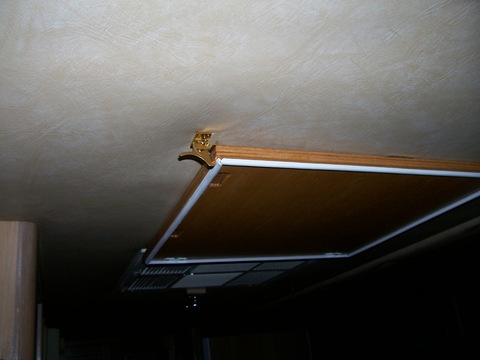
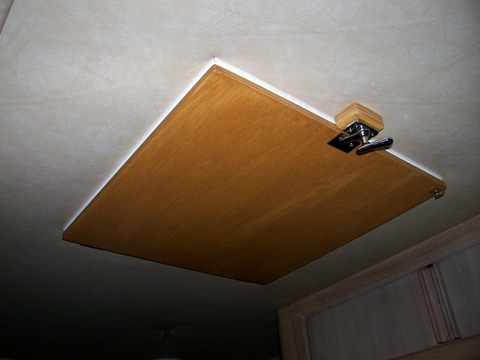
I bought a nylon bolt with 2 nylon lock nuts. I unscrewed the 4 screws holding the metal grate in place and then drilled a center hole to drop the nylon bolt through. I tightened the bolt to the grate with one of the nylon nuts and then reinstalled the grate to the ceiling. Once that was secure I slipped the cover over the bolt and into place ( I already drilled a center hole in the cover ) then used the other locking nylon nut to support the cover with a couple simple twists with my fingers until it was snug. It works perfect! A very nice and simple fix that looks great.
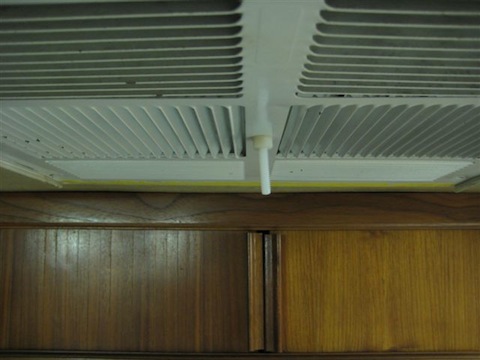
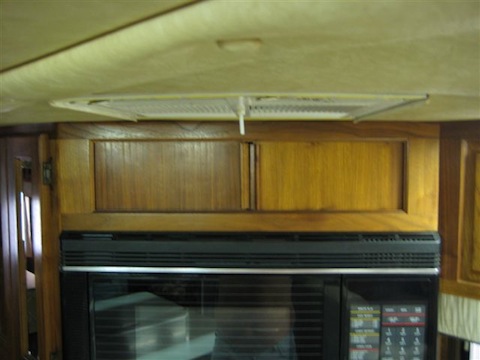
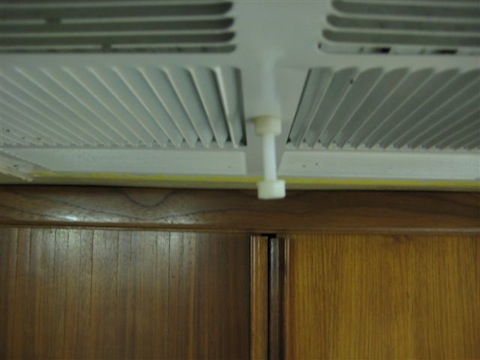
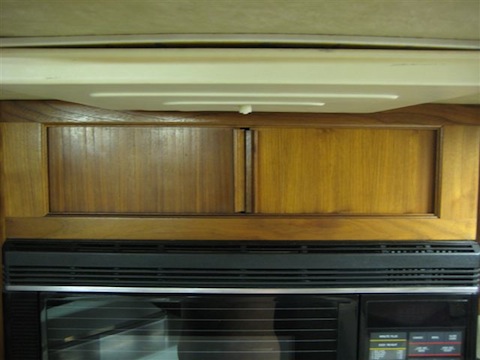
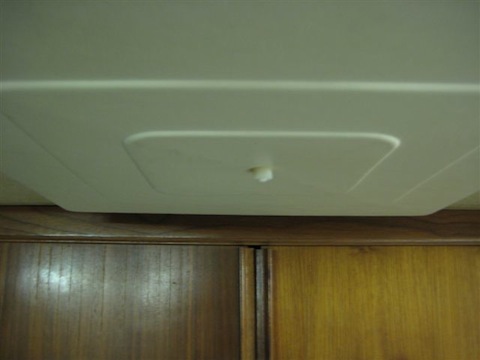
Our cover was cracked, broken, glued, and taped into position and basically ugly. We put button-snaps under the screw heads of the vent cover mount screws, made a sunbrella two-ply square cover with insulation in-between the plys with a velcro closure (to take the insulation out to wash the cover), and the boss unsnaps it when she needs the fan and snaps it up when finished. You can use any fabric thay matches your interior. Mike Baldacchino 1997 U320 40′
Another option is to put a SS bolt down from the vent center (remove grill and drill the grill dead center, then put nylock nut on bottom with enough thread sticking down that you can put on a fender washer and wing nut when you want the cover secured. TOTALLY secure.
I did that for several years with the old grill before buying a new grill/cover. Brett Wolfe 1993 U240