by Barry and Cindy 1997 U270 36′ 1-9-11
Our microwave worked fine, but the convection oven part would not stop at pre-set temperatures and it would just keep getting hotter.
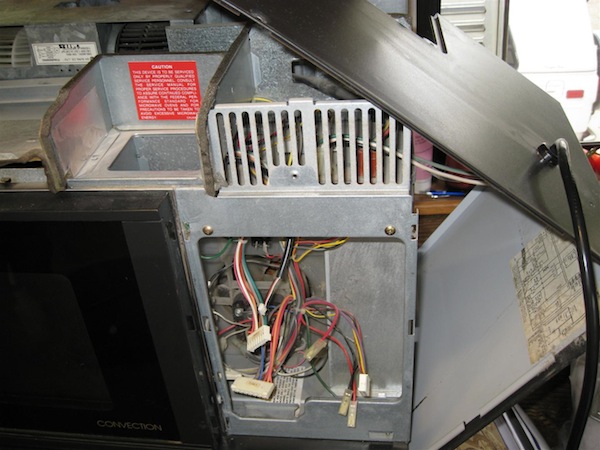
When I looked at the circuit board, I found a pair of wires identified as ‘oven temp’. I figured that there was a sensor at the end of the wires that was not working.
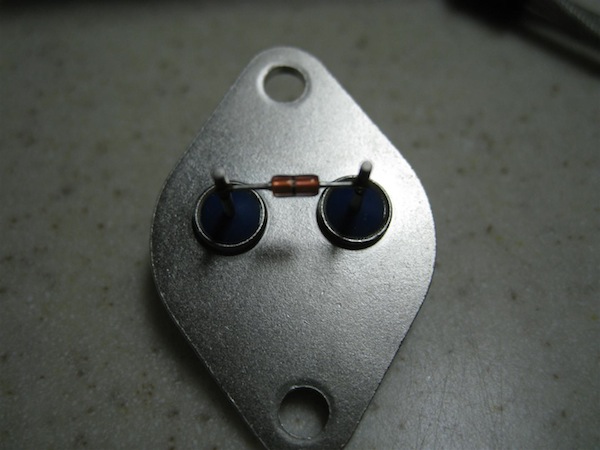
As it turns out, the wires should have a high resistance reading as they are connected to a thermistor, which is a resistor that changes resistance as it gets warmer.
The wires measured zero resistance so I figured the thermistor is broken.
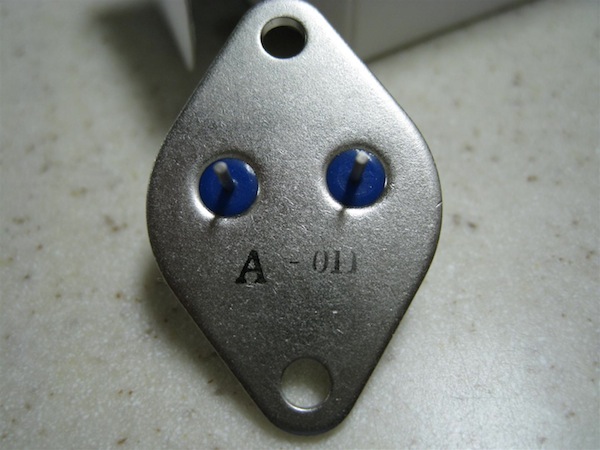
We found a place to buy the $20 thermistor and proceeded to remove our microwave to replace the thermistor, not knowing what was in store for us.
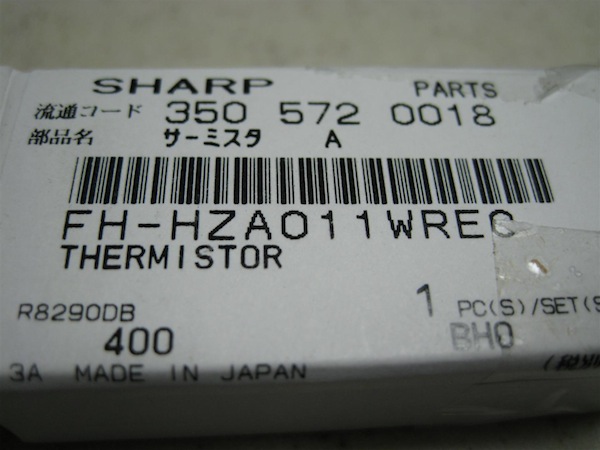
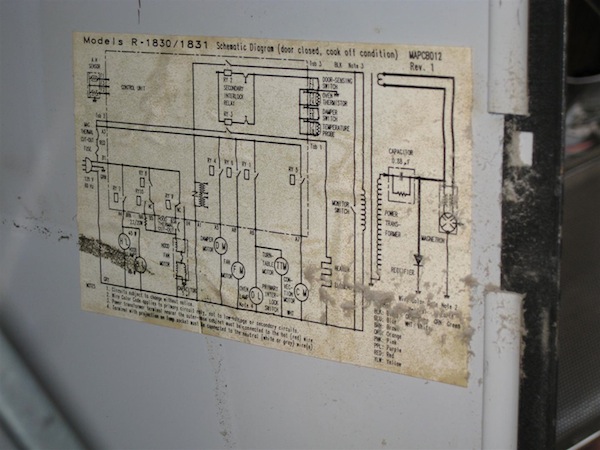
Our microwave oven is a Sharp model R-1830B and is original on our coach. The thermistor part number is Sharp FH-HZA011WREC.
To remove the oven from wall:
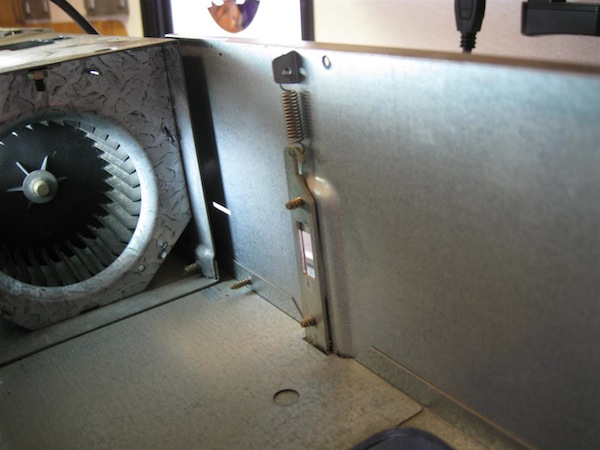
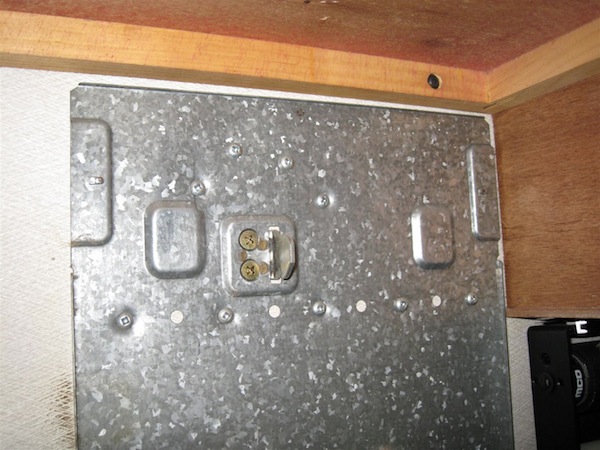
1. Remove two small bolts in plastic round protectors from the bottom back. These are wall latch safety locks.
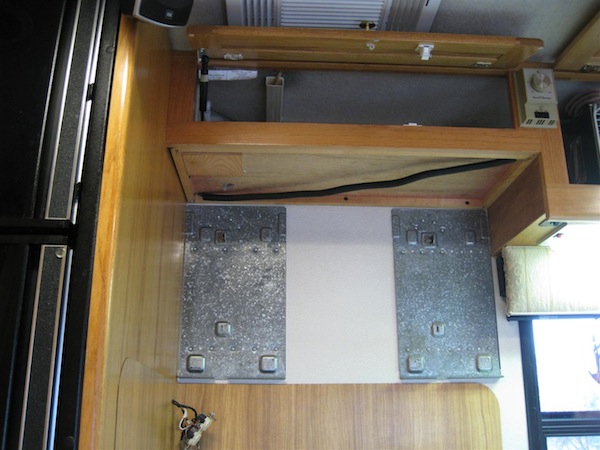
2. The microwave ‘sits’ on a side to side ‘ledge’ of the wall mounts and will be secure until wall latch levers are pulled down.
3. Foretravel put two extra wood screws in the upper left and right through microwave into above cabinet corners.
4. These wood screws are visible after removing top vent by pulling forward. Remove the wood screws.
5. The next step will release the microwave from the wall latches allowing the microwave to swing forward from the top.
6. Using a flat screwdriver, pry down the two wall latch levers noted in step #1&2, being sure to hold microwave so it does not swing off the wall.
7. Microwave weighs about 70 pounds so four hands are needed for safe removal.
8. After tilting the microwave forward a little, reach up and pull the power cord and plug through the hole in the floor of the above cabinet.
9. The floor of the above microwave cabinet is a single piece of wood, unlike the other cabinets that have false floors.
To reinstall microwave:
1. Place rear on a wall ledge
2. Feed power plug and cord up through cabinet hole.
3. Push hard to swing microwave back to the wall and lock on to the wall latches.
4. Screw back the two small bolts with plastic round protectors to prevent the latches from being accidentally being pulled down.
5. Put two wood screws back into cabinet corners.
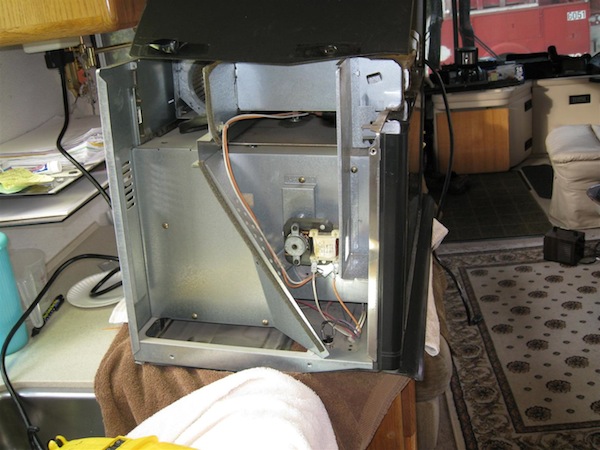
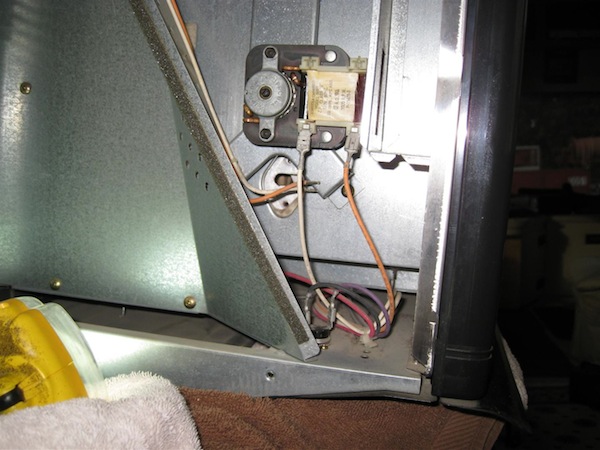
The thermistor is on the left side of the microwave and is visible after removing metal microwave cover, which is fastened with side and rear screws. Remove two bolts holding thermistor in the convection heating element airflow. Unplug two wires and reverse to install a new thermistor.
