by Merle Hench 1991 U225
Among other details to fix on my 91 U225, I noted my old Rayline spotlight no longer turned left or right. Still moved up and down, but that’s it. Looks a lot like this one –> Ray-Line 100,000 Candlepower Motor-Driven Remote Control Searchlight Spotlight.
Unbolted it from the roof, and had a look inside. The plastic housings have a ring gear cast in them, and movement comes from a pair of DC gear motor assemblies. Checked for power at the motor with a helper moving the joystick inside. There was power getting there, but no movement.
The motor assy that rotates left and right is mounted vertically. The motor has solder tabs to connect wiring, and slots are cut out of the gearbox to allow the tabs to stick out. The problem with this is that condensate that develops within the spotlight assembly drips straight down through the slots into the motor. The old motor was rusted solid and seized.
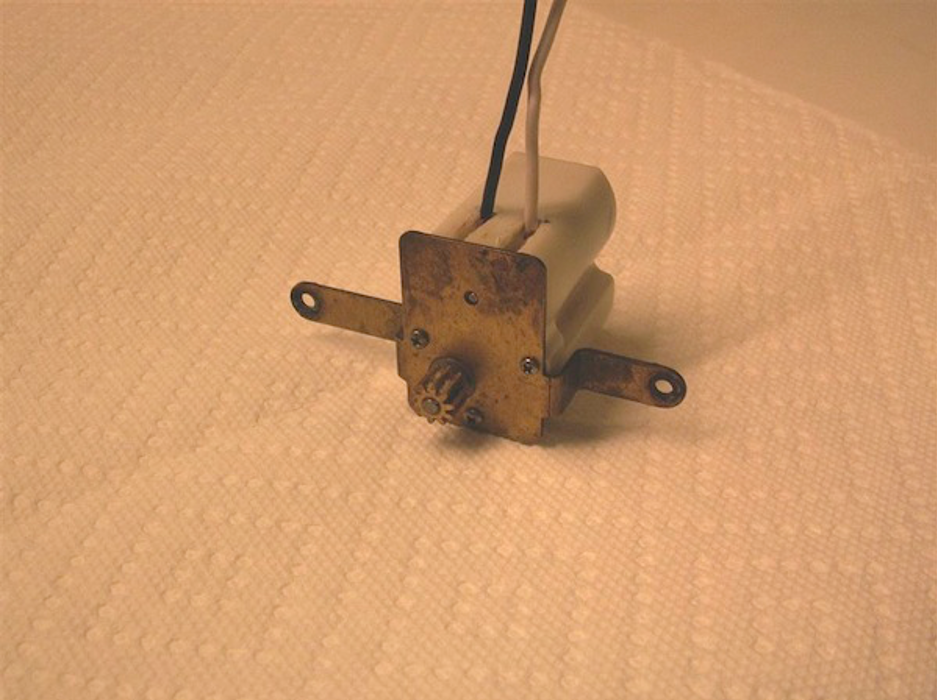
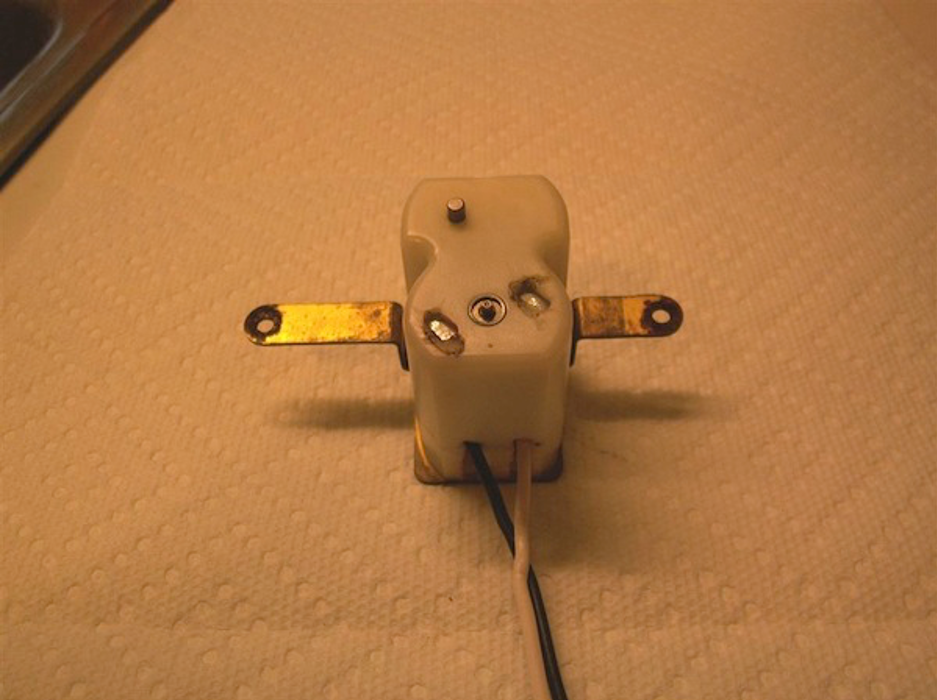
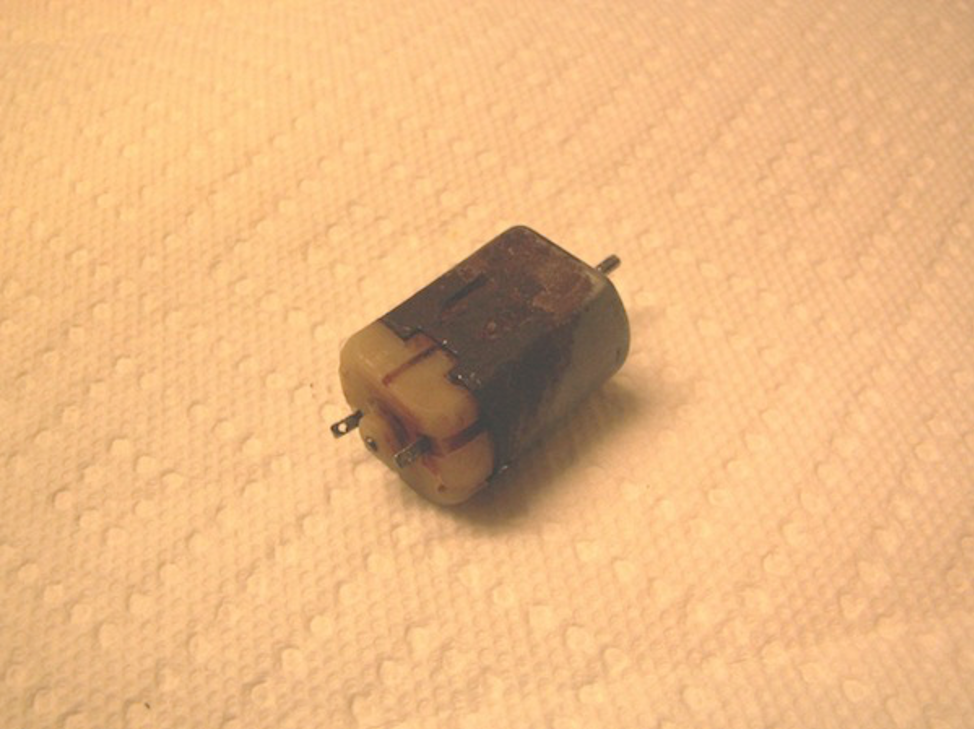
The gearbox consists of a small DC motor and a nylon gear set. I went searching for a new gearbox assembly. Nope – Rayline, part of ITT Jabsco, was dropped some years ago. Some new old stock is still floating around, but parts are difficult or impossible to obtain.
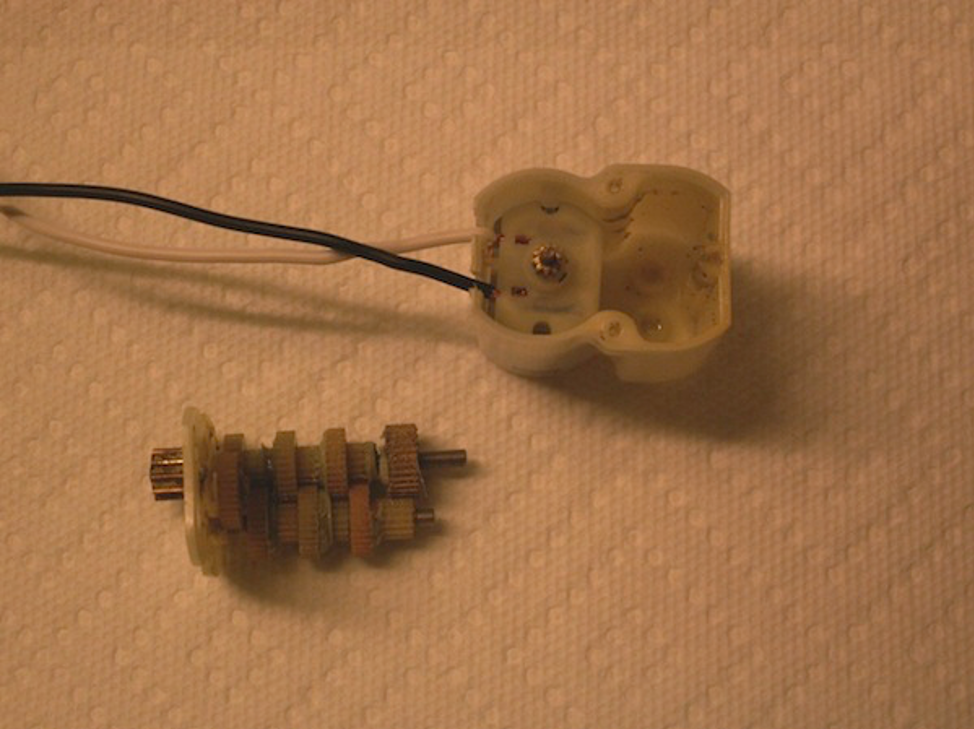
Then I went and tried to track down just a replacement motor, which is all it really needs. Nope – Johnson Electric, original mfr of the motor, does not currently list anything like the motor in there. I decided to try some electronics surplus outlets before giving up and coming up with $200 for a new old stock piece.
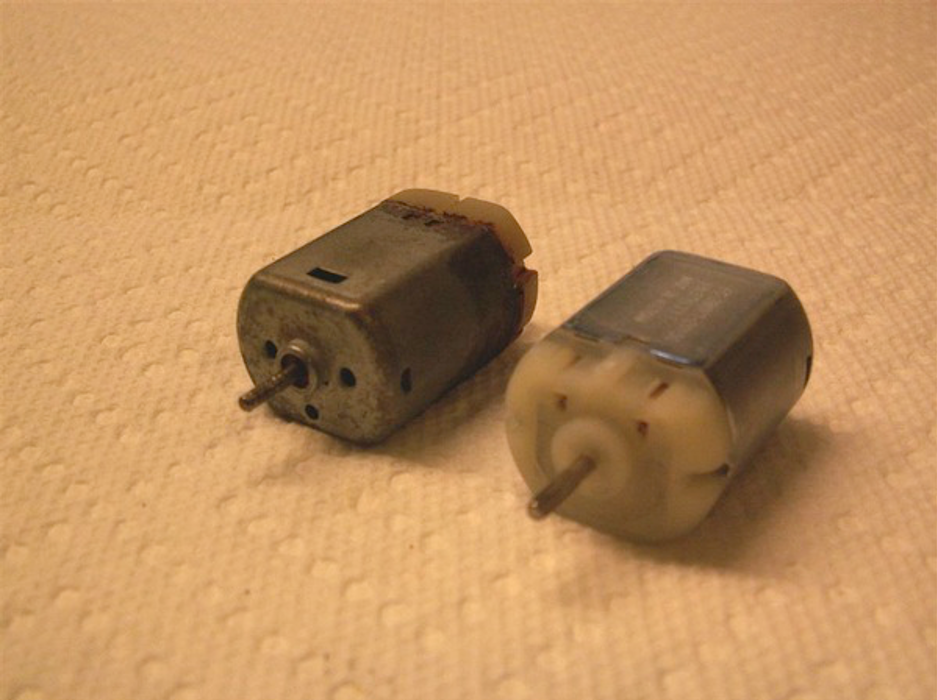
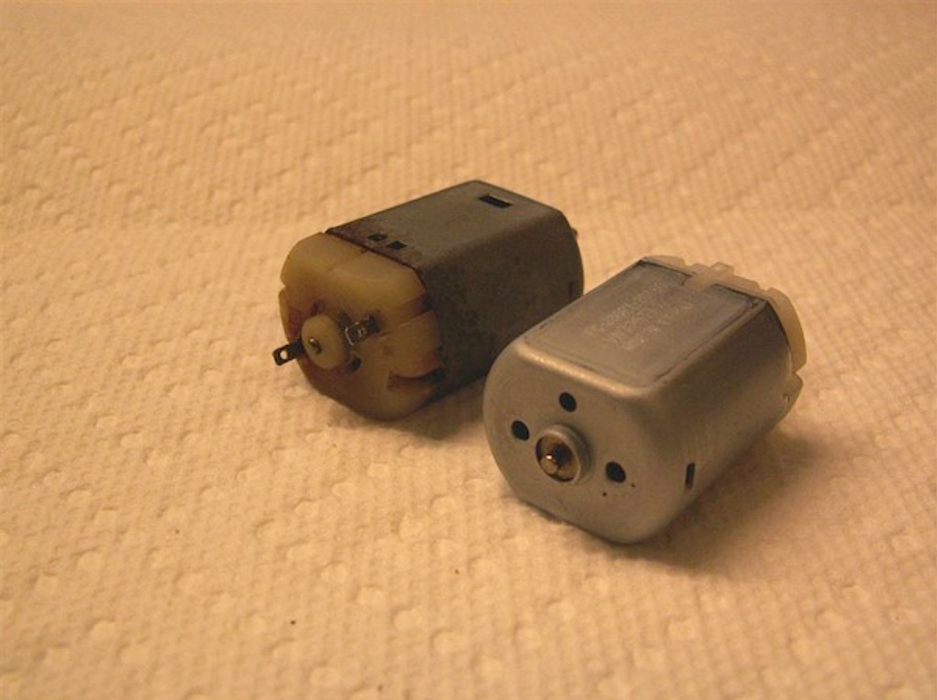
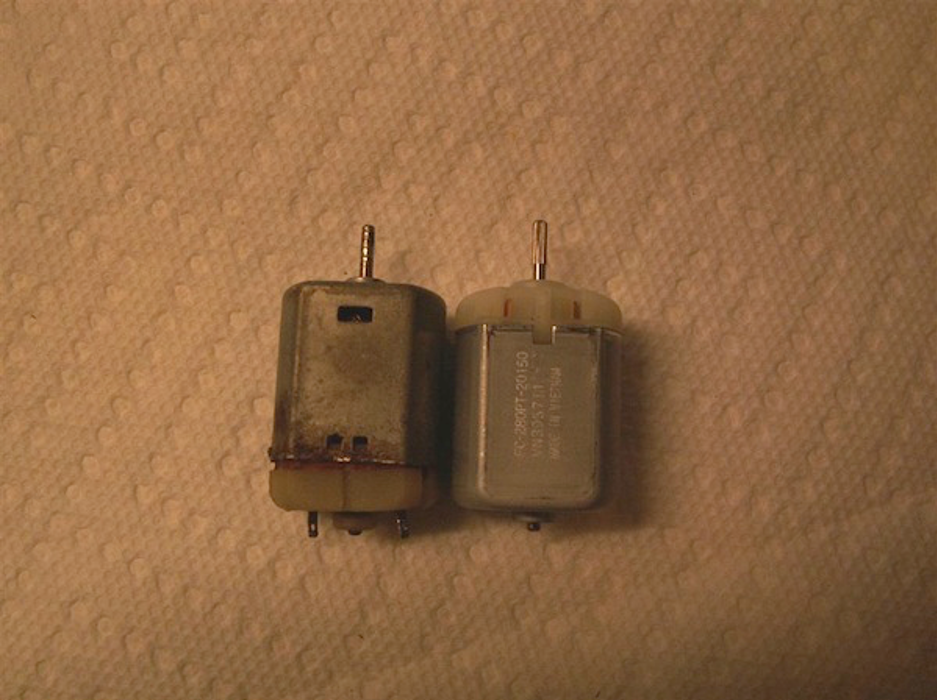
Sometimes you get lucky. I found a motor that would work. Same size, same splined shaft, and operates on 8-16 volts DC. There are but two differences – the nylon faceplate is on the opposite end, and the wires are a push mount deal at the front of the motor. Thus the nylon gearcase needs a bit of modification, in the form of two slots cut to clear the wires.
The cost of the motor, excluding shipping, was $1.25 (got four of ’em), from All Electronics 8 – 16 VDC MOTOR. A good source for heat shrink tubing, wire looms, and other odds and ends.
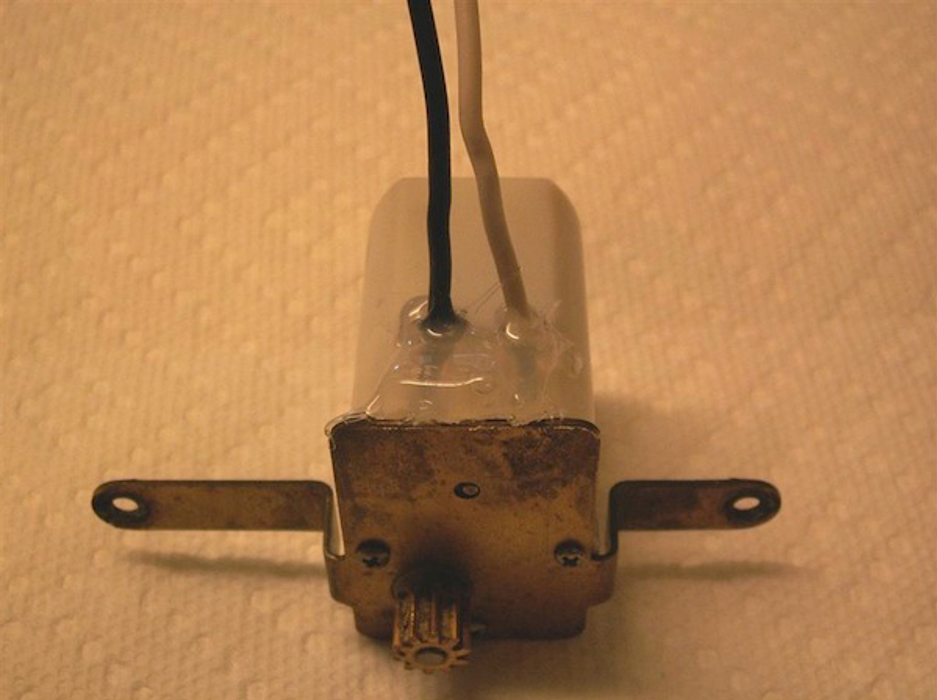
The drive gear was pulled from the old motor and fitted onto the shaft of the new one without a fuss. Used a soldering iron to melt two slots into the top of the gearcase. Two pieces of 18 ga stranded wire were used as an interconnect. The wires in the harness are too big to fit into the slots in the motor.
Lubricated the gear train with a little white grease and fit it back together. Applied hot melt glue to seal the openings and help secure the wires, being careful not to get any in the gear train. Connected the leads to a 12-volt battery. It works! Ready to go back in.
The only caveat at this point is to check the polarity of the connections before making them permanent. If it turns left instead of right the wires will need to be reversed. Other than that, a done deal.
Hoping this helps some folks out. This is a relatively simple fix to make (and inexpensive). The hard part was finding the component needed.
