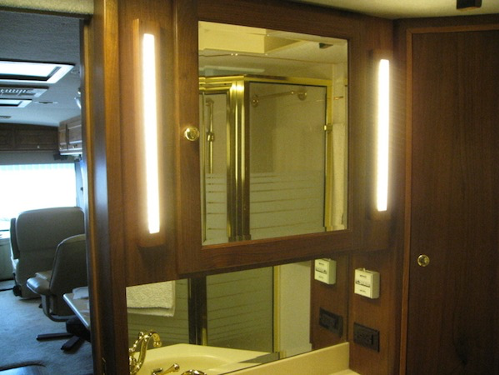
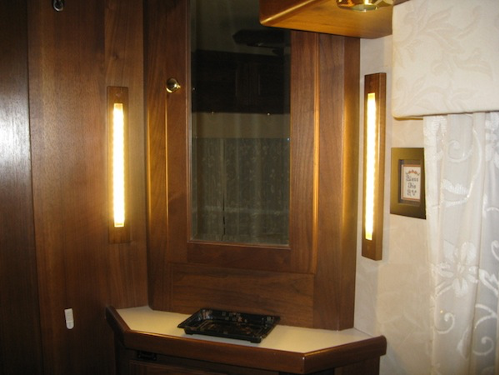
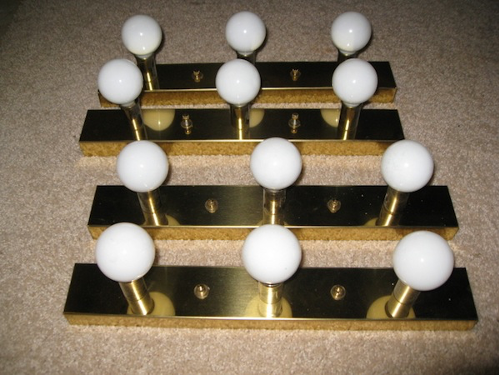
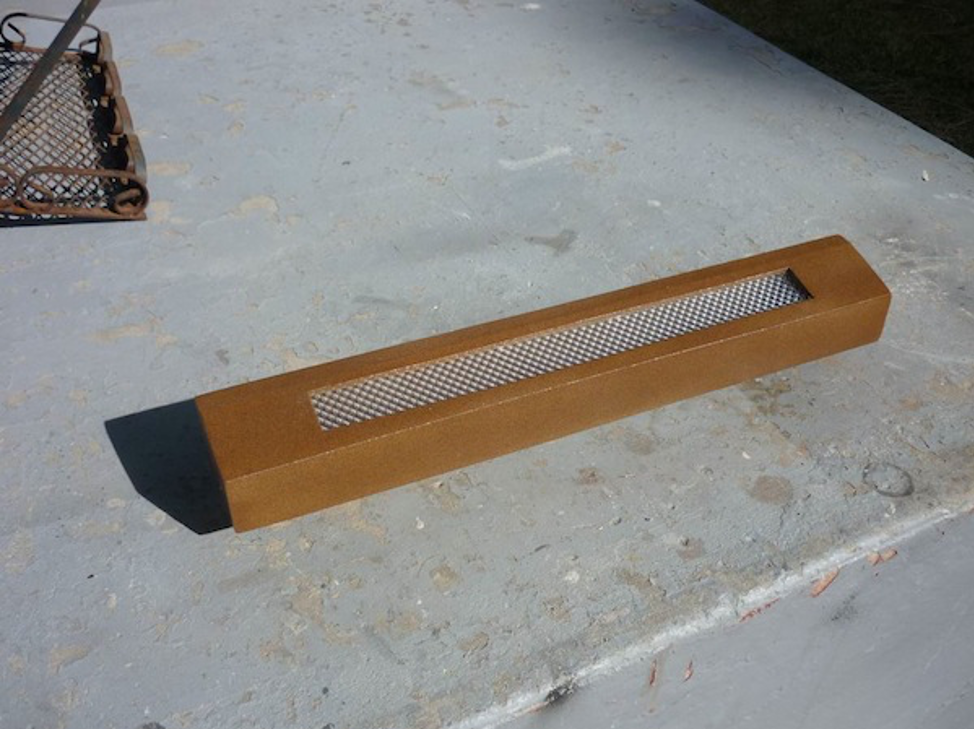
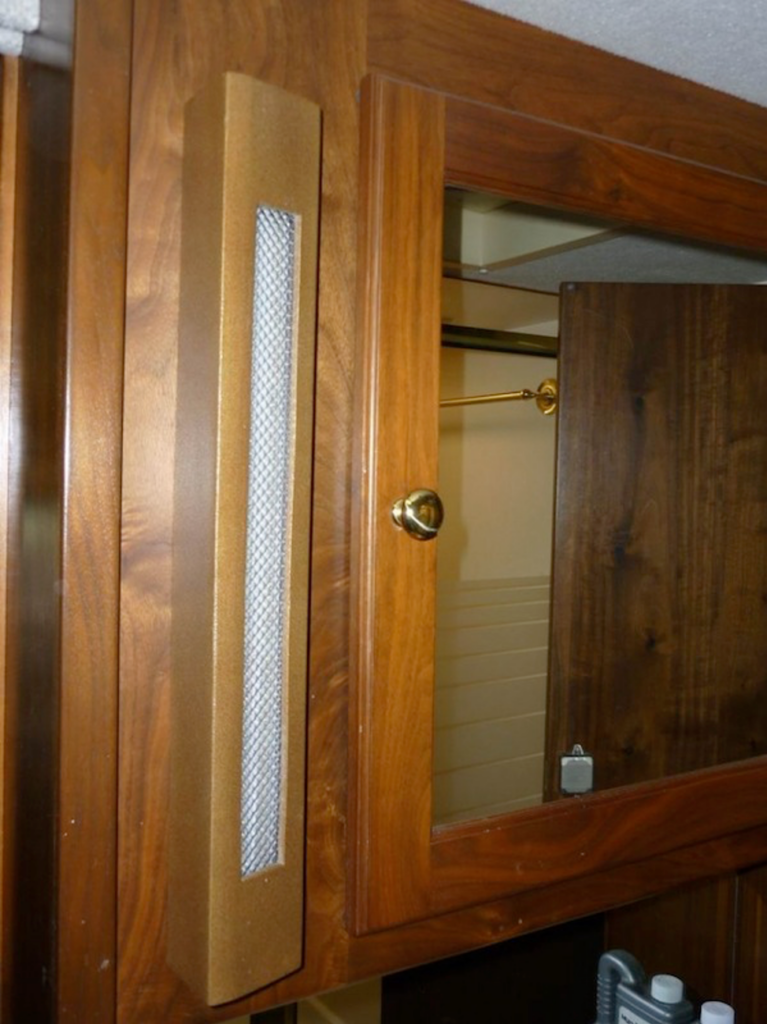
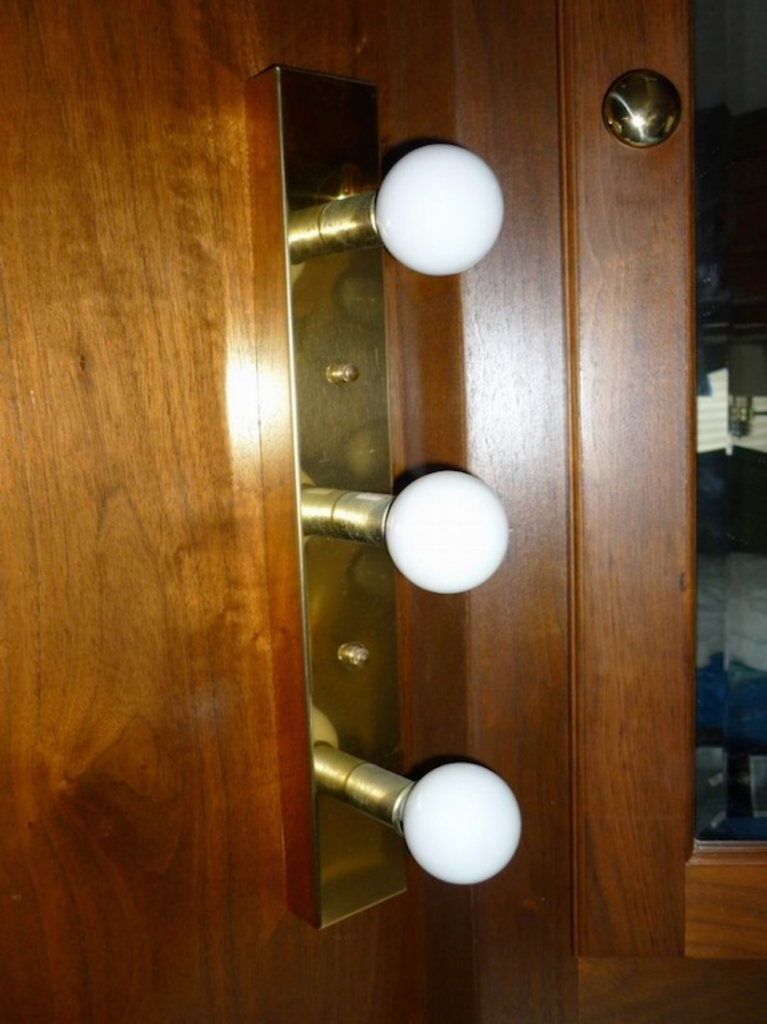
Well, finally I have them up and working. I never liked the 3 bulb units that are standard as they look so “theatre-ish” so when Peirce sent me the rolls of LEDs I got to thinking surely I can change them. So as you can see in the pics I made a wooden fixture with a plastic clear panel in and sprayed it a wood finish then made an insert to put the strip led lights on and wired it up. Simple but a little fiddley but I am pleased with the result. What do you think?? The last one is what the old one looked like.
I ran a panel through the table saw to cut to size. The boxes are made of 1/4″ ply. It is a test gluing and pinning them together, but once done are actually quite strong. I have another one in rough stages to use as a template to do the bedroom ones later, but not important as Ruth never uses them. I only have the closet lights to do then we are all LED in and out!!
The brightness is a bit more as I used 2 strips as was not sure if 1 would be enough as I could always cut the wires on one if it was way too much but I think it is ok. We will let time tell.
by John Haygarth 2000 U295 36 3/22/12
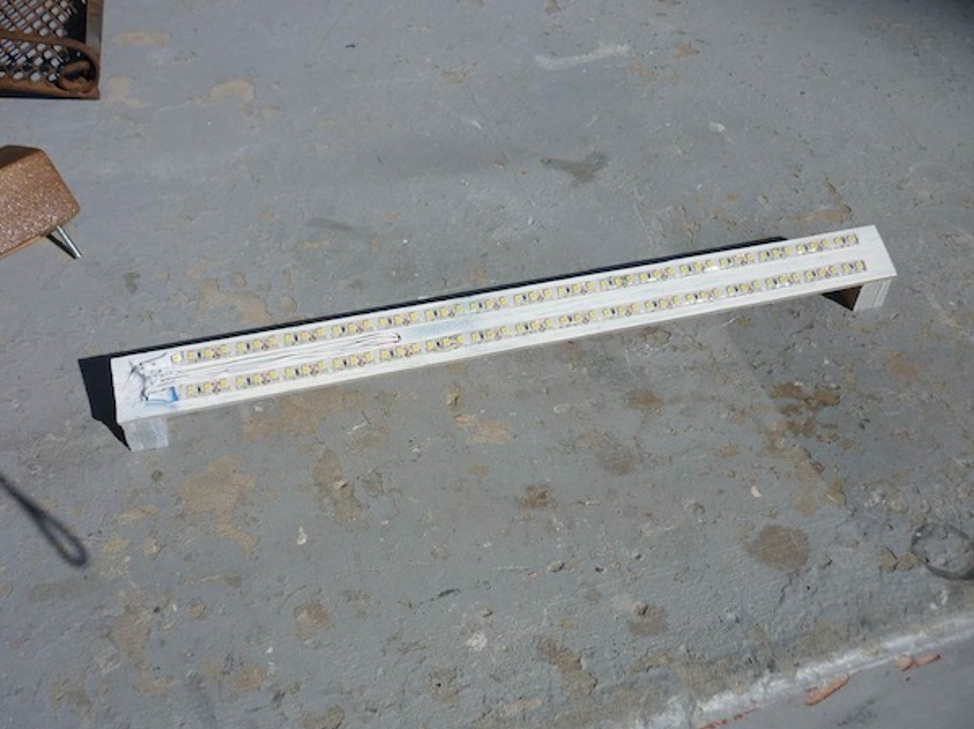
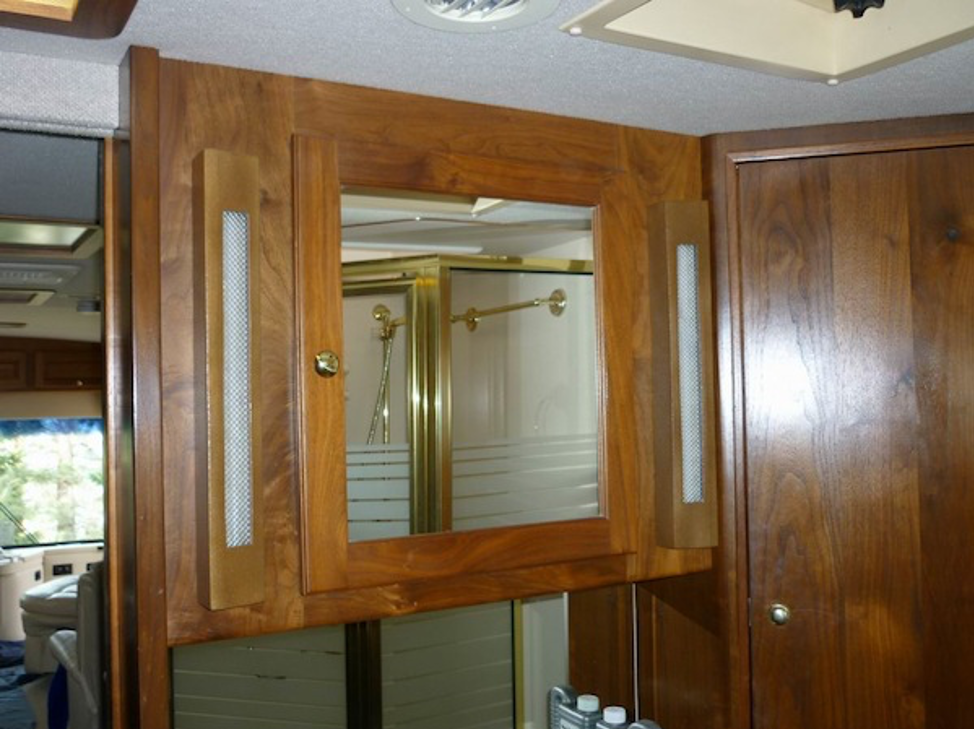
I took John’s idea and ran with it. I used some of the walnut I had leftover from remodeling the forward TV. I wanted to be sure the lights were plenty bright, so I glued two narrow strip lights side-by-side, staggering them to smooth out the light. The two bathroom lights I was able to screw in place from behind. The vanity lights had to be screwed from in front with the screw holes plugged. All in all, it was a very easy remodel job.
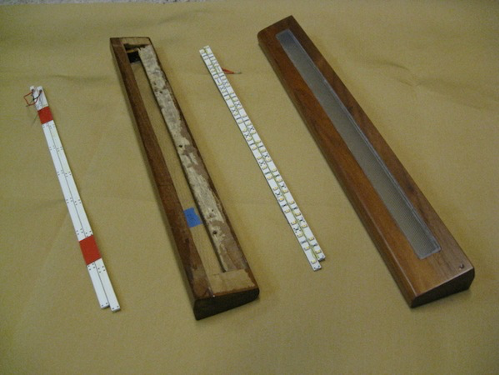
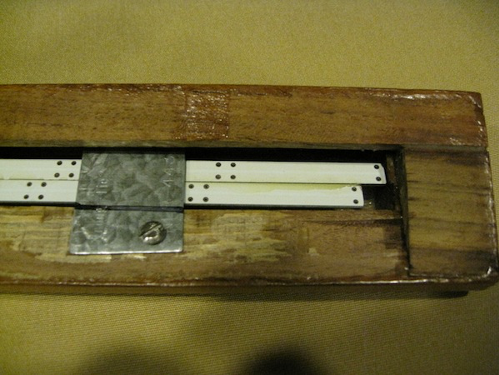
I bought my LED light bars from SUPER BRIGHT LEDS. I used their rigid light bar (narrow) which is 19.5 inches long. You can cut the bars in increments of about 3 or 4 inches to match your requirements. I chose the color “warm white” because that is the color I have used elsewhere in the coach. I just used epoxy glue to edge-glue the two strips together and then used foam mounting tape to secure them to some metal mounting strips.