Update on replacing the generator fuel hoses without removing any tanks FWIW.
Job completed April 9, 2010. It wasn’t too hard, but it wasn’t easy either. I went online and bought the aero quip 2556-6 hose, but I am not sure it is worth the cost at about $3 per foot. However, the aero quip hose and fittings did make it much easier to disconnect and reconnect at the tank (actually I think the tank return would have been impossible using a hose clamp).
I also bought 2 new fittings for the generator, maybe not a good idea if the hoses have to be disconnected at the generator, as about 1″ of the hose is lost when disconnecting.
The old generator fittings were regular single barb type with a hose clamp. A previous post stated that the 2 lines were 15′ long, so to be on the safe side I ordered one 31′ piece of hose. I attached the new hose to the old hose and pulled it in, not all at once but in stages to get it through the walls and over frame members. The pickup at the tank was at the front passenger side and that was done first pulling the entire 31′ through to the generator. At this point, I was wondering if I had enough hose as the old piece measured 15.5′.
My plan was to cut it off and pull the return line from tank to generator. After thinking about it overnight, I decided to pull from the generator to tank and attach it before making the cut. This is also where the fun began as I had to get inside the compartment to disconnect and reconnect the return line at the tank so that the barbed fitting could be removed and installed on the new hose. It takes a lot of force to push the hose on the barbed fitting. I would not have been able to do that with it on the tank. I took several pictures with a digital camera on the end of a handheld folded tripod to see what I was dealing with. I have posted some in the photo section in an album “Generator Fuel Hose Replace 96 U270”.
I could not get my head past the bundle of hoses, wires and propane tubes, so I have yet to actually look at the 2 fittings near the center of the fuel tank. Everything there was done by feel, I even took off my glasses and hearing aids. What saved the day was a 3/4″ crowfoot flare nut wrench (slightly different from a standard crowfoot). I could slip it over the hose and slide it up to the nut. It was also possible to slide it past the nut, so several attempts were required, both to get it off and get it back on. It took about 10 min just to get the flare nut started. Done with one hand using a couple of fingers and a little bit of thumb.
I was actually more on the propane tank with my shoulders in order to get my arm straight enough to reach the fitting. However, once I got it started it was fairly easy to turn with 2 fingers. In case you are wondering I am 72 6′ tall 170 lb. I think I spent at least 20 min taking that hose off and 30 min putting it back on. My brother-in-law was standing by in case I couldn’t get out, but I was able to slide in and out by myself.
Once the hoses were in, I have a few inches left to play with, certainly glad I bought the extra foot. The supply hose is about 16′ and the return 15′ I used a hand vacuum pump (the type used to bleed hydraulic brakes) to prime the supply line before attaching it to the generator.
Used the preheat a couple of times and the generator engine started after about 5 seconds of cranking and ran smoothly after a couple of seconds. Didn’t do any fuel bleeding. I have the PowerTech 8KW with the Isuzu 3 cylinder engine. The old hose didn’t really look that bad, just had a crack in the supply line on the outside of the 90-degree bend entering the generator compartment. A splice at that point and it may have lasted several more years. If a tank removal was required for this repair, I think the propane tank would be the easiest, maybe a forklift would be required to lift it though.
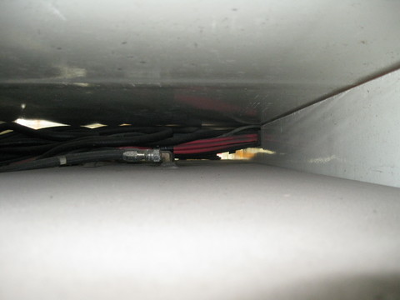
Center tank hoses from driver-side
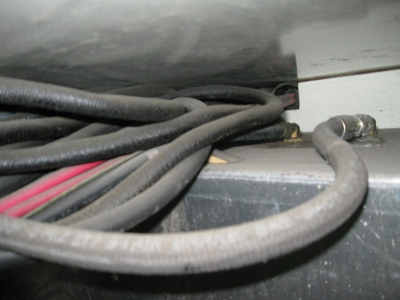
From the front of compartment Eng pickup right
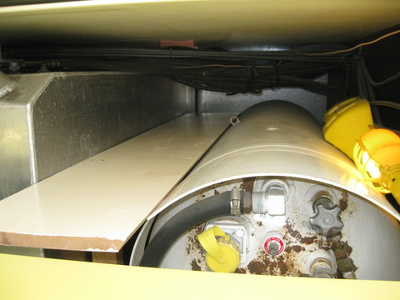
The temporary platform for access to return
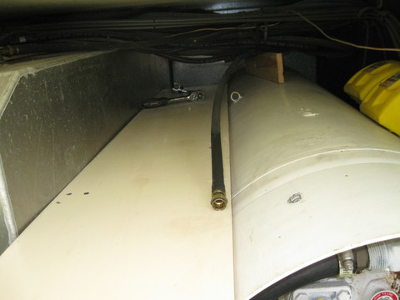
New hose with fitting attached
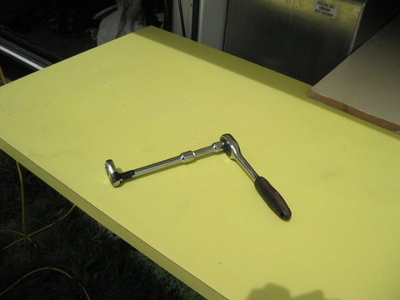
Crowfoot wrench taped to extension
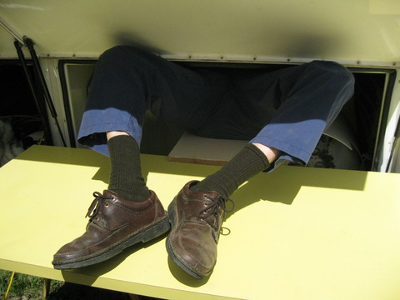
I’m in there trying to get it connected
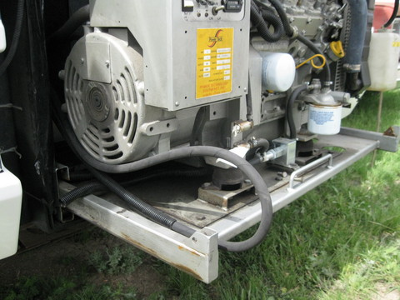
Hose at generator after installing to tank
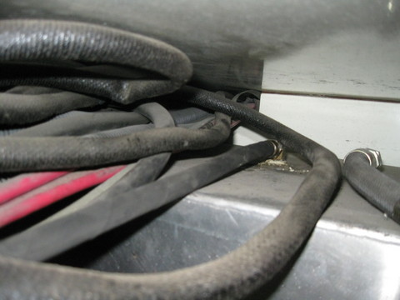
Final photo to check for leaks
I just replaced my generator fuel hose and it was an easy 30-minute job with great results. I have been experiencing an increasingly hard to start the generator. It used to work perfectly and start in a few seconds in any weather, it got harder and harder to start, sometimes running a random length of time and dying out, maybe not restarting.
I suspected air in the fuel, Today I got 14 feet of 3/8 gates fuel line and re-used the tank fitting. I removed the tank fitting with a shorty wrench and then cut off the fitting, I used a 3/8 bolt as a “splice” between the old and the new hose. Then used electrical tape and wrapped the ends to secure the joint. Then pulled the hose from the generator side and it came right in.
Although I could only find surface cracks in the old hose, I suspect that it was collapsing internally. Anyway, the repair was a success and the generator started immediately and ran flawlessly for 4 hours, I restarted it 10 more times today warm and cold and it starts as it did 2 years ago. Perfect, instant starts. Jerry Whiteaker 96 U270 36′ 4/10/2010
So…taking a cue from Peter and Beth, I decided to replace the fuel lines for the generator while replacing the sound insulation for the generator box. As I’m not as trim as Jerry Whiteaker, I had my doubts as to whether or not I’d fit on top of the propane take. Well, as it turns out, I had no problem getting into position. The problem was getting out. I was stuck for a little more than 15 minutes! Note to self, do not wear a belt while working in tight spaces, as the buckle will get hung up when trying to extricate.
As I was not going to let the fuel lines beat me, I grabbed a beer while I thought of a new plan of attack. Solution..pull out the propane tank. It only took about 10 minutes to remove the tank. The hardest part was moving the tank from the compartment to the wagon I used to wheel the tank out of the way; the tank was half full. Once the tank was removed, I had clear access to the top of the fuel tank, thereby making the removal of the fitting VERY easy with a stubby 3/4″ wrench. The line on the left side of the tank is a no-brainer.
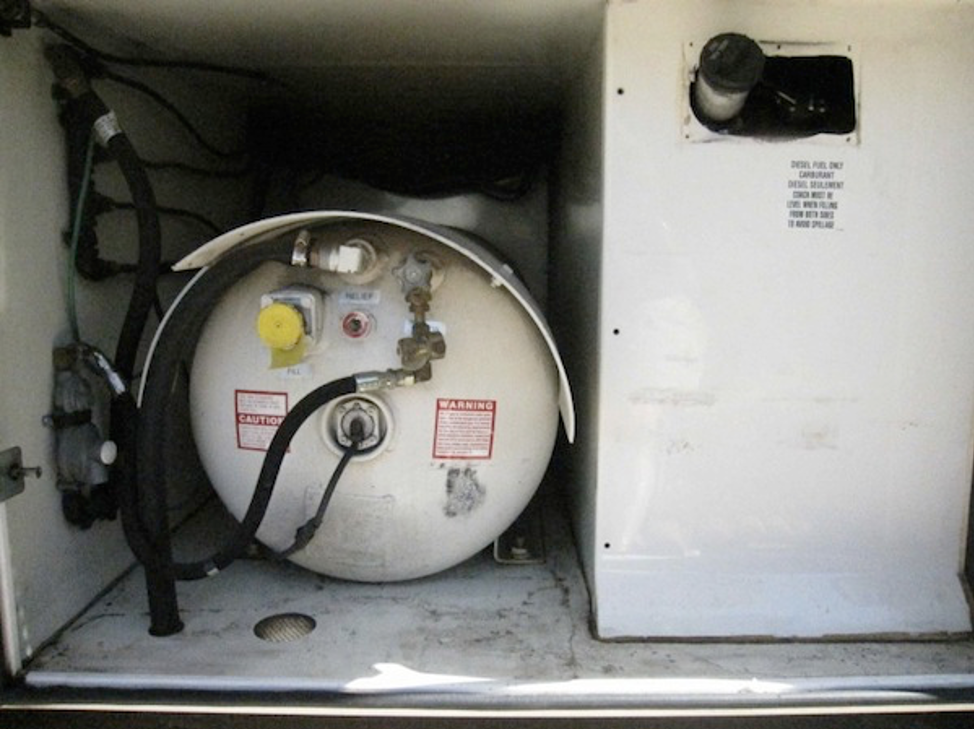
LPG Before
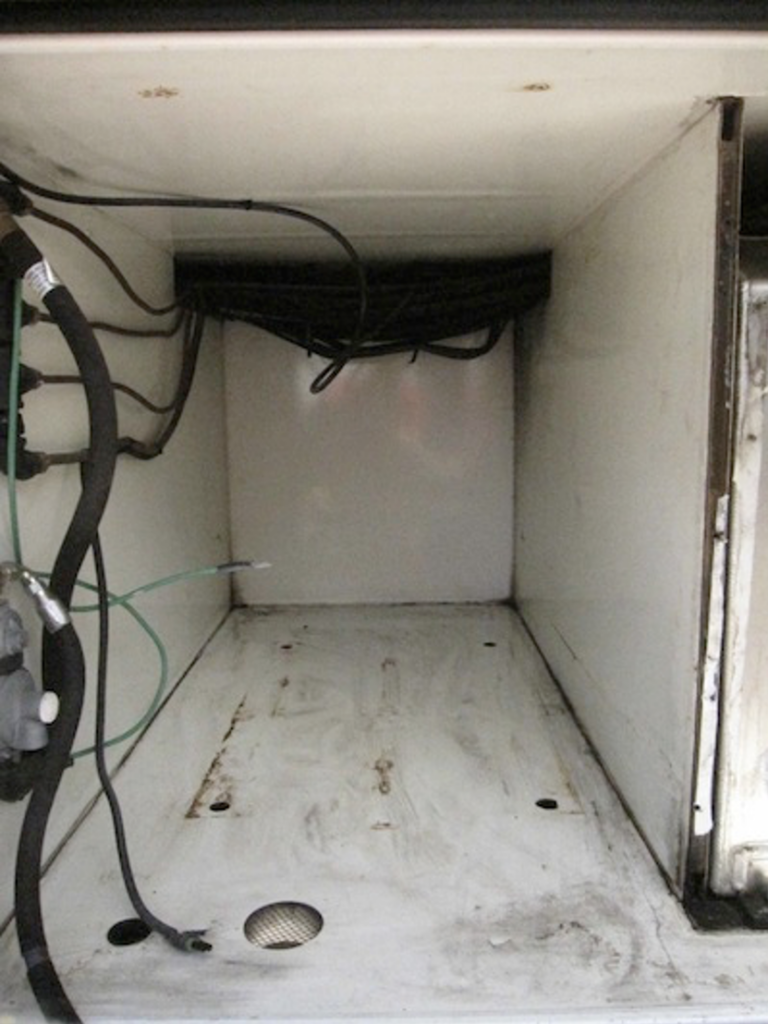
LPG After
I’m very glad I removed the propane tank, as I was able to assess the condition of the mounting bolts. Being pretty rusty, I decided to replace the four bolts, as well as the six bolts for the fuel tank with new grade-8’s. In the attached picture, the third bolt from the left, the one with the coarse threads, is one of the bolts which go to the fuel tank. The ones with fine threads go to the propane tank.
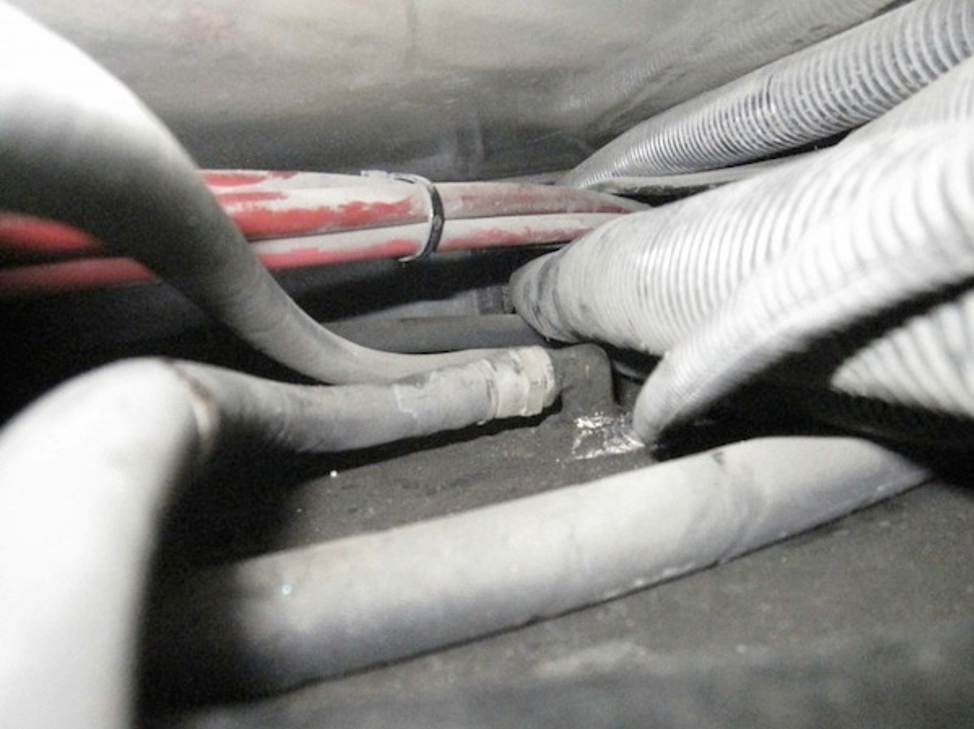
Nut #1
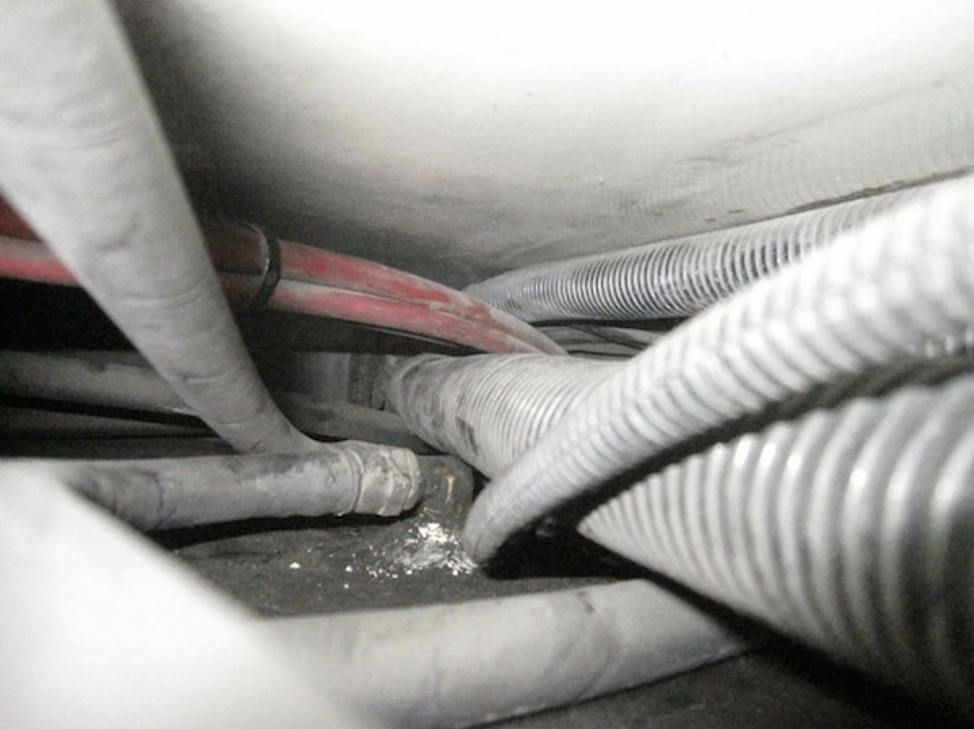
Nut # 2
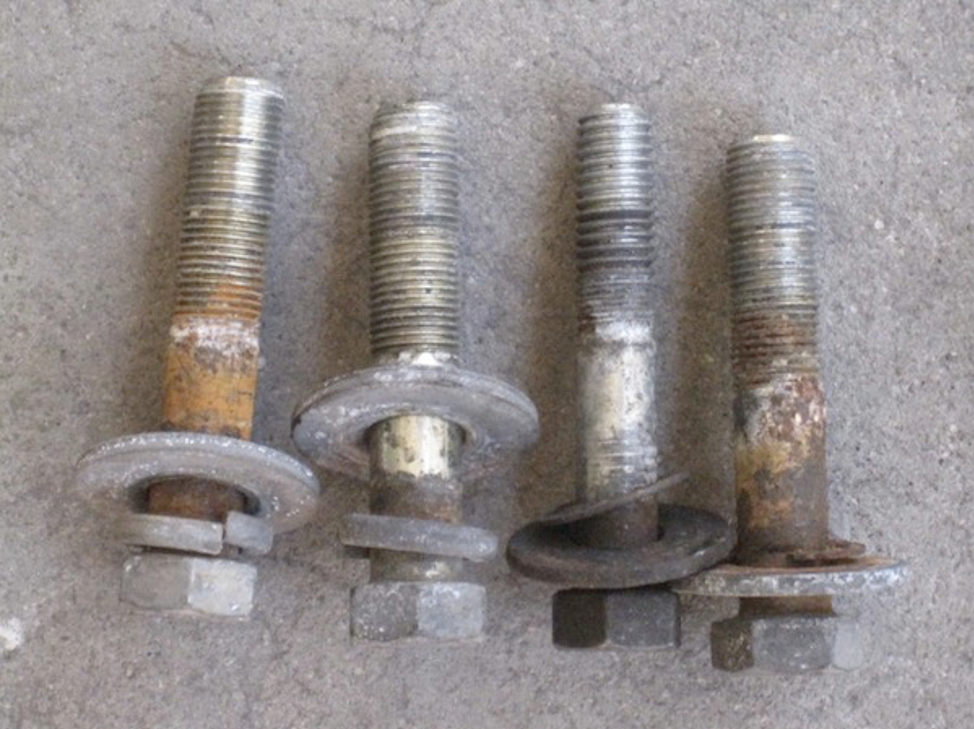
Old Bolts
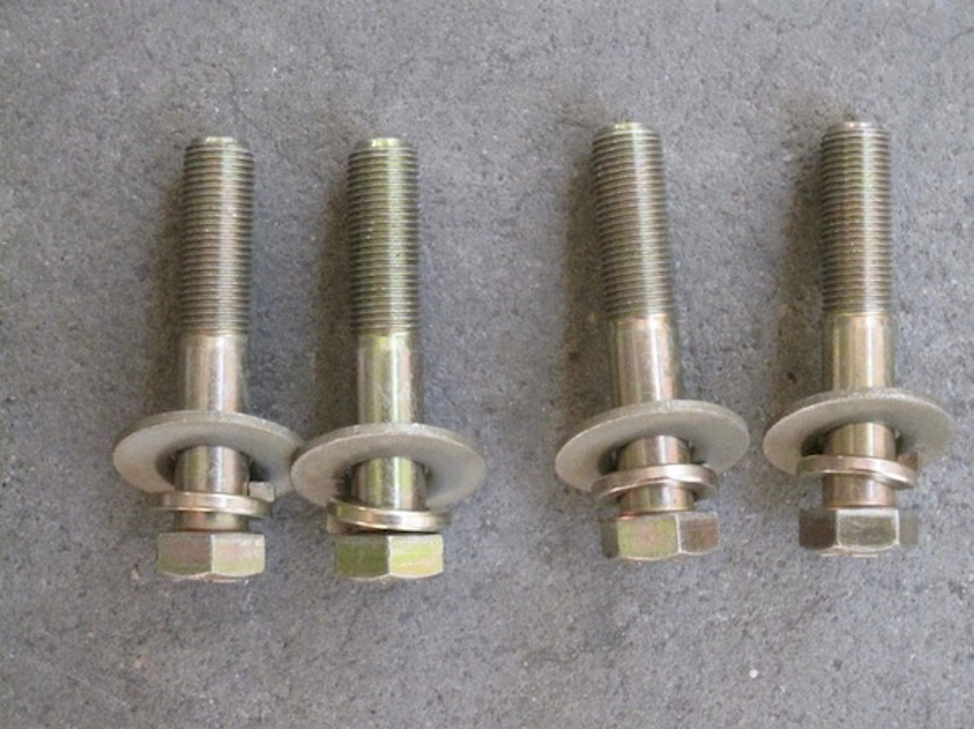
New Bolts
The bottom of the propane tank was perfect, not a hint of rust. As for removing the tank and putting in back in, this is what I did. My wife and I were able to get the tank out by putting her garden cart perpendicular to the propane compartment. As the drop from the propane compartment to the wagon was only about four inches, I was able to slowly lower the end of the tank on to the cart while my wife pulled the cart away. Putting the tank back in was another story. Since there was no way she would be able to lift the tank, I called a couple of friends. They were over straight away. It took all three of us to get the tank back in; me on the end pushing, and the two of them lifting.
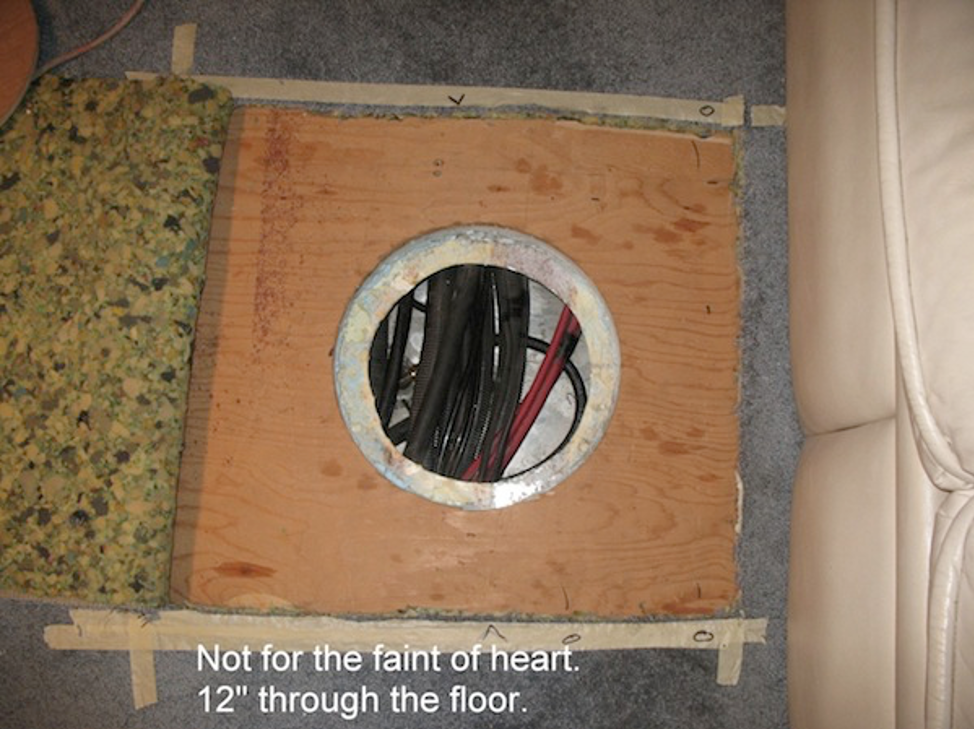
Not for the faint of heart!!! Enter at your own risk.
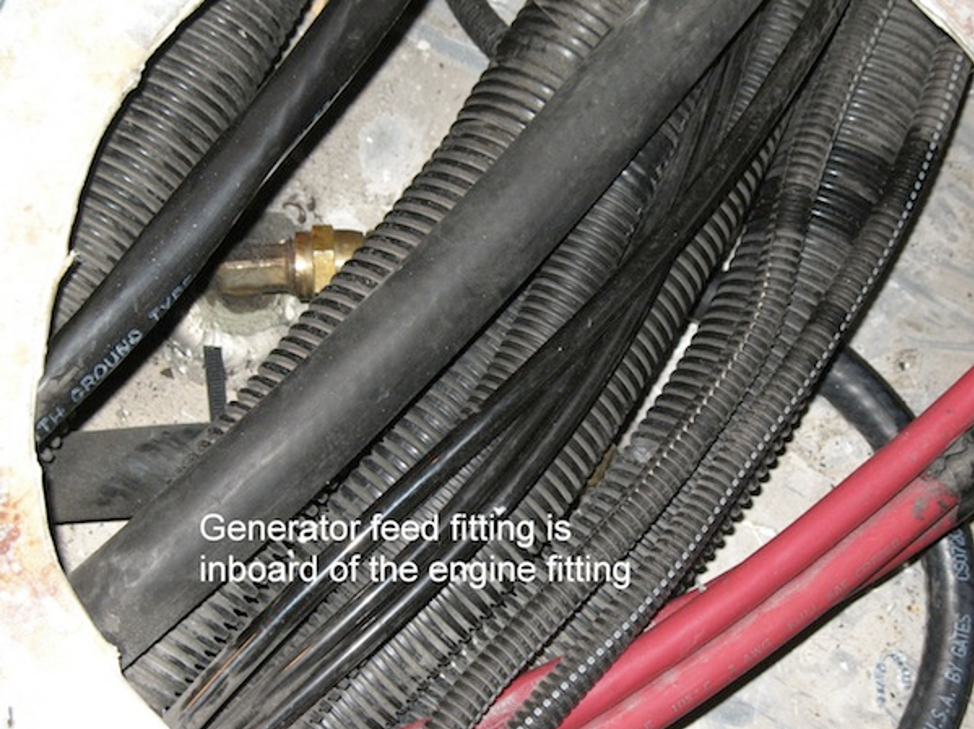
Finally got the generator hose replaced. Not an easy job. No way to reach the fitting as it is inboard of the engine feed fitting and that was 3’6″ inside of the bay.
So, we did the next best thing. Cut a 12″ hole into the floor from the inside of the bus. With that, we could see both fittings and that job got easier.
First, we cut the carpet, then the 1/2″ subfloor, and the 1 1/2″ blue insulation. There we found the fiberglass/aluminum bottom. Using 1″x2″ boards, we pressed away as much as we could of the wiring, hoses, and etc. from the top of the inside bay. We cut the bottom fiberglass/aluminum with aviation snips and a die grinder. Once we got all the “stuff” pushed aside, getting to the fitting was a piece of cake, well almost. Still had to feed the hose in from the bulkhead.
Along the way, I found the vent hose pinched between the bottom of the frame and bulkhead. It was also plugged with spider stuff. Who knows what kind of problem that caused. Today’s assignment to reassemble everything that we took apart.
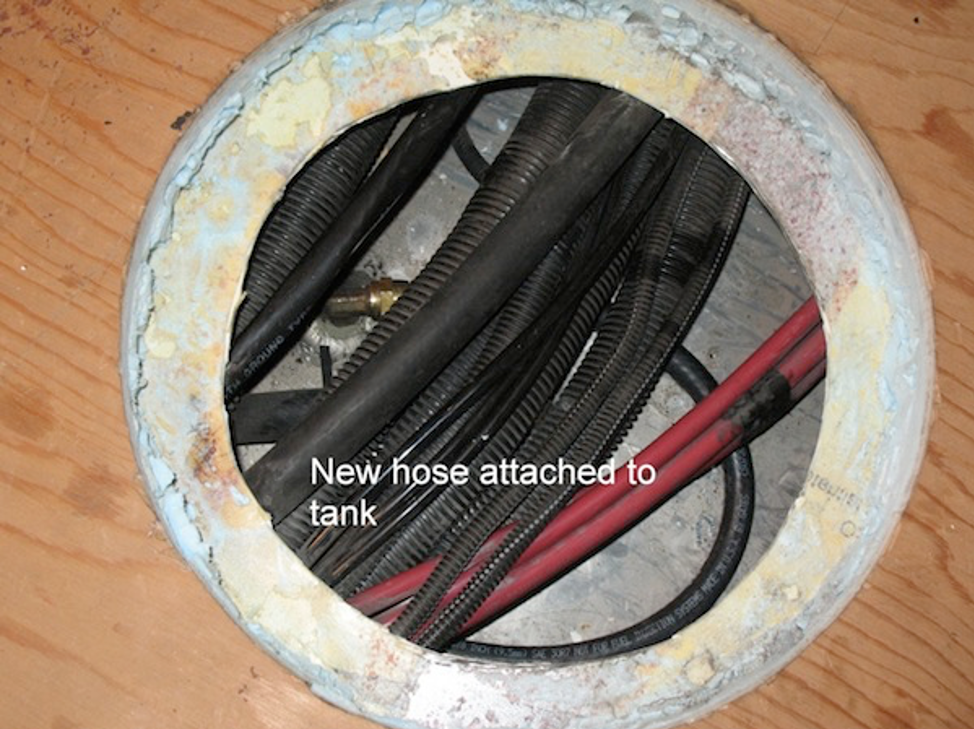
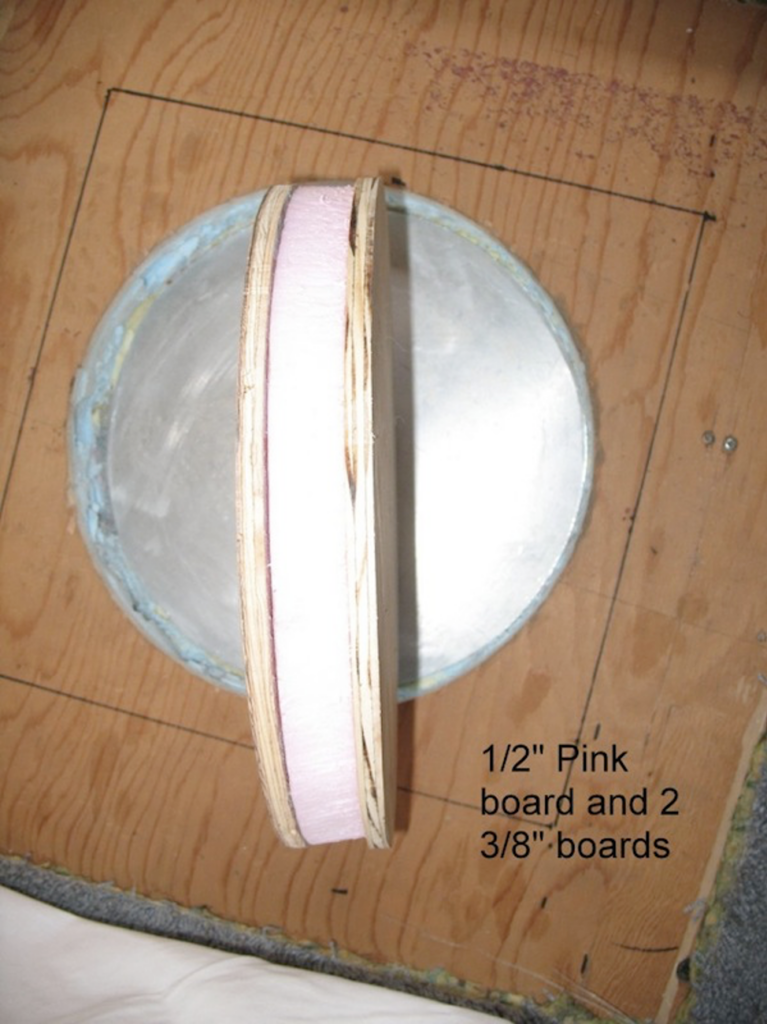
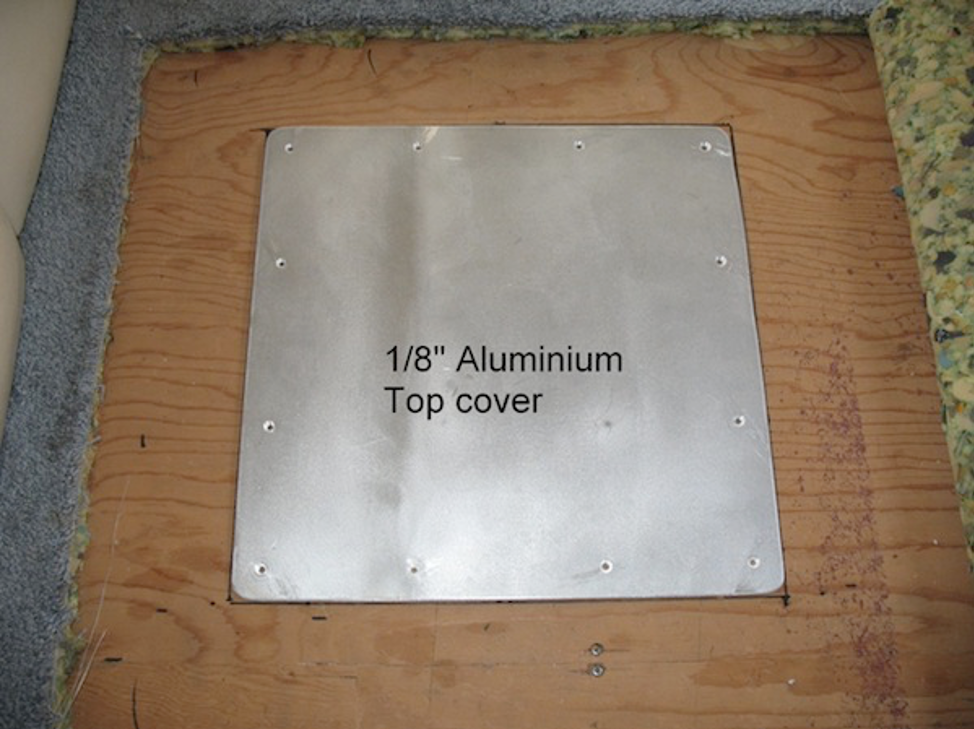
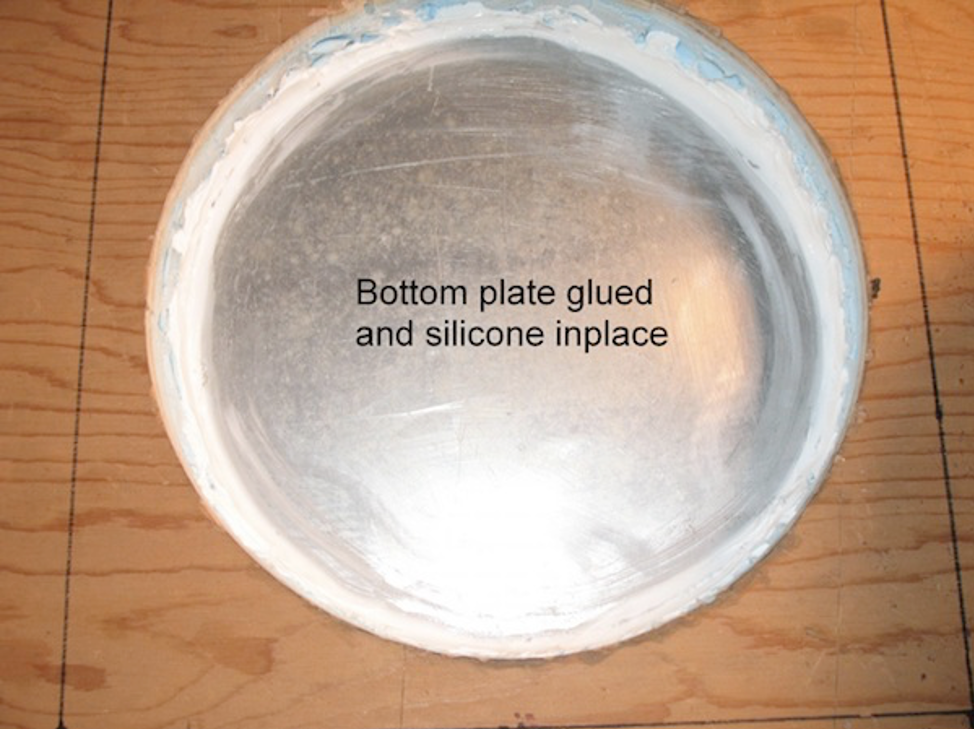
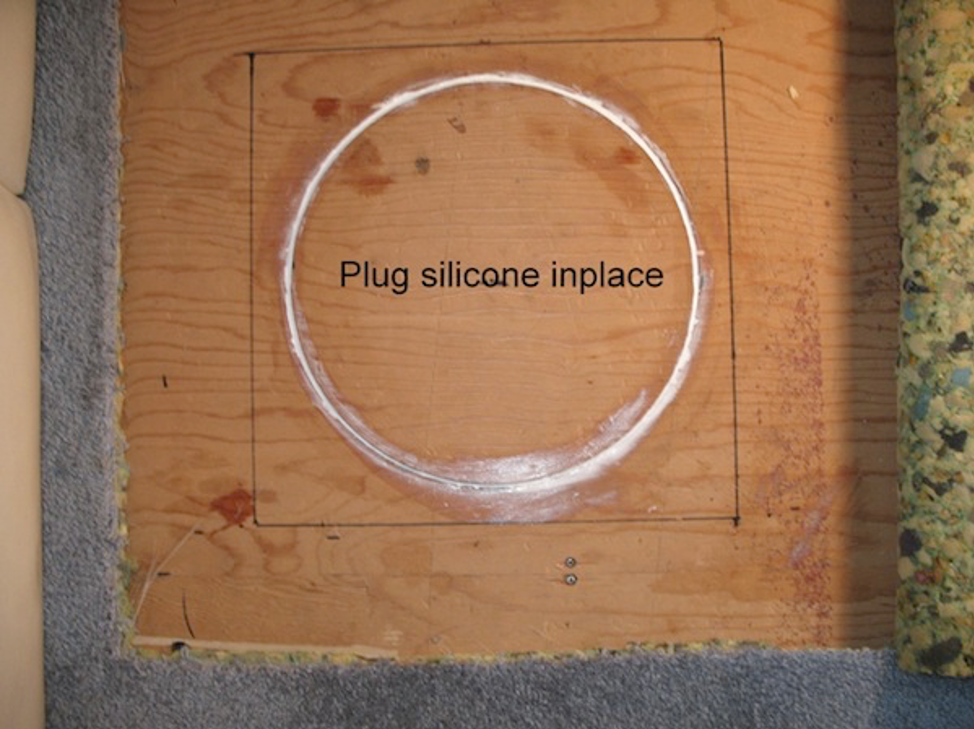
That job is almost complete. Still need to reinstall the 2 PVC vent tubes from the front wheel well to the battery compartment and then the tank fiberglass covers.
The generator runs great again. Used 14 1/2′ of 3/8″ hose for the feed.
What stopped us for a few minutes was when we blew into the return vent, we heard bubbles and then the same when we blew into the feed. At that point, we figured that we had the correct fitting.
Will replace the return another day. That will be an easier fix. Too much on our plate right now.
Attached are a few pictures of filling in the “hole” The top 1/8″ aluminum is temporary until we replace the carpet next year.
Now turning our attention to installing the Splendide washer/dryer. It passed its first test by running through several cycles while sitting in the garage. Dick & Sue ’99 U320, 36′
Well decided today to cut out the ply floor and look at those fuel line connections on top of the tank. You can see how I did it (very simple). The first 2 pics are the location and after done. The next one is the main fuel line and it does have a very small fine crack about 3/8″ long in 2 places but is dry and top of the tank too. The last one is gen line so I think this confirms Ted H’s and my thoughts on the ULS being an issue. No cracks in this line as I do not use the Genset.
So, I am going to wrap the mainline with “rescue tape” along with the gen one and seal the floor back up. After 13 yrs of off and on use and all this is what happens makes me think it will last a good few more years. If not I know where the hole is so I can remove it again !!! You sure have to be careful cutting through the fiberglass skin as those air lines are right up against the underfloor. I got a scratch on one of the 3/8 hoses but that is it. I will wrap that too for safety and strength.
It is all closed up now and just carpet to put back down but I am taking a break now as it is hot today, 94f. I will draw it out and put measurements using cabinet and sidewall as ref’ points.
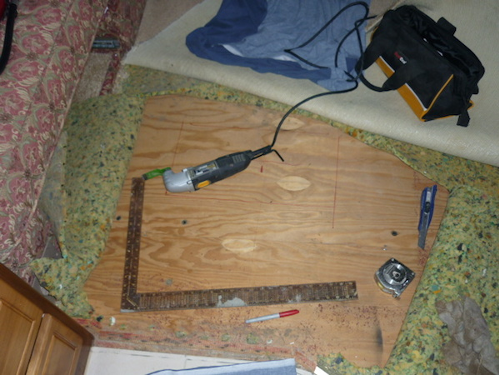
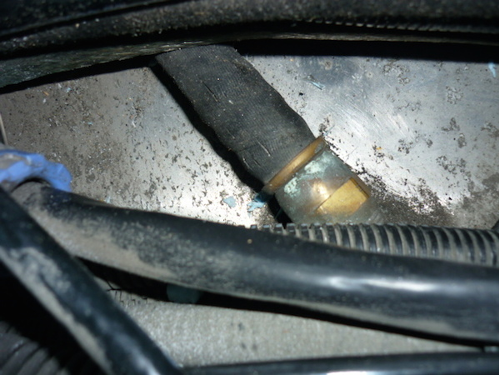
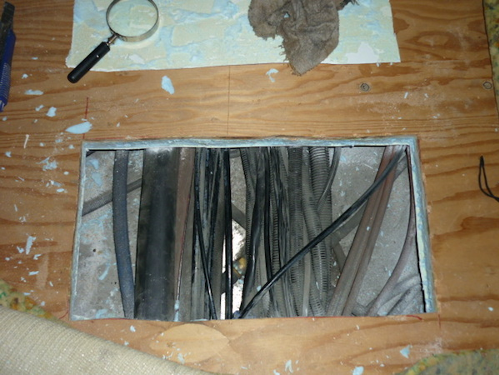
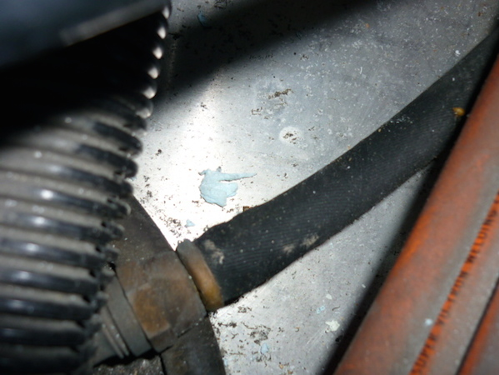
Glad I did it so just the filter location to check out now another day. The one thing as I said is to be careful when cutting through the fiberglass sheet as you should NOT allow the blade to go past the underside of this sheet or you maybe fixing some cut airlines. The other safer way would be to take tank end panel off and put a piece of wood along the top of the tank and pry lightly on cables pipes etc to push away from this sheet. The silicone tape looks good and tight so I doubt any air is going to get in there if cracks should open up.
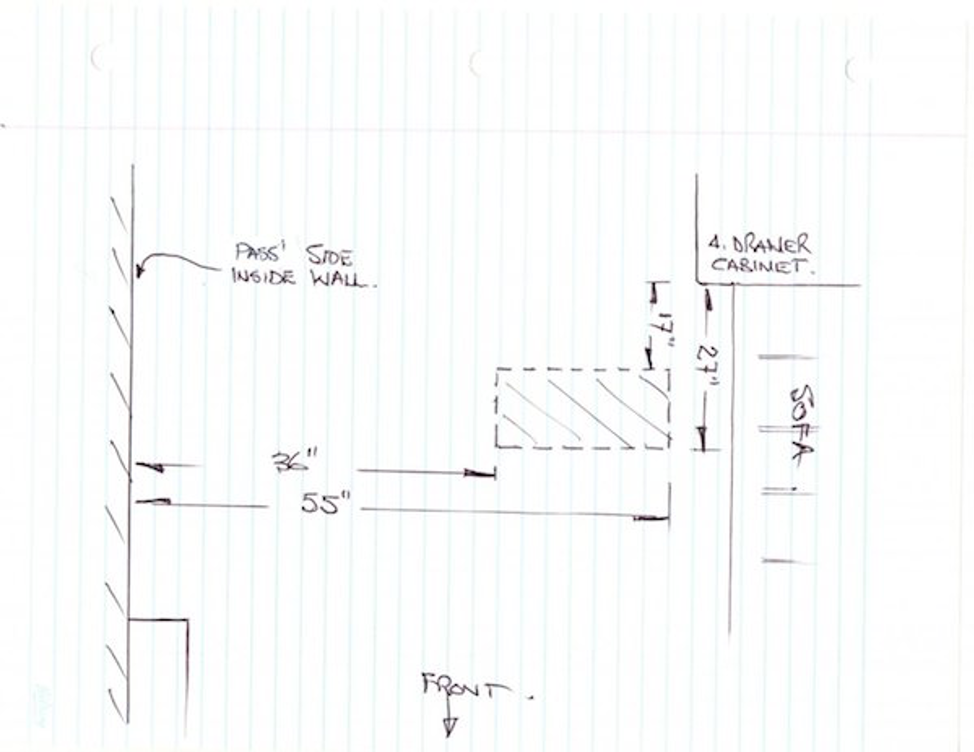
YouTube Video on replacing Generator Fuel Lines by Greg Jones 1995 280 Se
In our 97 U295, the 10KW Generator (860hrs) had problems starting and continuing to run. It might start and then die, like running out of fuel. We had the generator serviced by Peterson CAT, in Eugene, OR and they found the main fuel line was sucking air and the return line has just started leaking fuel.
When making the hose replacement it was found both lines had experienced severe cracking at the bends where they go into the generator box. Also, it was found the return line was cracking at the fitting on top of the fuel tank. This line experiences heated fuel of over 100 degrees and felt it best to change it out before leaking started on top of the tank, in the future!!! (Note: it was contemplated not to replace the return line from the tank, but cracks to severe.)
The fuel lines are Aeroquip with numbers; “700/2556-6 rated 300 psi 21bar MSHA IC-84/15 0296 FCP078697”. The only crimped-on fittings are at the tank with the other end both pressed on with “water hose” screw-type clamps.
The cost for the replacement of the hoses was $168.11 parts (19ft of hose w/ swedged couplings and labor of $824.00 = $1019.35
Why labor so high? The techs were not familiar with the installation and there is no specific “how-to” instructions readily available. We did not remove the tank as the fuel return line was accessible with great effort, but the main was splice in the back of the generator.
I RECOMMEND ALL FT OWNERS WITH POWERTEC GENERATORS CHECK YOUR INSTALLATION ACCORDINGLY. Roger Domen19 97 U295 11/2006
If your diesel fuel lines are more than ten years old, you may wish to take special care to inspect them for cracks, leaks, and seeps.
D’oh! The generator kept failing to run. Diagnosis at FOT was “bad fuel lines.” Today Alton and crew replaced all the diesel fuel lines for the generator and the C-8.3. They pulled the 149-gallon fuel tank, replaced fittings with appropriate compression fittings, and replaced all the lines with new style lines.
They showed me, the seeping fittings and cracking lines. They told me I was probably fortunate that I did not have a failure of the “big” engine because of air in the fuel lines. They are replacing lots of fuel lines on coaches that were built around 1997.
They drained the tank and then put the fuel back (mostly). Yes, they had to get the tank out in order to properly put in new fittings and attach the new hoses. It was a bit of a challenge to prime the system after installation because the fuel level was so low. One guy put air pressure on the tank, one operating the manual prime pump, one was cracking injector lines, and one was turning the key and operating the accelerator. They also used an additional battery to crank the engine faster. It appears that priming is much easier with a full tank of fuel!
FOT uses some kind of “plastic.” On the invoice, it is listed as “FUEL LINE, HTFL-8B-B” and a couple of other sizes of the same stuff. It is definitely not a rubber. There is one “50-inch FUEL HOSE” that does appear to be rubber with crimped fittings on each end. I think it runs from the primary fuel filter to the secondary fuel filter. Our engine is C-8.3. Other engines are likely to use a different filter arrangement.
If you look carefully at the pictures of the fuel tank that I posted earlier in this thread, you can see some of the fuel lines. It is the brown tubing. Some are curled up on the floor, and some are hanging near to the edge of the opening in the side of the coach. They used several new brass fittings. The new plastic hoses are attached with compression fittings
They reported that an owner of a coach of similar vintage came in for service recently. The engine died before he got into a parking spot. The engine would not start again because of the volume of air invading the fuel lines. They pushed the coach about Camp Foretravel and into the shop with a specially rigged forklift. That’s a much better deal than requiring a tow at the side of the road.
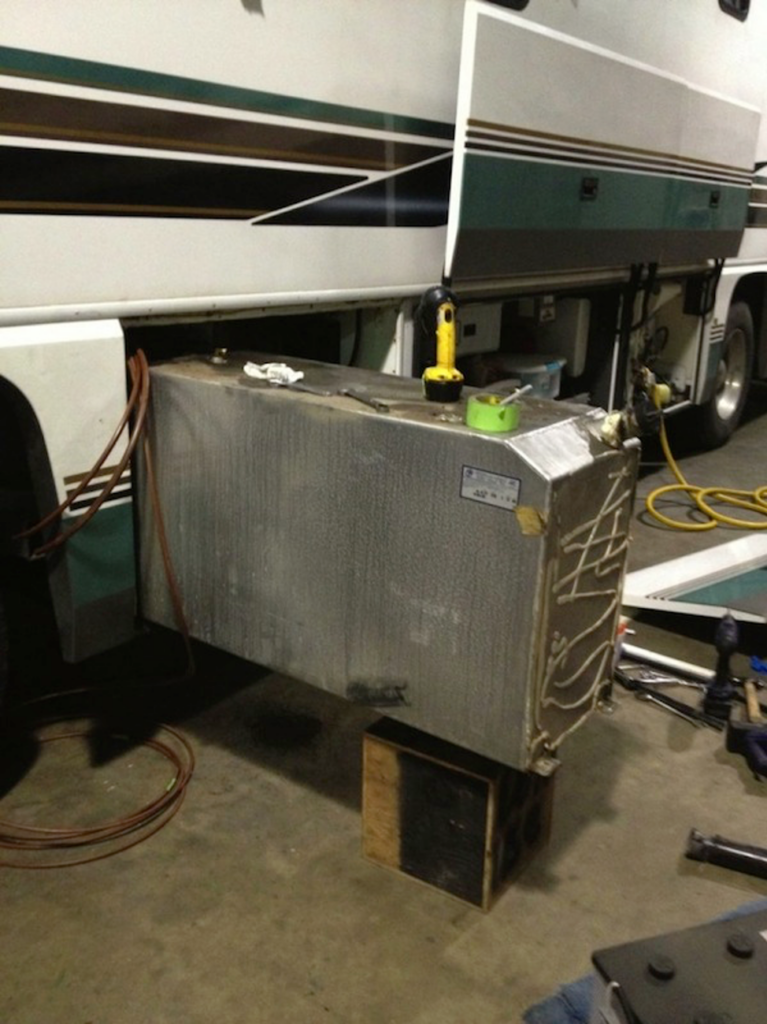
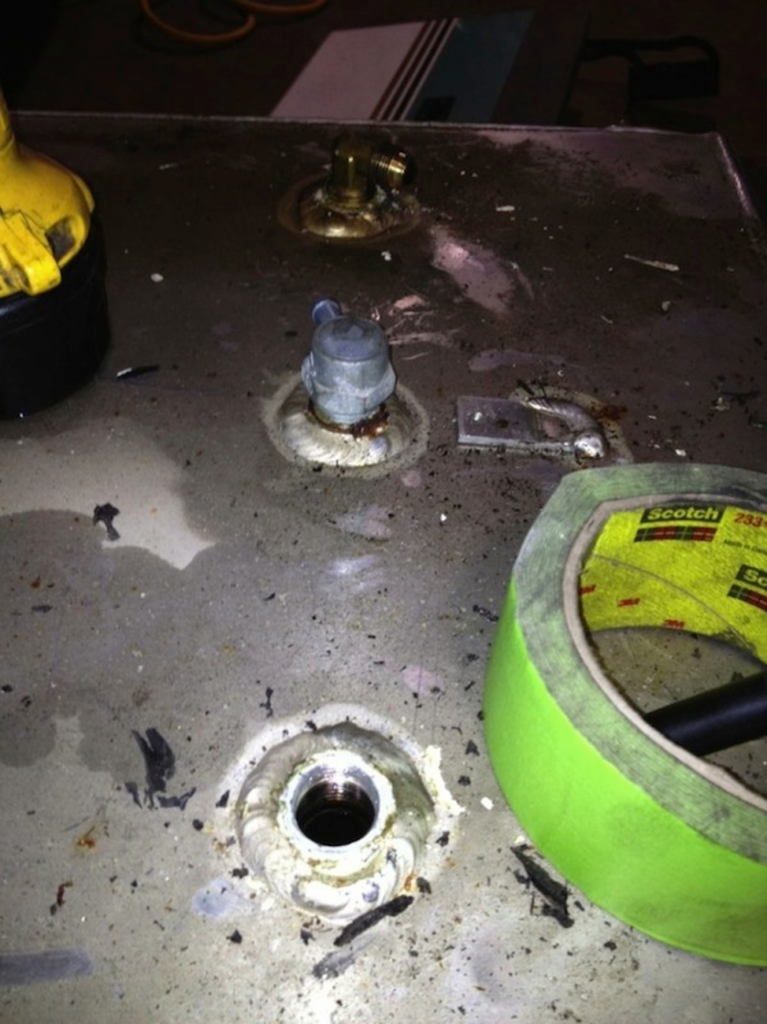
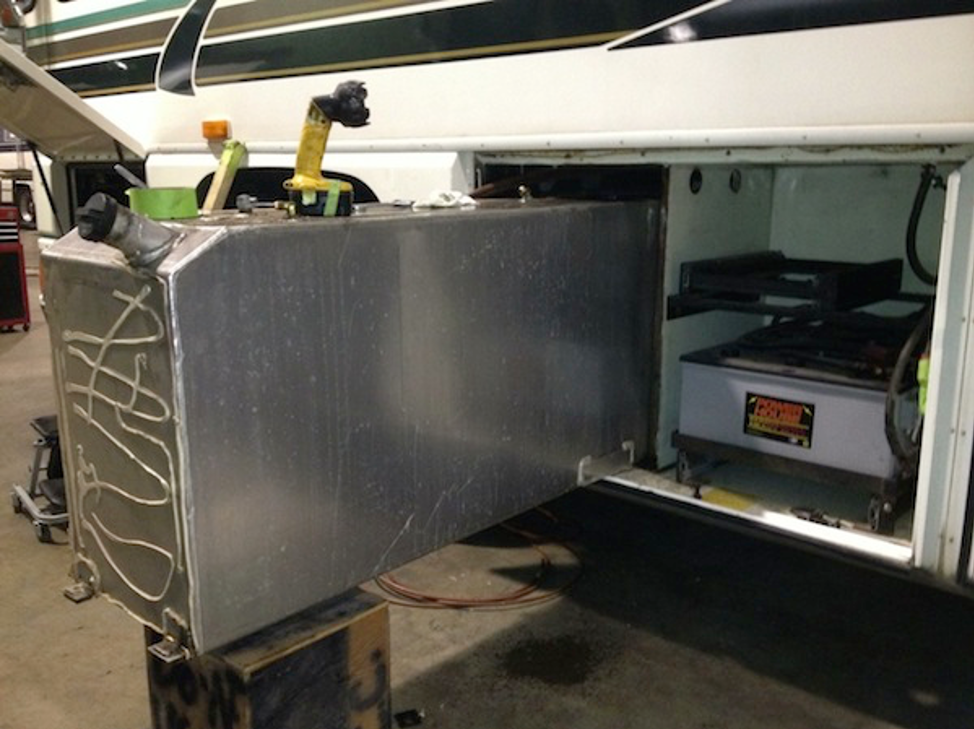
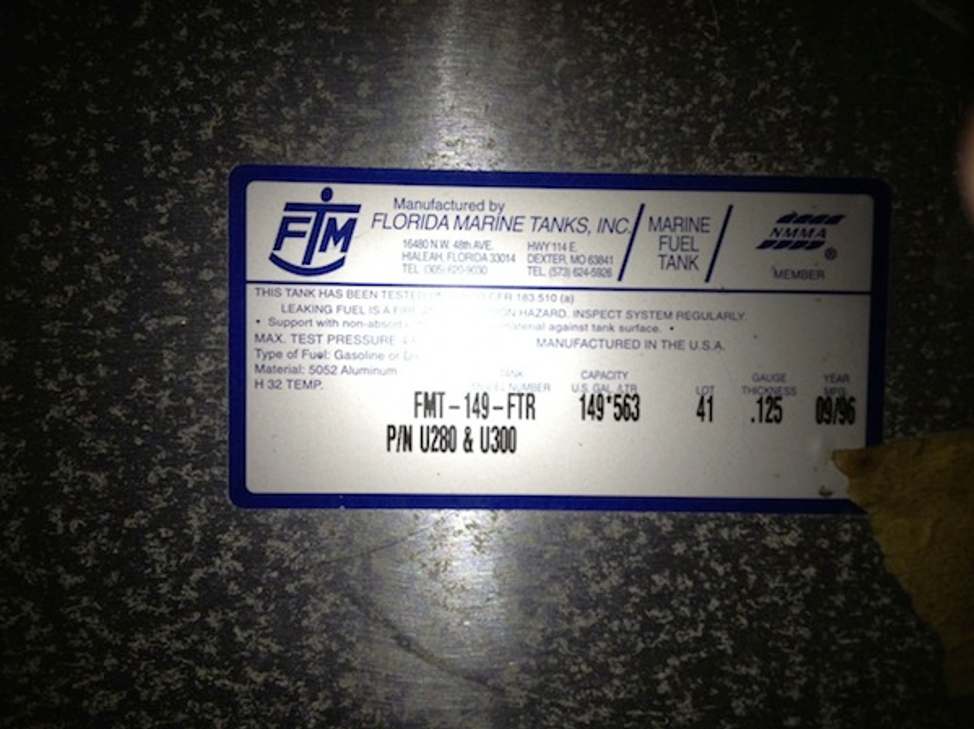
J D Stevens 1997 U295 36′
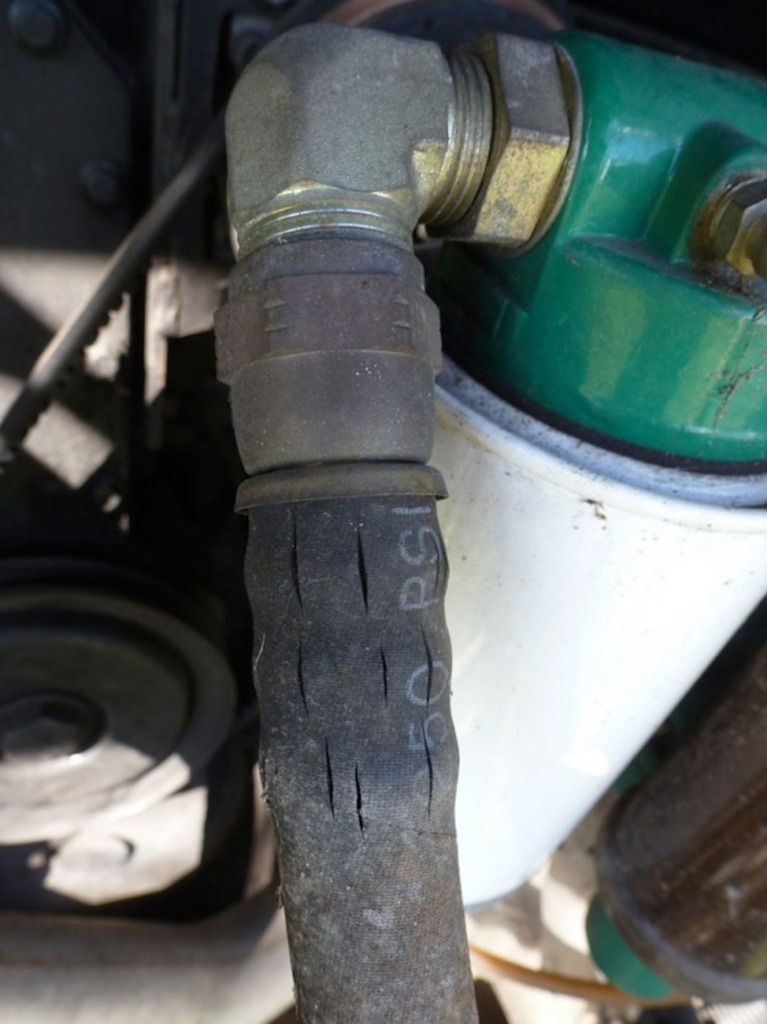
Fuel Line Cracking
I did quite a bit of research on this before getting my fuel lines and here is the best descriptions I found.
Technical Article Number One- The Cummins Lift Pump
Technical Article Number Two – The Diesel Fuel System and Inlet Line
This site has some other interesting articles and descriptions of how they do things. Good reading anyway.
I ended up using Trident 365 A1-15 for my lines since I couldn’t find anyone willing to sell less than full reel quantities to me and I could get it in 50′ boxes for about $2 afoot. The HTFL line can be had for around $2 per foot if you buy a whole reel and are willing to special order it. Foretravel was willing to ship whatever quantities I wanted but were charging over $6 afoot for the larger lines. The HTFL line seems like the best way to do it though. Robert 1998 34′ U270 C8.3
