Doing the airbags and shock change out brought me to the point of addressing something that has been bugging me ever since we first looked at our coach at the dealership. I am talking about the rotten first step issue which I noticed the first time I stepped inside the coach, so I knew that this was an issue going in. However, I never thought it would take me this long to get around to it. However, the bulkhead issues and a few other things got in the way.
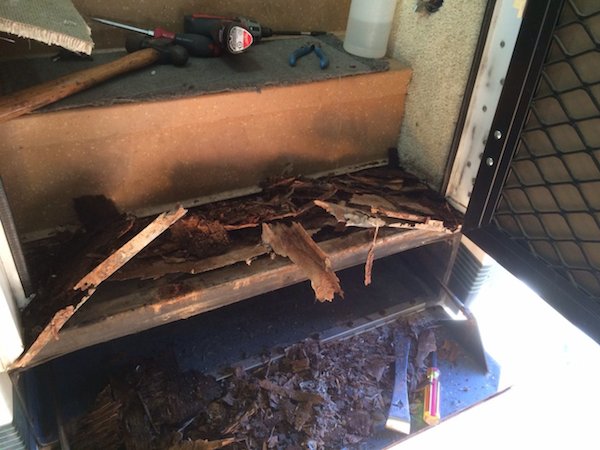
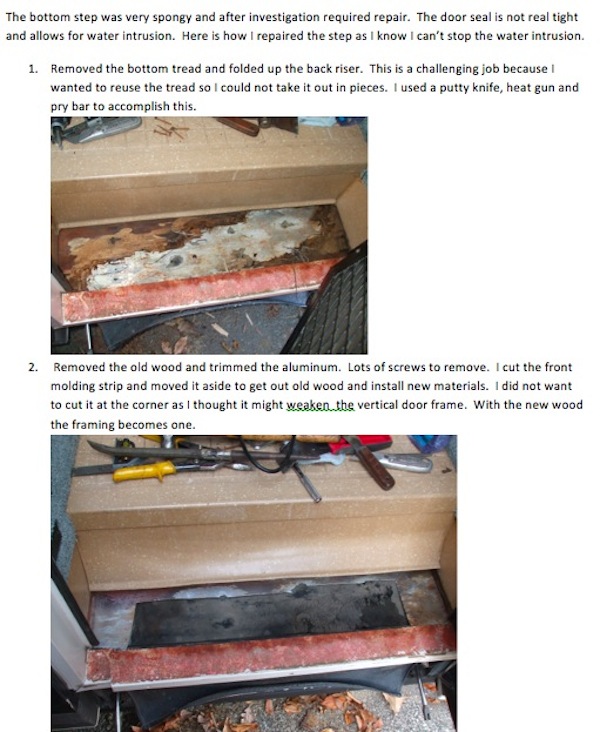
Anyway, while having the front passenger wheel off, I couldn’t overlook that problem anymore. The plywood underneath was completely rotted out and the damage extended to the bottom of the vertical sections of plywood on either side.
I believe the issue here was a poor seal at the bottom of the door and runoff from the air-conditioners and condensation etc. working its way into the wood. The real Achilles’ heel of the construction of the 1st step in our coach is the insulation underneath the bottom step. Isn’t sealed on the sides in front of the wheel or behind the headlight and the insulation itself is fairly porous and holds on to water. When I scraped the gooey insulation out, it was soaking wet.
Rest assured when it is all said and done, I will make sure the area is sealed and use insulation that is nonpermeable to boot.
Make no mistake, this is not a project for the faint of heart, at least how I am approaching it. I think the wood damage was probably worse on our coach than most. I doubt that addressing it as soon as we got it home from the dealer would have made a substantial difference in the scope of the project.
I chose to use Starboard as a replacement for the plywood as it is impervious to water and is even available with an anti-texture on one side. I first heard of Starboard marine board from Tim F. from the forum when he graciously gave me his phone number while I was inspecting the coach (thanks Tim!). He had his coach repaired at MOT using the stuff.
It is fairly involved to describe the steps I took to arrive at what I think is an optimal solution.
Here are some pictures of the process starting with the demo of the bottom step. I am still in the process and will post more as time permits.
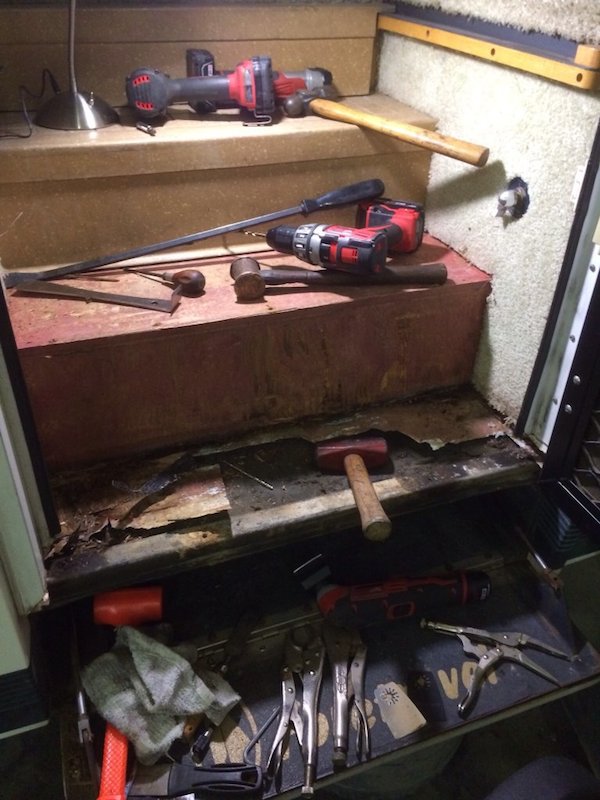
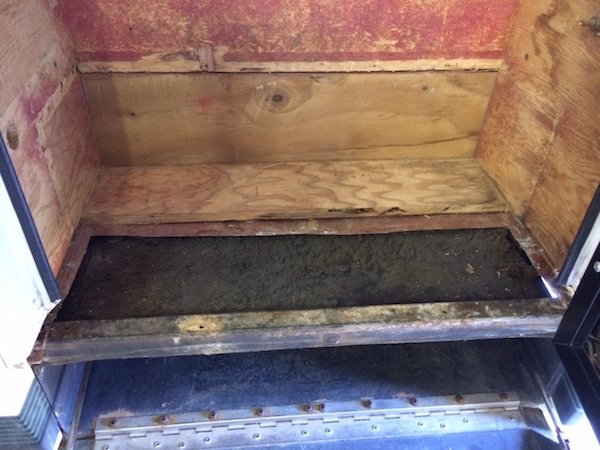
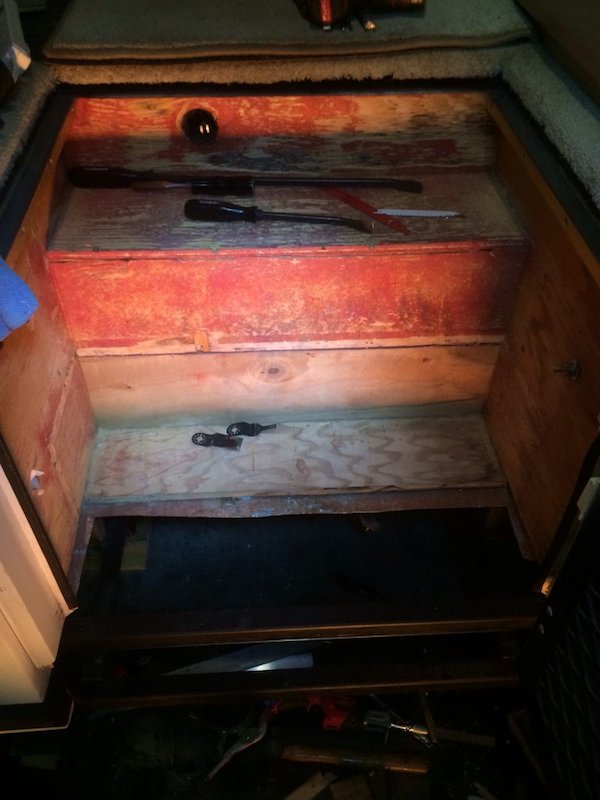
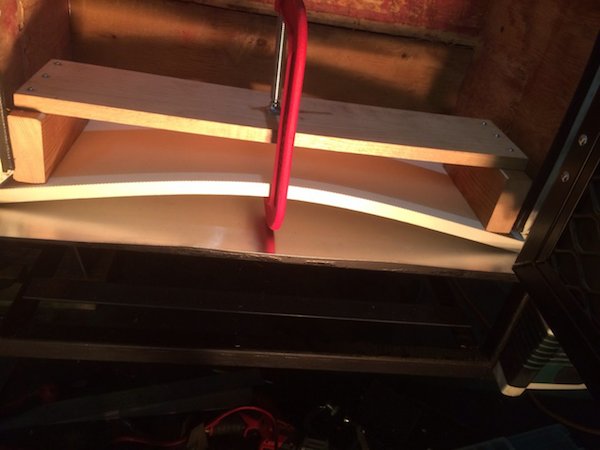
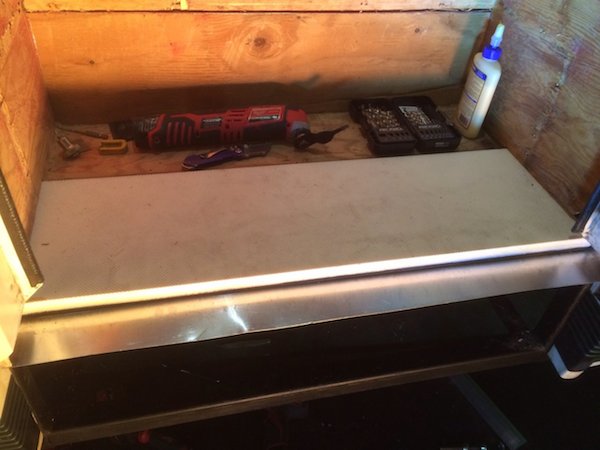
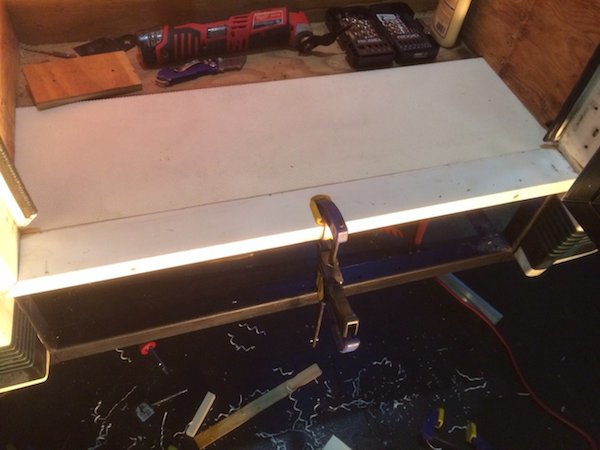
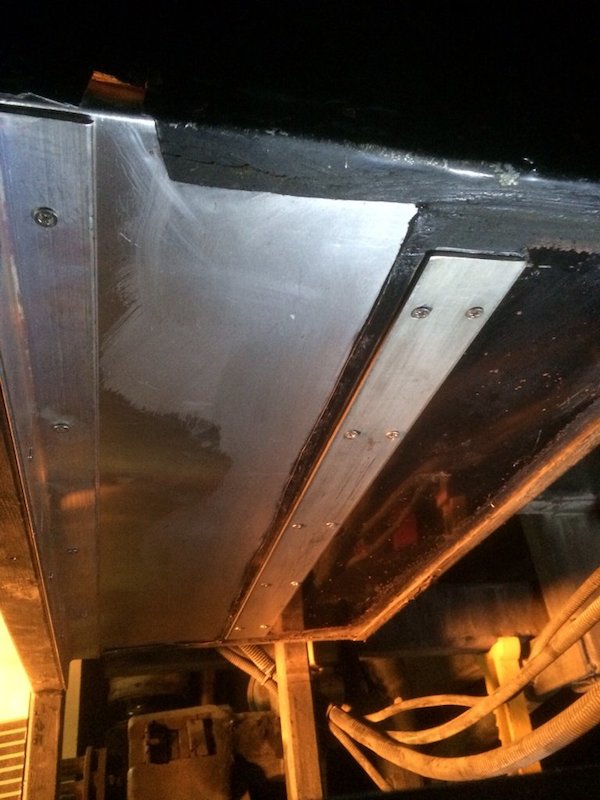
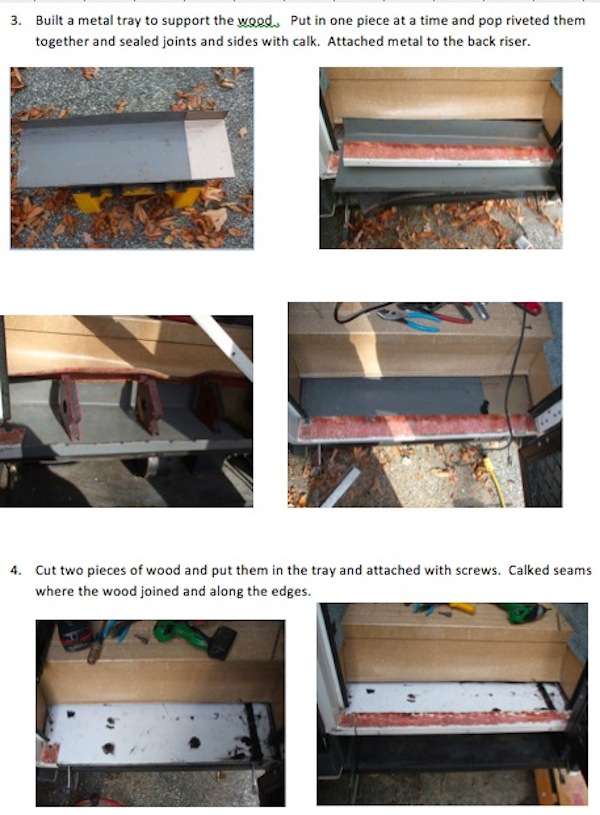
I wanted to get rid of the vinyl treads (because they cover up problems just like the black ribbed rubber on the wet bay floor), so for me, the Starbord is ideal because it doesn’t need to be covered. At three-quarter inches thick, it is plenty strong enough for this span and I have it supported all the way around the perimeter. I have added a picture from underneath that shows the stainless flat bar added underneath at the plywood / Starboard joint and the angle aluminum screwed to the frame under the front edge. The Starboard is in two sections offset top to bottom so that it is flush with the trim inside the coach.
As is obvious from the pictures, I still need to trim the sides of the stepwell and for now, I’m just going to use some ceiling carpet material. I’m not happy with the idea of a wet step design, but at least I know that the material that I used won’t rot. When I get some time, I’m going to figure out something to seal the bottom of the door when it is shut. I added a secret compartment No hinge, just a friction fit and fit it does! I still need to reinsulate the outside of the compartment, but I added some dynamat under the top step on the aluminum flashing. I will add more underneath as well as an inch of Polyurethane foam and a 1/2″ of some other stuff.
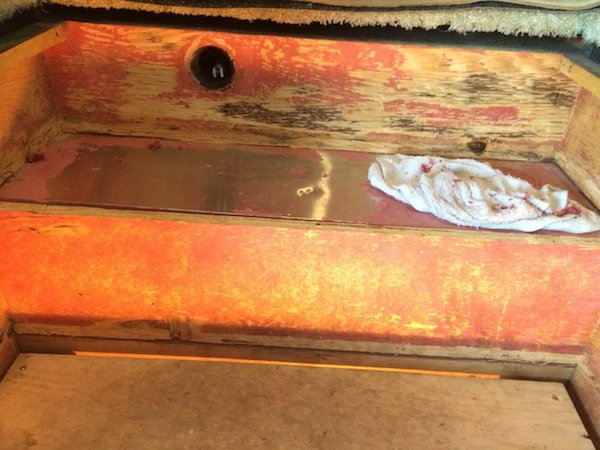
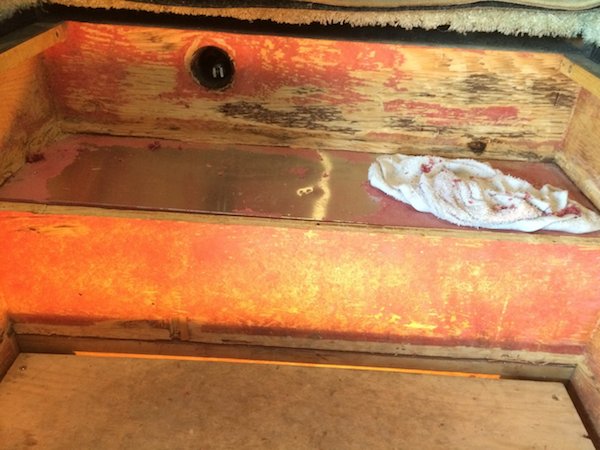
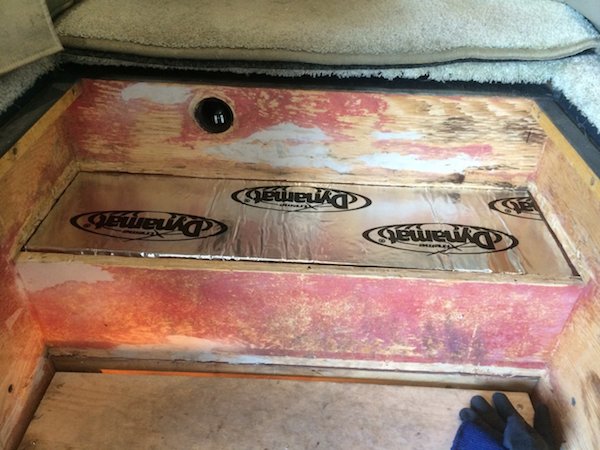
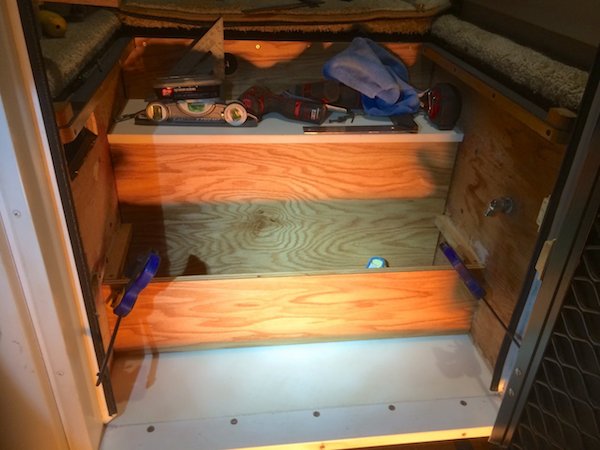
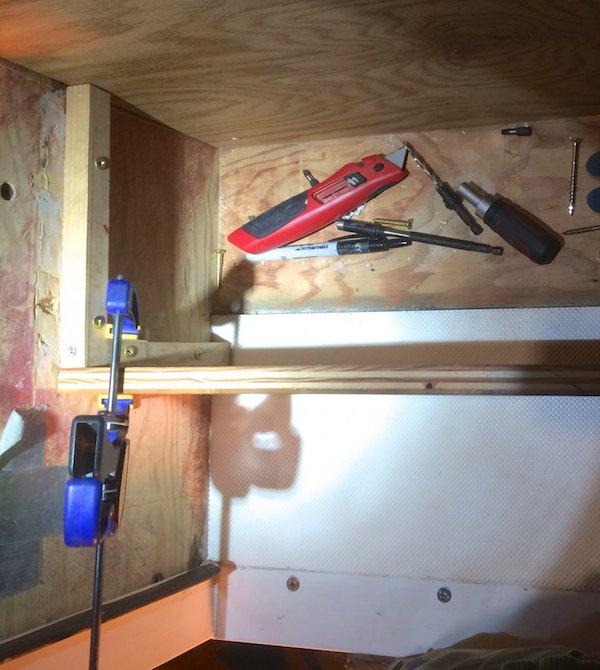
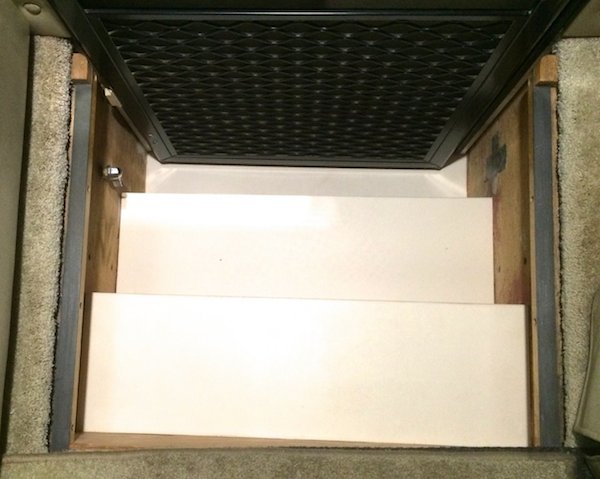
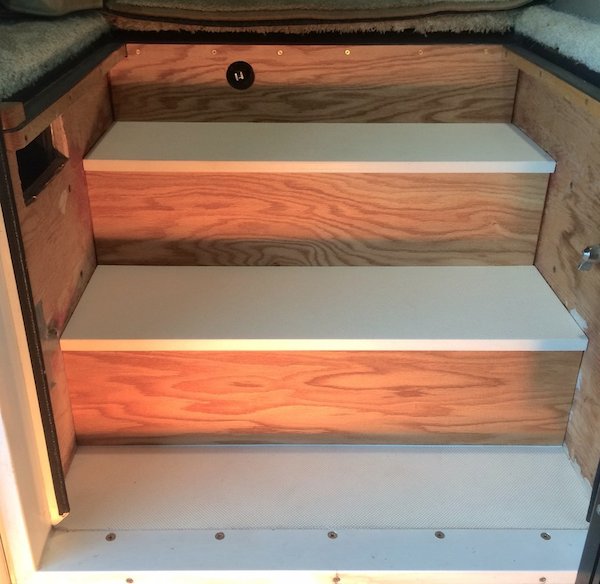
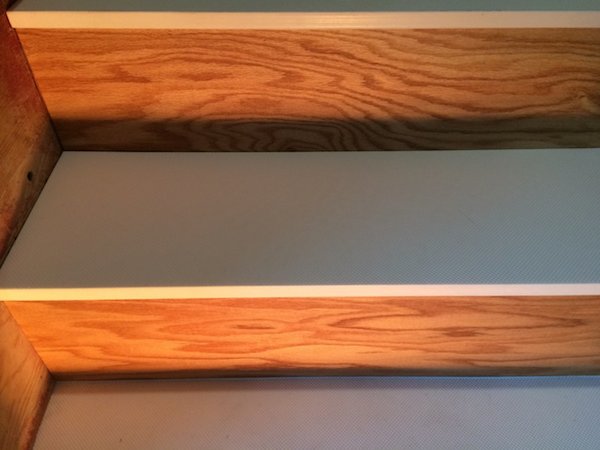
I did want to mention that I used JB Weld quick wood for filling in some voids left by the rotten bottom front edge of the vertical sides of the step compartment behind the door frame. The stuff is expensive but is amazing to work with for feeling small to medium voids. Once you get it pliable you can really compress it into a void and it forms to the shape of the void and dries very hard and strong. It also holds screws well, though all it’s doing in my case, is taking up space.
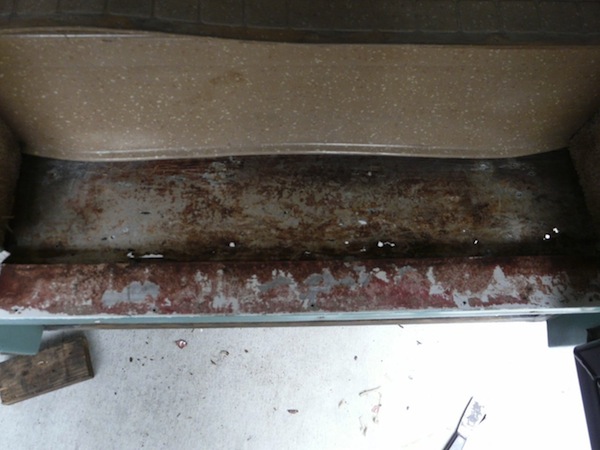
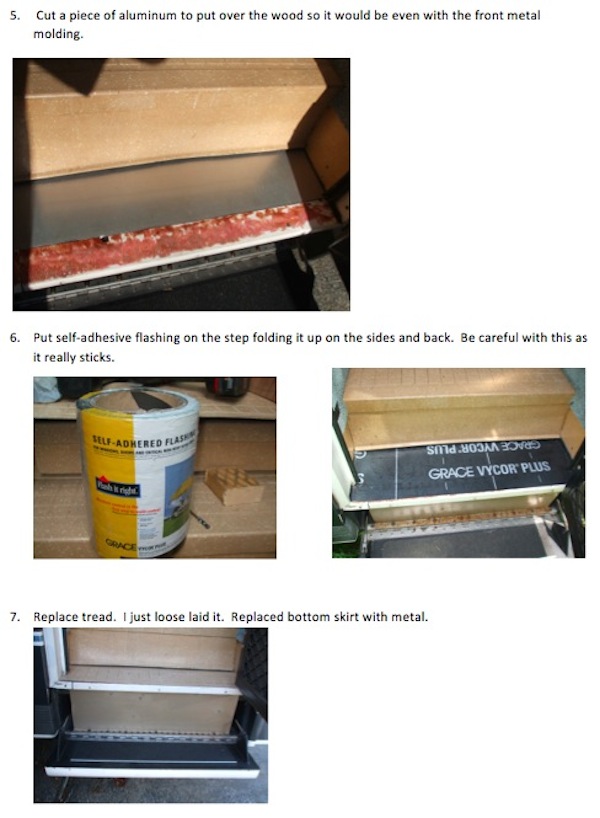
Well, I completed my step replacement today. I also received my rubber step tread from Foretravel today. I put a 30×15 piece of three quarter inch pressure treated plywood up under the step box and screwed it in from the bottom. I put some tar between it and the sheet metal covering because of the holes in it.
I then cut a small piece of plywood and tapped it into the door threshold. There is no way to slip a solid piece up under the threshold. I tried to center the seam over the square tubing support. I also cut a few smaller pieces to tap into the left and right on the step-up under the carpeted walls of the step box.
Then I carefully measured and cut a piece to fit between those to cover the step. I screwed it into place through the sheeting into the plywood I put under the step. I turned out extremely rigid and strong. I carefully cut the tread to fit perfectly using the old as a template. All I need to do now is find the right adhesive to glue down the tread and the riser cover. Here are a few pictures of the work.
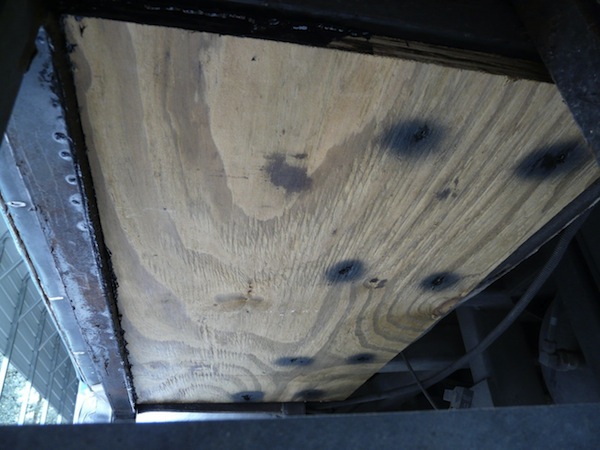
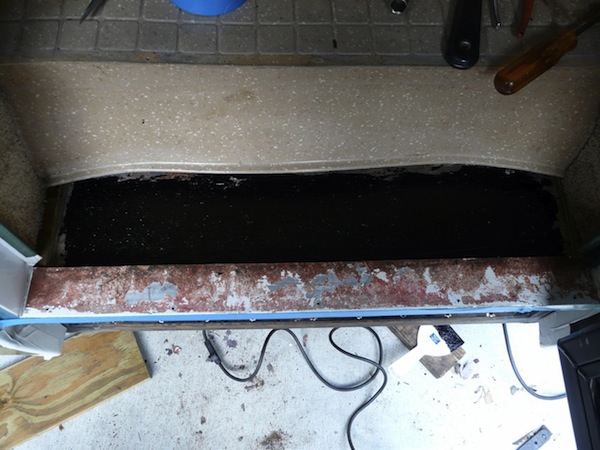
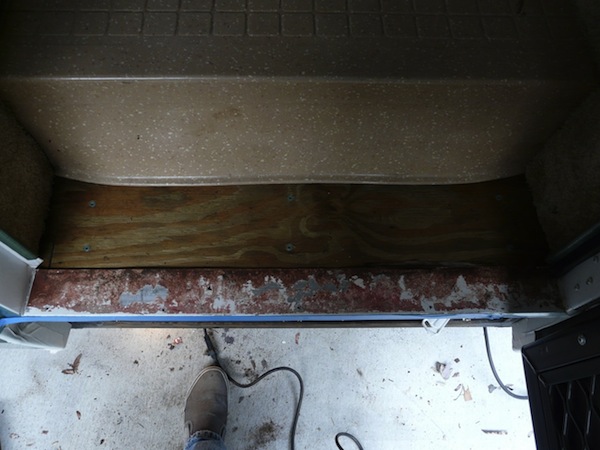
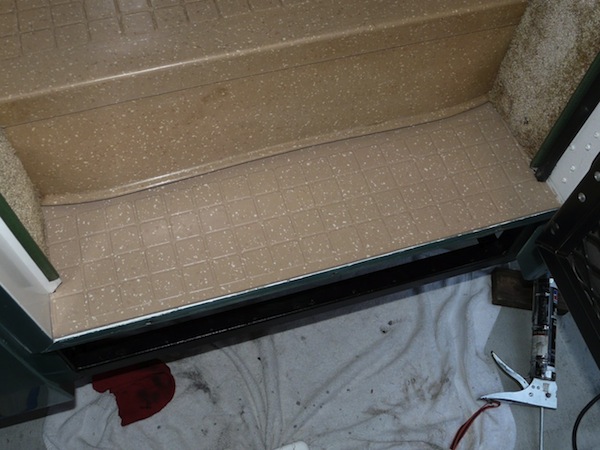
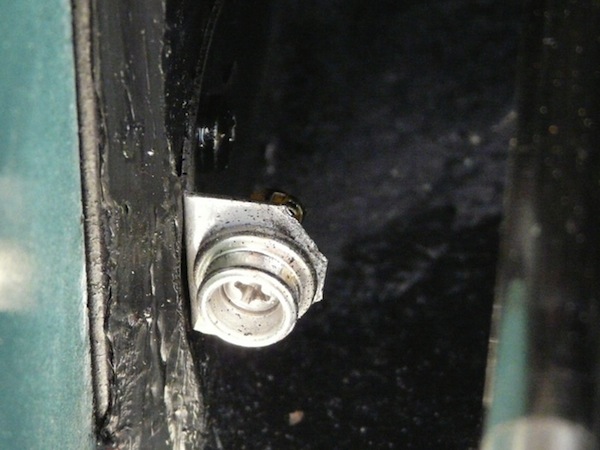
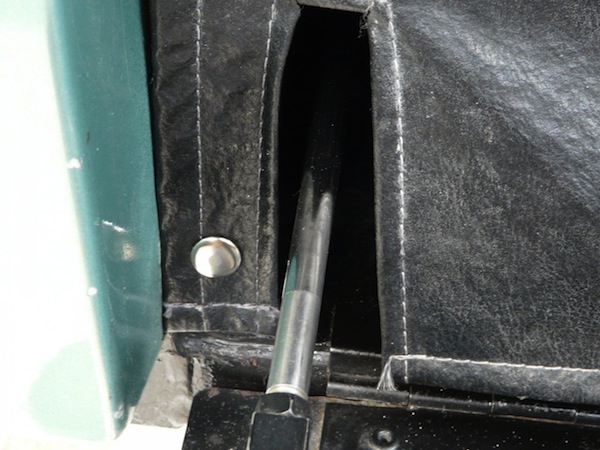
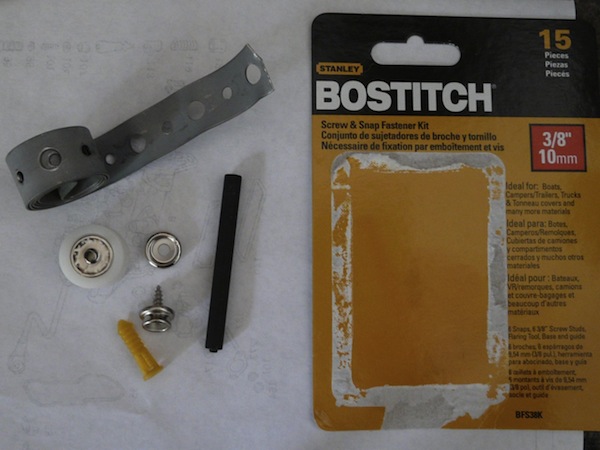
Put the folding bottom step back in today and I did one mod that I have been wanting to do for a long time. It has always bugged me how the vinyl cover ends go all over the place. I put a couple of snaps in to hold them in place. Snap kit was around four dollars at Lowes. The screws were already there in the stepwell. All I had to do is attach the snaps and presto, no more aggravation.
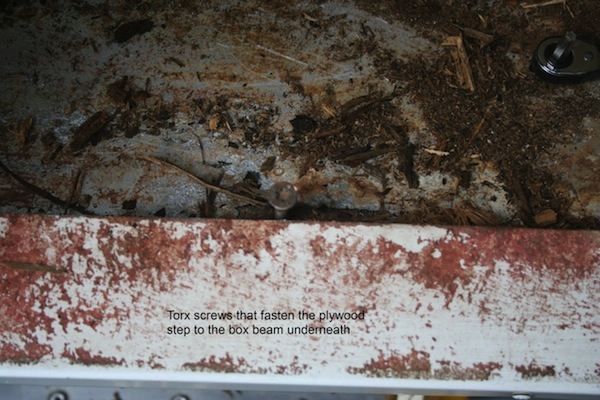
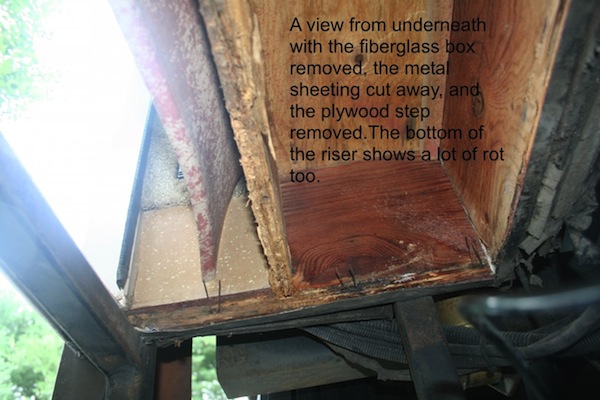
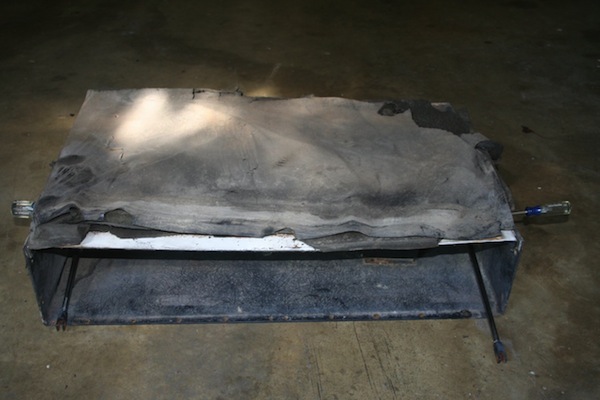
I just replaced my entry step as water had gotten under the non-skid and rotted the plywood underneath. The horizontal step was rotted as was the first part of the riser so I had to replace both. I removed the vinyl to expose the rotted plywood. The step is screwed into a box beam beneath the step, screwed to the riser, screwed to the threshold, stapled from the plywood sides and screwed to a vertical piece at the back. Underneath the plywood is some thin metal sheeting. I found the sheeting corroded through in a few spots. Below the sheeting is the fiberglass box with the drop-down door pistons with some insulation on top.
I found it easier to get at everything from underneath so I removed the fiberglass box, cut our metal sheet and then the horizontal step and riser. I replaced the riser with exterior plywood coated in epoxy and the step with a piece of HDPE. Underneath the HDPE I added a new piece of 3/4″ plywood that rests on a piece of angle iron attached to the box beam and then screwed to the riser, the HDPE, and other pieces of the step assembly. Finally, I sprayed the bottom with undercoating and reinstalled the vinyl non-skid.
The non-skid joints should be sealed to prevent water from seeping underneath in the future.
Since I had the entry door seal replaced a year ago, I have not seen any water on the entry step.
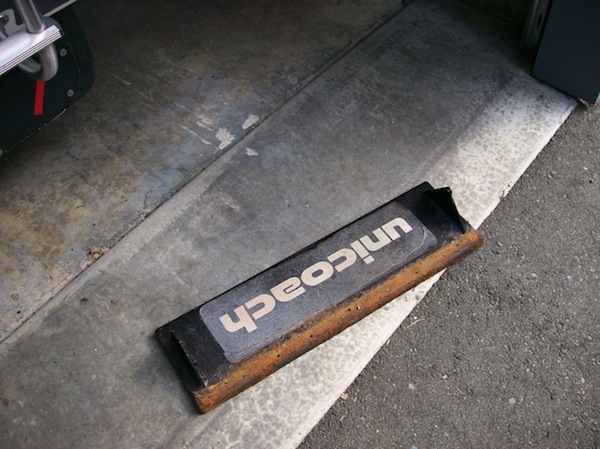
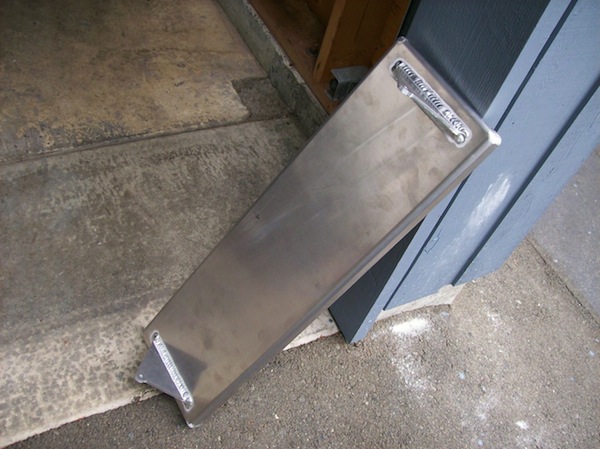
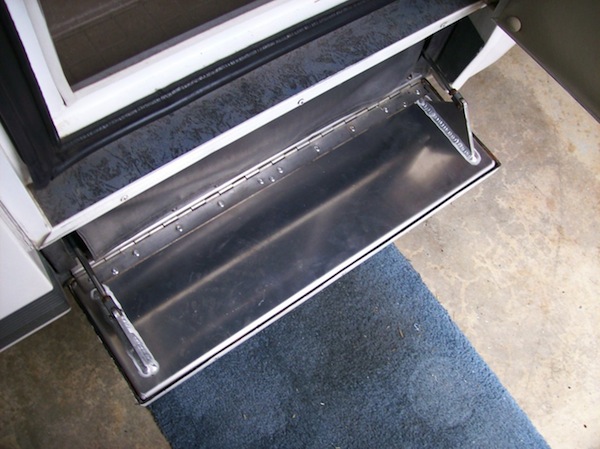
I replaced the rusty entry step with a nice shiny new aluminum step.
I took the rusty old step to a place near me that makes all things aluminum and asked them to make me one out of 3/16 aluminum, the triangle pieces are 1/4in. I had two made cost $154.00 cdn. each. Now I just need to add some non-skid.
