by Barry and Cindy 1997 U270 36′
Inside our shower, the top white flat piece of plastic cracked and the outside smoked dome was damaged, so they both needed to be replaced. Temporary repairs with packing tape inside and silicone outside gave us plenty of time to figure out how to replace these parts.
ORIGINAL SKYLIGHT
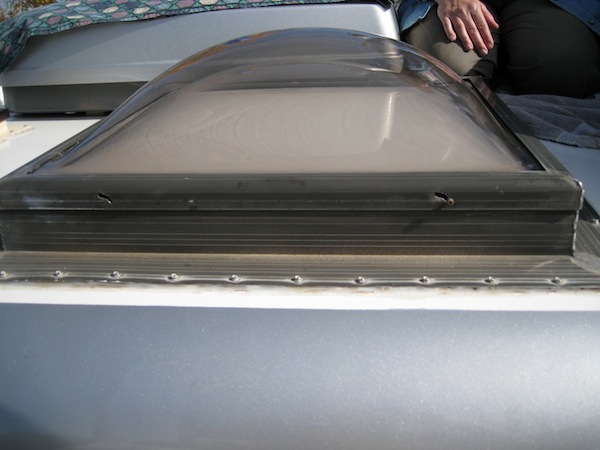
Our original Foretravel skylight base attached to the roof should not be removed or replaced. It has a perfect bottom flange that seals the base to the roof (S01, S02, S10). The base is over 1-1/4” thick and has a removable top metal cover that protects the edges of the plastic parts. The cover is held in place with multiple very short screws that fit into a well-designed weather-protected gap all around the top of the base.
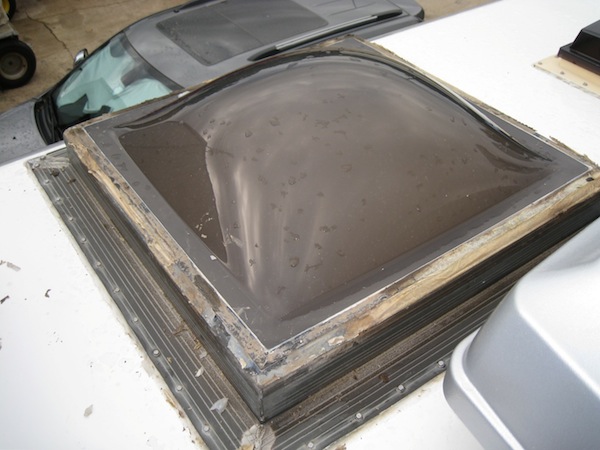
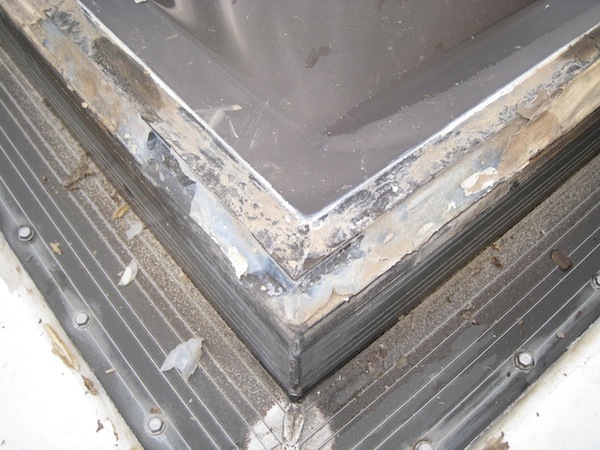
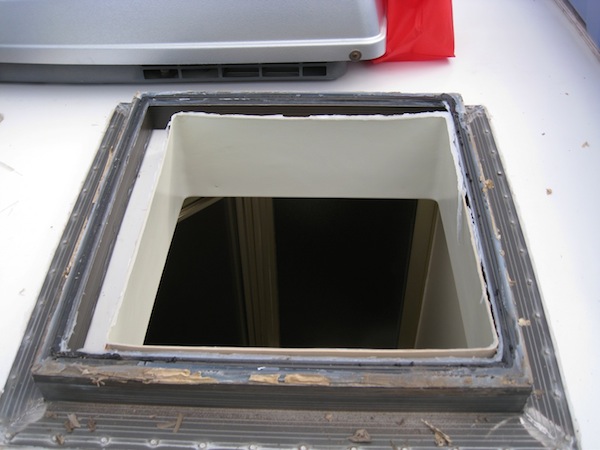
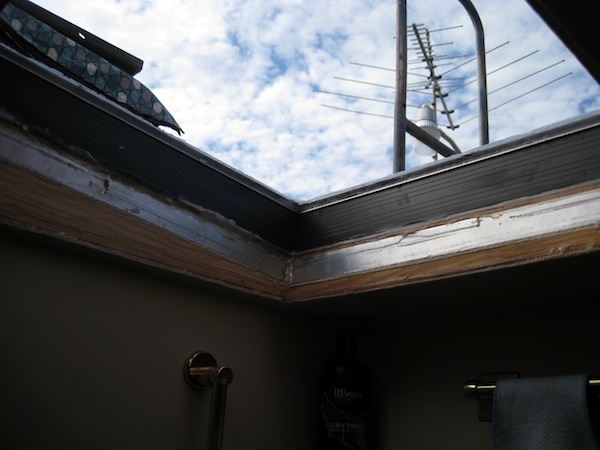
Only the top pieces of plastic need to be replaced and most likely, replacement bases will probably not be as well-engineered. Keeping the original base in place also makes sure the inside trim can be reused as is (S10).
The original Foretravel flat translucent white plastic panel that we see inside the shower is sealed to the top of the base (S12). And the plastic outside the dome is sealed to the top of the white translucent panel with the cover finishing the job.
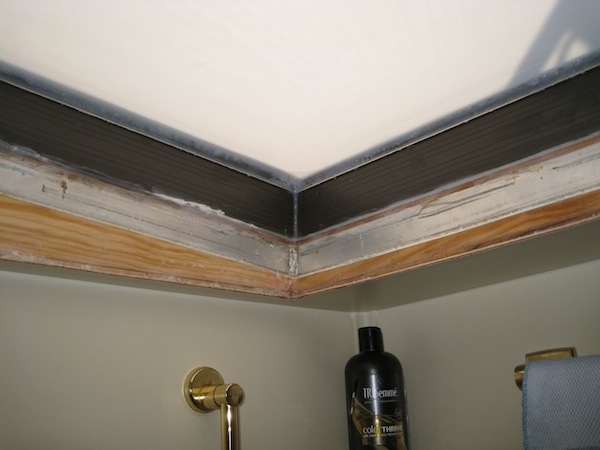
Our square metal base measures 24-7/8.. Our square plastic white flat and plastic dome measure 23-3/4”.
Replacement Skylight Domes
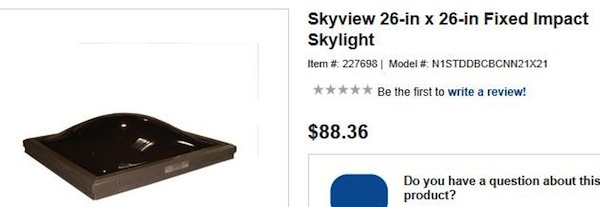
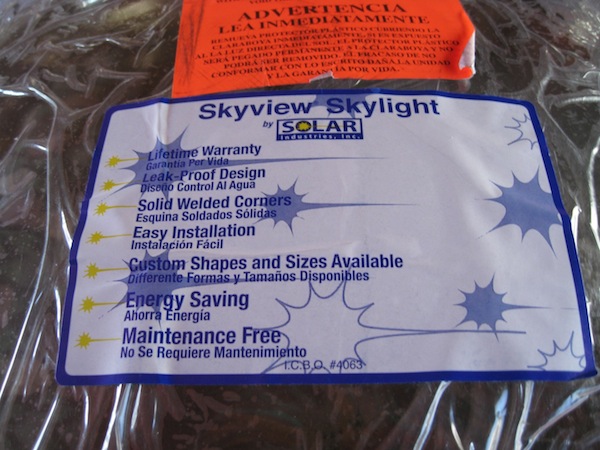
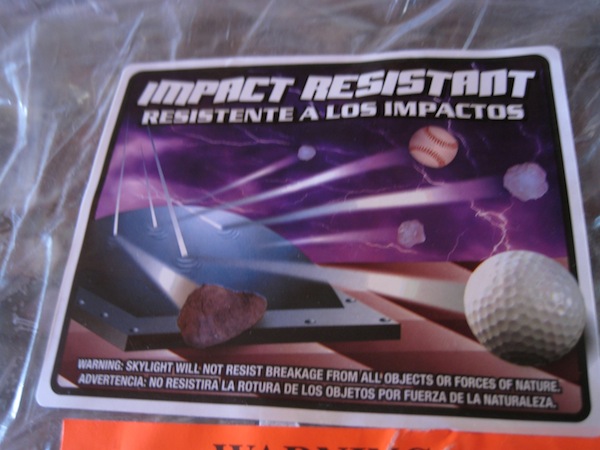
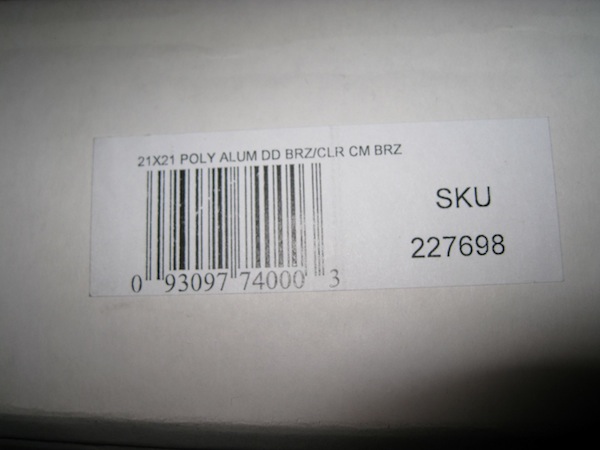
There are many ways to repair skylights and several Forum members offered good ideas. We found that Lowe’s has a skylight with a removable smoked plastic dual-dome that fits our base. Lowe’s part number is 227698 (S03-S05, S17). We only used the plastic dome parts and scrapped the two base parts (S06). Lowe’s skylight did not come with a flat inside the plastic.
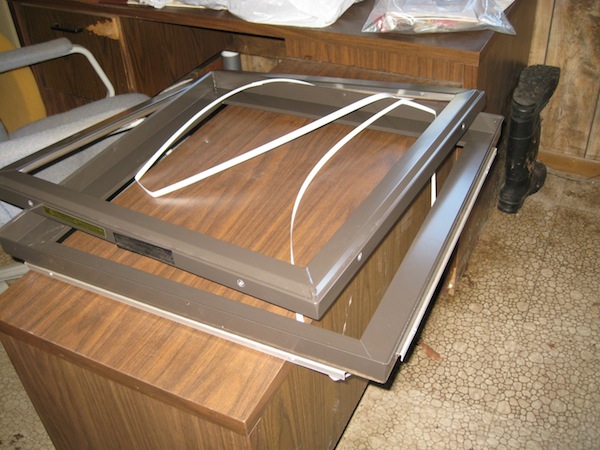
Parts not used
This Lowe’s skylight does not have the best-made base and the domes are not attached with a weather-tight seal, but the dual plastic domes by themselves are just what we need to replace our broken plastic parts.
REPLACEMENT FLAT INSIDE PLEXIGLASS.
Encore RV in Nacogdoches had pre-cut square pieces of 1/8” white translucent Plexiglas that we purchased earlier this year when our shower top piece first cracked.
SEALING DOMES AND FLAT PARTS TOGETHER
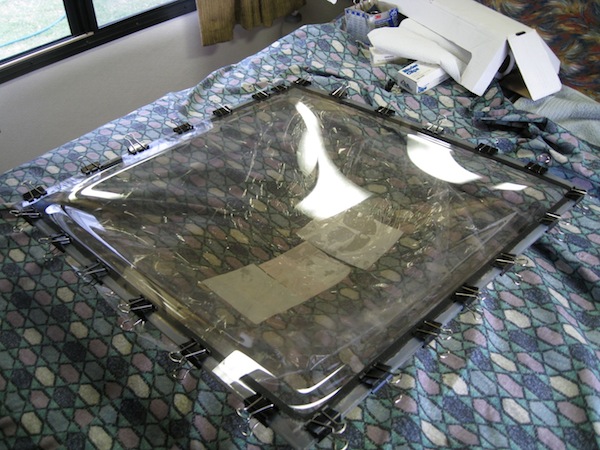
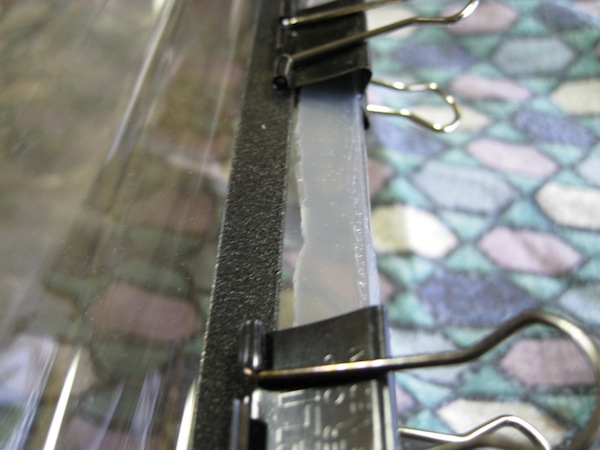
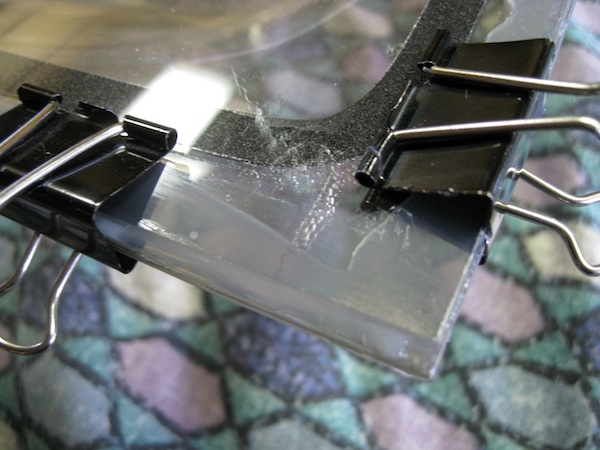
We used denatured alcohol to prepare surfaces and GE Silicone II Supreme Clear to seal all parts together. First, the two plastic domes were made airtight with a perimeter of silicone between the parts. After the silicone cured, we sealed the flat translucent Plexiglas to the bottom of the domes. Medium binder clips held parts together while curing (S07-S09).
SEALING DOME TO ROOF BASE
1. Remove inside shower trim.
2. Remove cover, save 8 screws for re-use.
3. Remove original dome and flat Plexiglas from the top of the frame.
4. Remove all old silicone.
5. Temporarily place new dome & cover on base to determine where to extend cover’s slanted screw holes lower to accommodate new thicker dual-dome.
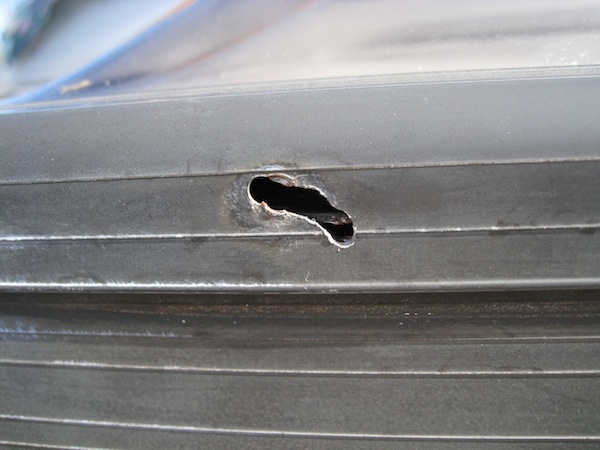
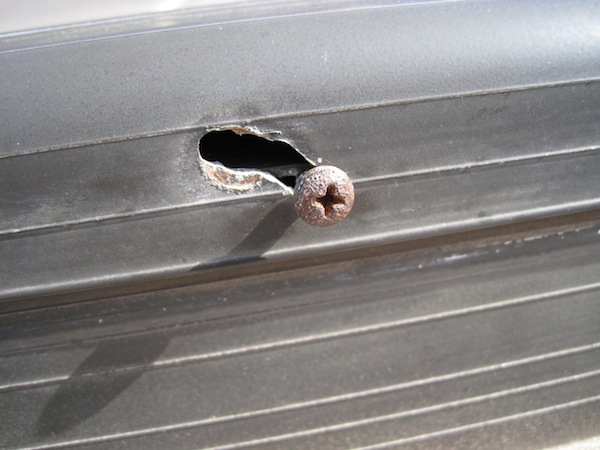
6. File holes lower on a slant so screw does not let cover lift up (S15-S16).
7. Silicone dome to base and hold down with cover & screws until cured.
8. Remove cover and seal the edges of the dome to base with silicone (S13).
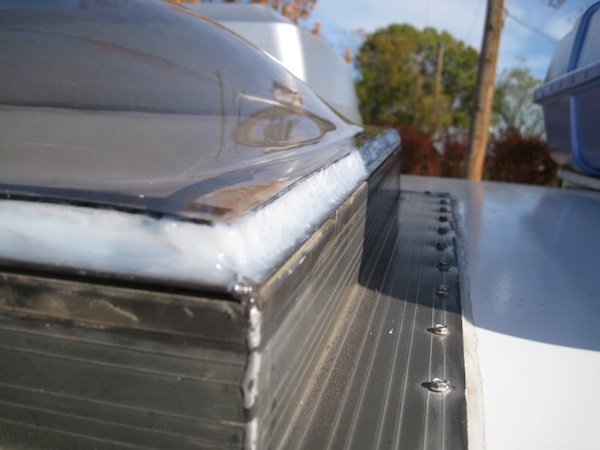
9. To keep cover from being glued on, wait until all is cured before finishing the job by attaching the cover (S14).
