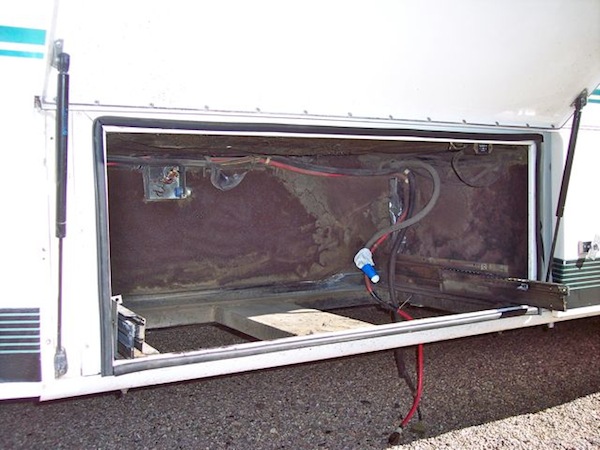
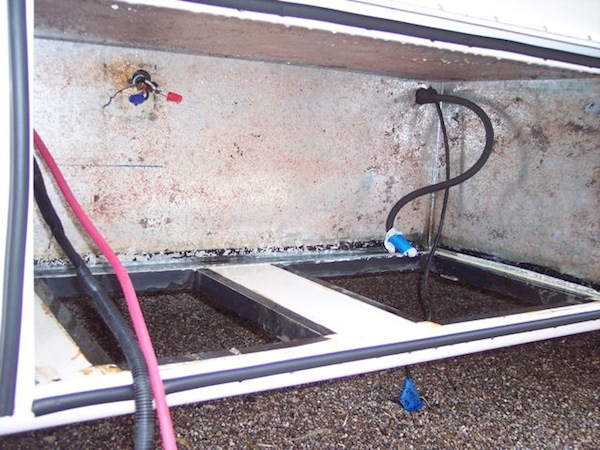
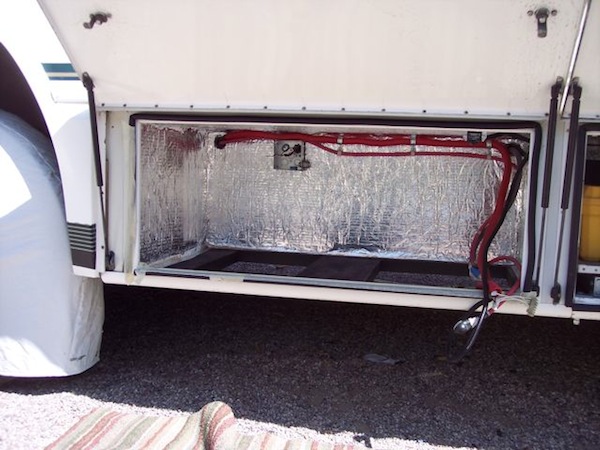
I finally got our generator compartment re-insulated. The compartment had the same insulation as the engine area. The plastic was all gone in both compartments and the original material had deteriorated (desiccated and dusting off).
It was so bad in the engine area that it had plugged up the charged air cooler. When I got the generator covers off I saw the same mess on top of the generator. I have no idea how all the plastic cover in both compartments disappeared.
Anyhow, I used the same stuff on the generator compartment as I used in the engine area. When I started this project the generator would only come halfway out as the right side slider was seized. It fell apart when I took the generator out. (pretty poor design if you ask me) I was able to repair it (Ace even has those little ball bearings!). I took the opportunity to replace plugs and wires and the three filters and change the oil.


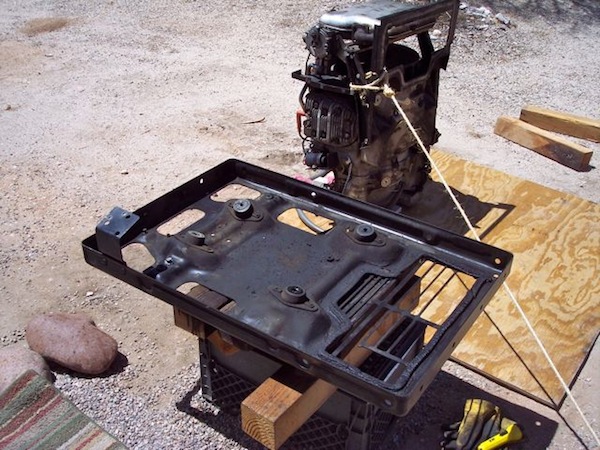
I replaced the insulation two years ago. The job took about two weeks to accomplish because I had to wait for the generator tray to come back from the powder coating shop.
– Four hours to remove the generator.
– One day to remove all of the old material and clean the surfaces.
– Four hours to install new material.
– One day to re-install the generator.
I was able to remove and install my generator using “muscle” as my generator is the small 8.0kw variety.
We are driveway camping at a friend’s house in Prescott, and I just finished pulling the generator (8KW Isuzu) and re-insulating the compartment. As I did with the engine compartment, I used the foil-faced felt material that I got from MOT, and attached it over the old foam with 3M headliner spray adhesive and screws with fender washers for security. Edges were finished with aluminum foil duct tape.
To reduce heat load, I also double-wrapped the exhaust flex pipe and added fiberglass insulation behind the exhaust shield. Also pulled the gen off the base plate and refinished it, but had no time to send out for powder coating, so it’s regular Rustoleum (phosphoric acid prep and primer, of course.)
Ran out of time to do the radiator frame conversion that Mark Z invented, but it’s still on the shortlist. (I verified that I can remove the floor under the gen pan if necessary to get access to the backside of the gen for that mod.)
I verified that with the flexible exhaust disconnected, there is just enough clearance to allow replacement of the rear bearing on the generator (alternator) without pulling the gen again. I was also concerned about brush replacement, but the tech at Power Tech said that my generator (1999 vintage) is brushless.
Not having any friends with forklifts where we are (Prescott AZ) I borrowed an engine hoist (and the owner…), and there was just enough clearance between the hoist boom and the bottom of the generator door, so door removal (an option) wasn’t needed.
It would have been great to be doing this on a concrete slab, but the situation was gravel with plywood on top, and it worked with some effort.
Disconnecting the flex exhaust, ground strap, and 12V cable to the starter was just possible for me squeezing in over the engine, but larger folks might need to remove the compartment floor for access.
The backside of the Generator
Anyhow, all back together and working now.
I included a photo of the backside of the gen since that’s a view that we don’t often get.