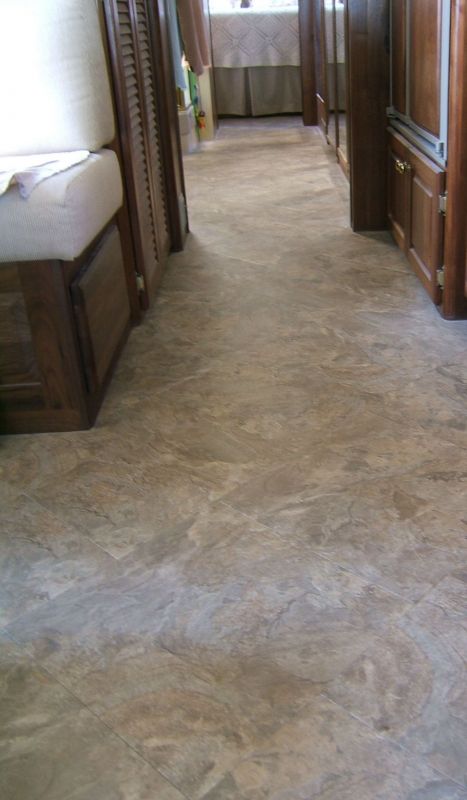
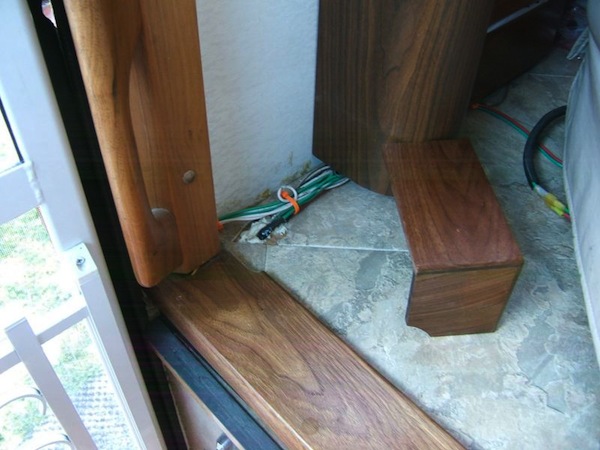
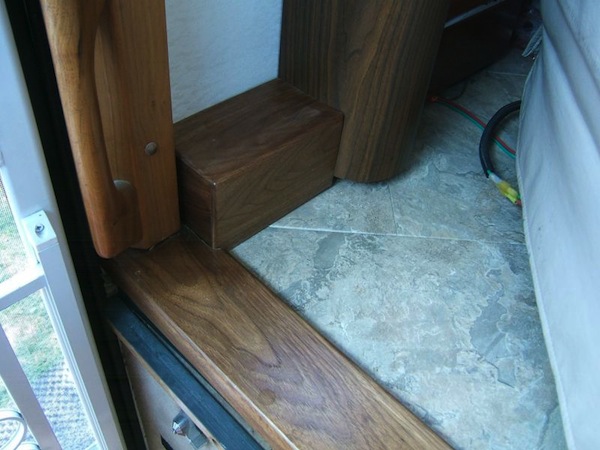
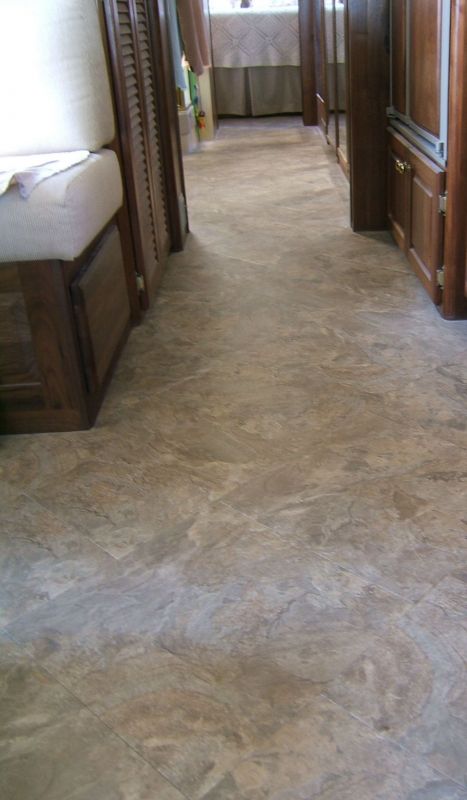
I should have taken pictures while I was working or had better before pictures. The front had oak trim around the top stop with oak strips from the front to the back of the driver /passenger seats.
Furniture was removed. (Driver’s seat was hard because the mount bolts are in front of a cross beam under the coach)
Carpets came up easily.
Galley wooden floor and (after-market?) oak area in front had to be chiseled out a small piece at a time as FOT did a fine job of gluing it to the sub-floor plywood. Some of the sub-floor came up with it leaving chunky holes and divots.
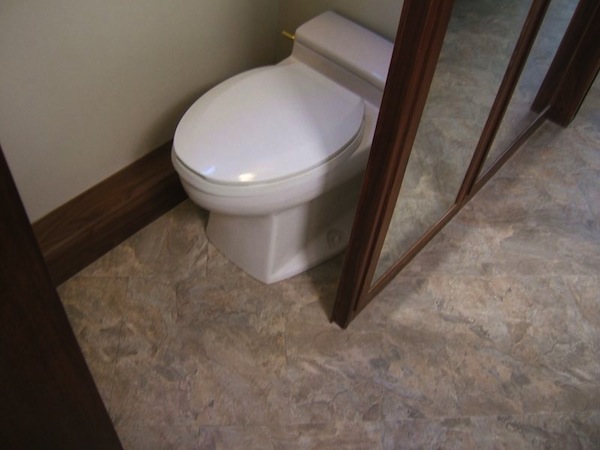
I tried to get the tile up in the bath. Heat, scrapers, chisels, grinders did not work. Took hours to get 1 sq ft up. A friend that is in the commercial floor tile business said to rout out the tile seams, fill with body filler and lay the new tile over it after tapering it down to the subfloor level. Routed out bath tile, tapered floor levels, filled in divots (used a gallon of Bondo, at least) and put the new floor down. Wife is happy! 🙂
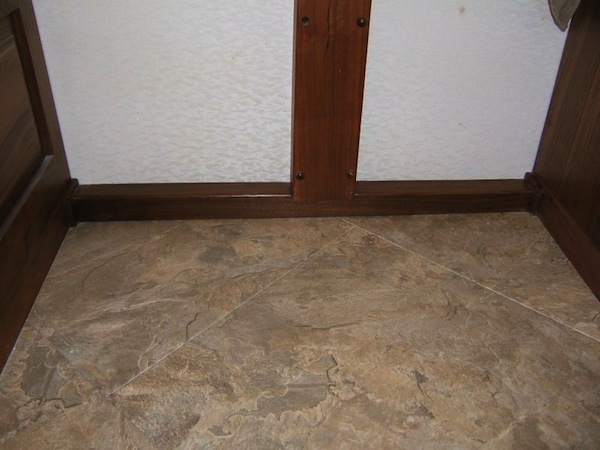
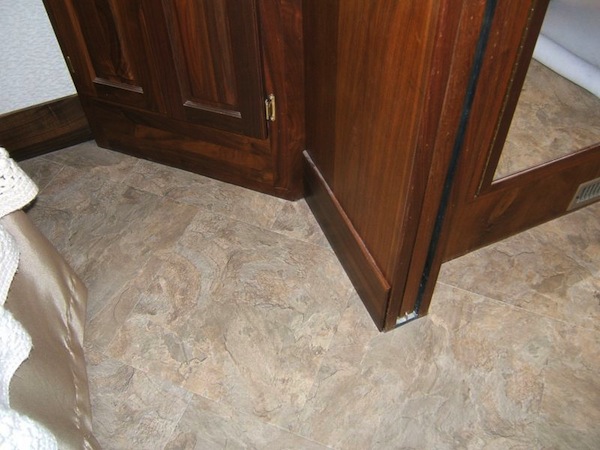
The original carpets cover the wire runs down to walls. With the new floor, that was impossible. I had to build walnut chases and molding to cover the wires and replace the carpeted wood trim in bedroom and bath. Why would anyone put a carpeted chase in the bathroom with men around? Especially in a coach that moves? Anyway… It turned OK considering I’m not a cabinetmaker, although, the trim is not finished yet in some places and the DW is expecting finer work as I get practiced. (She was dropping the hint of a hand-carved walnut fountain in the middle of the living room!)
Before
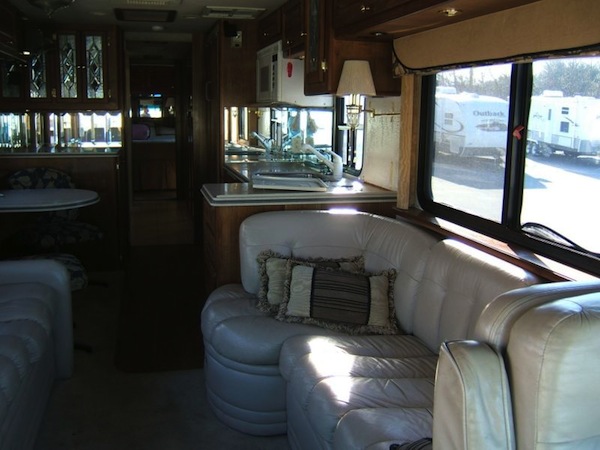
After
