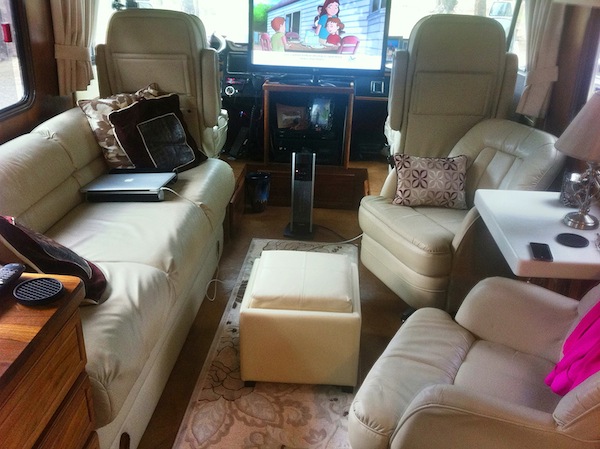
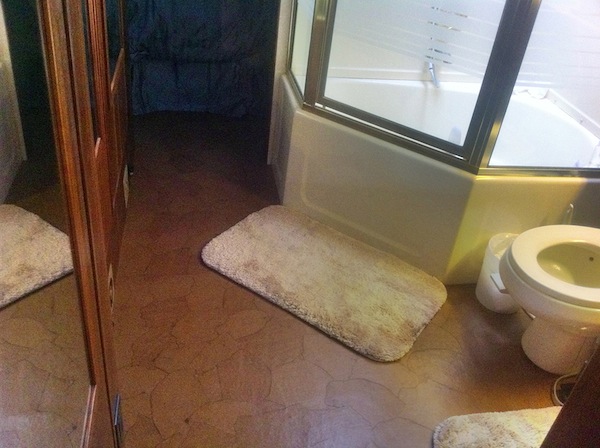
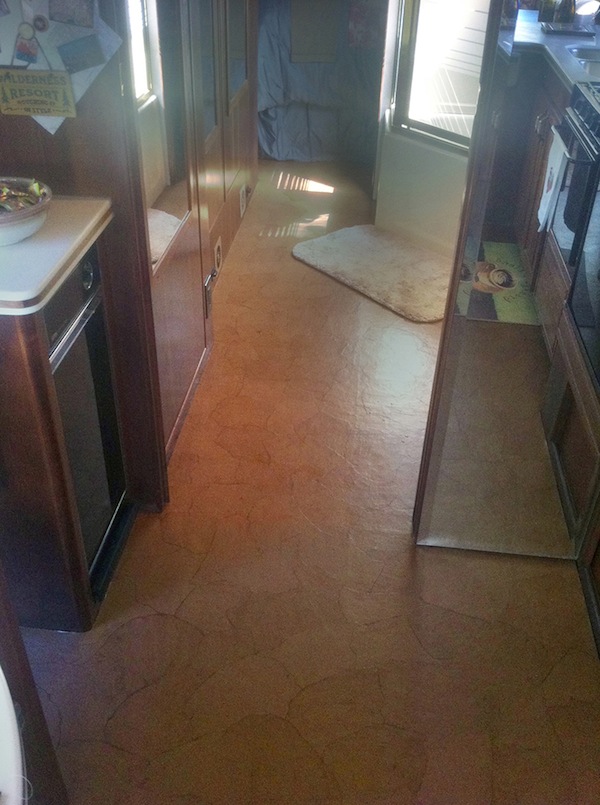
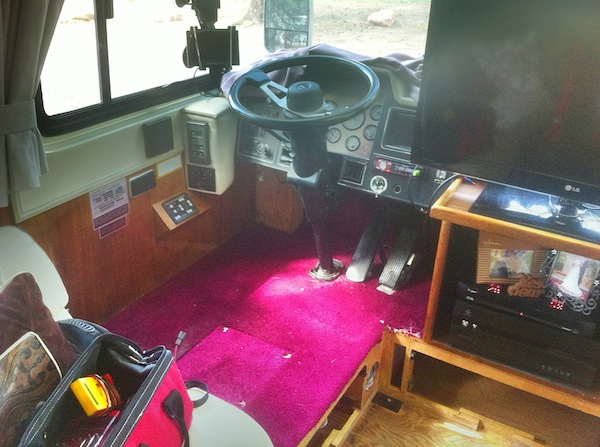
Mrs. D has been requesting (read nagging) a new floor in Big Agnes since about the second day we picked her up. The carpet in the coach had been recently replaced and wasn’t really bad at all but it did have one very big problem. It was impossible to keep clean. It collected every piece of dirt from your shoes and the maroon color displayed every tiny bit of it.
We’ve been looking at flooring options for the last couple of years. Every coach we go in we check out the floor. We talked to David Flannigan ($4000 to do just the floors and not the bedroom). We talked to flooring salesmen. We talked to other RV owners.
After lots of research, we decided cork was the perfect floor. Lightweight, soft & warm underfoot, easy to work with, ecologically responsible, sound deadening, and reasonably priced. The only problem we had was that all of the patterns we saw where way to busy. The search continued.
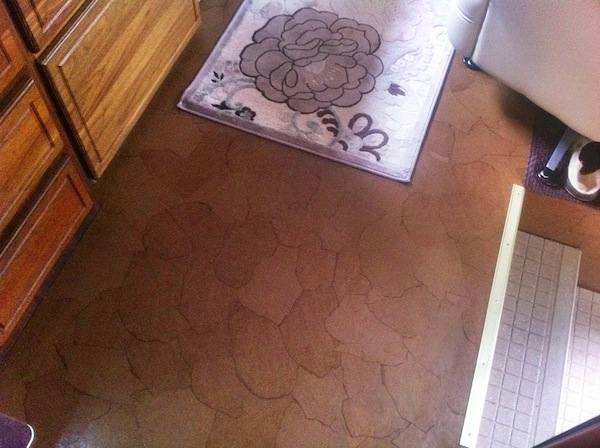
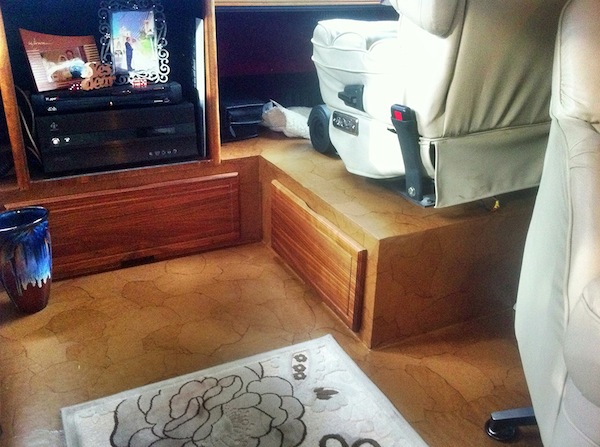
Enter the internet. In one of my many searches for the end of the internet, I came across an article on paper bag floors. It was a restaurant that had a concrete floor that they wanted to dress up. They used torn up brown paper bags and decoupaged the floor. Then put several coats of polyurethane to protect it. It looked great. This got me thinking. How about using cork underlayment then do the brown paper bag floor on top of it!
I had discovered cork underlayment when I was researching cork. It’s used primarily as a high-end replacement for carpet padding. Here is a link 6mm (1/4″) Cork Underlayment | FREE Shipping from WidgetCo® I originally thought I would use the 1/2 inch cork but decided that 2 layers of 1/4 inch would be cheaper and “easier” to install.
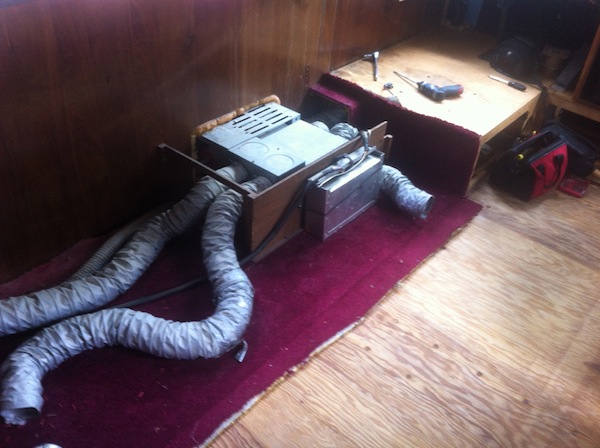
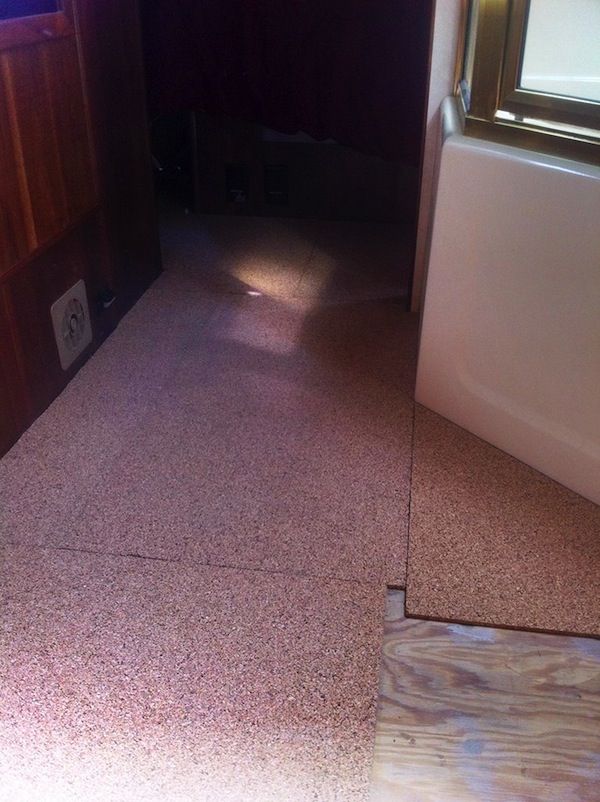
The easier part turned out not to be true at all! I would have to install the entire cork underlayment twice! After I had the first layer down decided not to do a second layer. The heater vent under the sink would have required extensive modification to do another layer. We tested a second layer by just laying the second piece of cork on the laid cork, walked on it and could not really tell any difference in comfort. I wished I known before ordering the cork. I have 3 boxes left over now.
The main advantage of doing the paper bag floor was cost.
| Cork | $187 |
| Cork Adhesive | $50 |
| Elmers Glue | $40 |
| Paper | $10 |
| Min-Wax Polyurethane | $36 |
| Misc | $50 |
| Total | $373 |
It took about 4 weeks to do the project. I worked anywhere from 4 to 10 hours a day depending on how my back held up. I did take a few days off. My labor was the major cost of the job and I ain’t cheap!
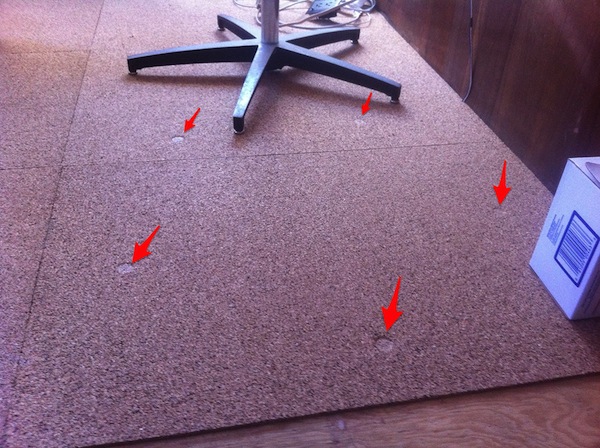
All in all, we are glad we did it. Would we do it again? NO! It was just too much time and work. We love the look of the floor. It is very easy to clean, comfortable to stand on, and warm under(bare)foot. It is a little more fragile than I’d like. Our Flexsteel chairs with their little feet did leave marks in the cork before we put the paper bag down when we sat in them for an evening. (see pictures) I used Dori’s steam iron to lift the impressions out of the cork. We are now using chair coasters to spread the load and haven’t had any damage since.
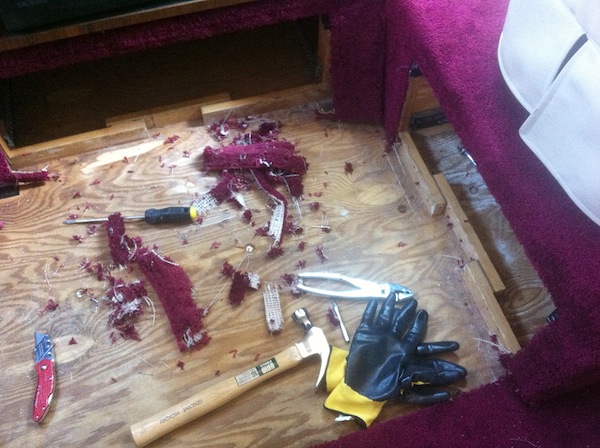
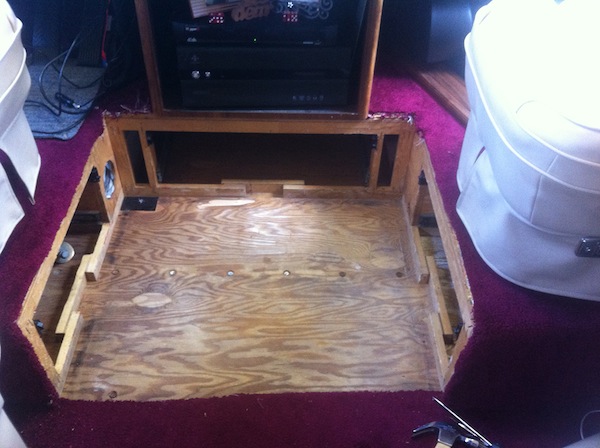
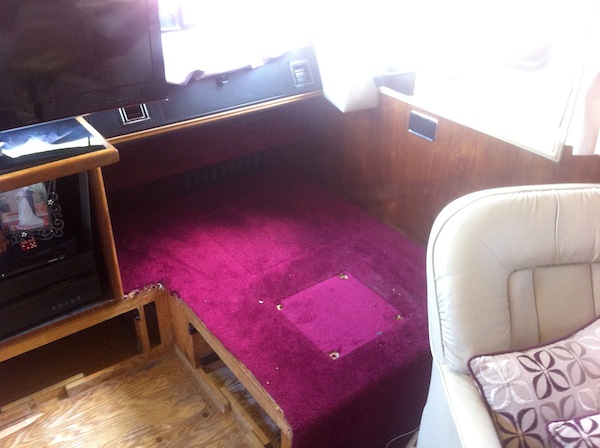
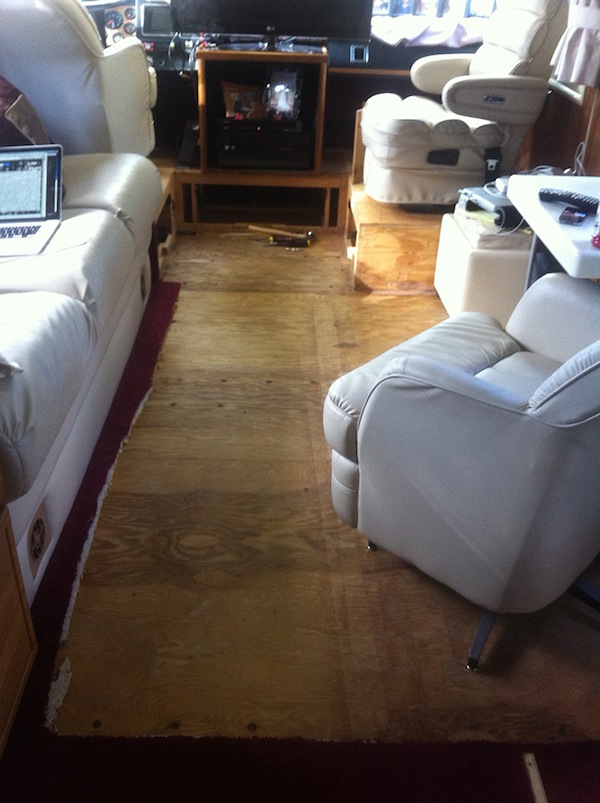
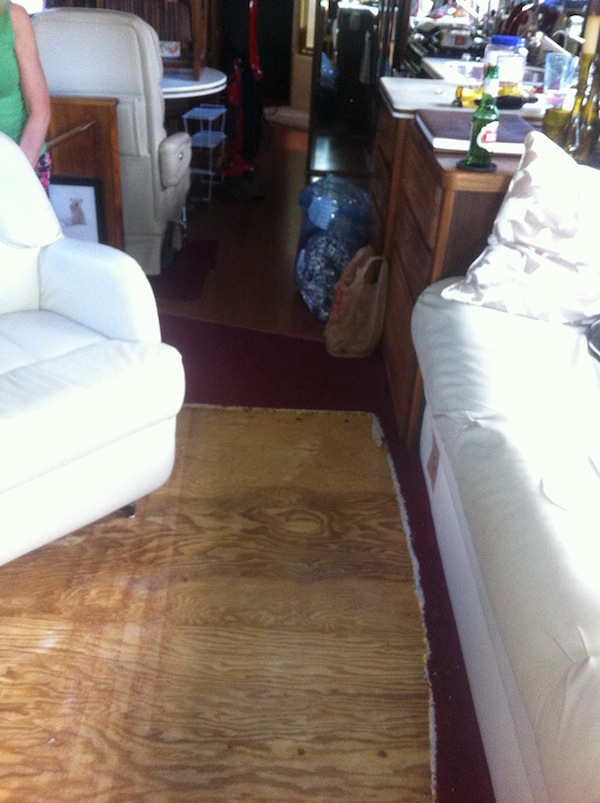
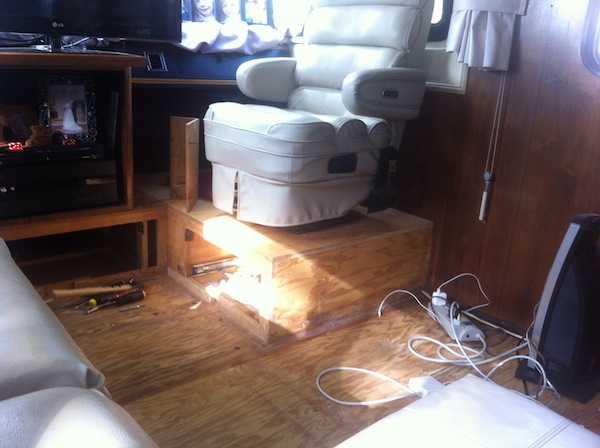
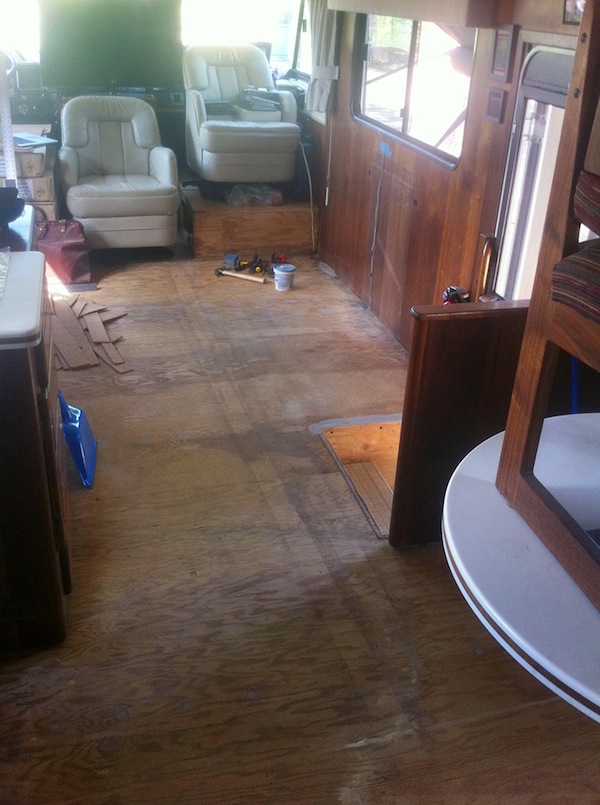
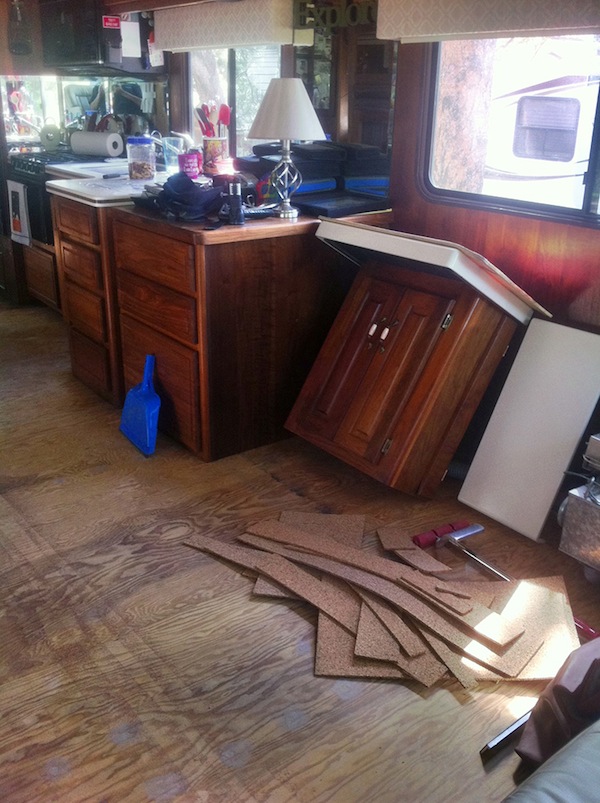
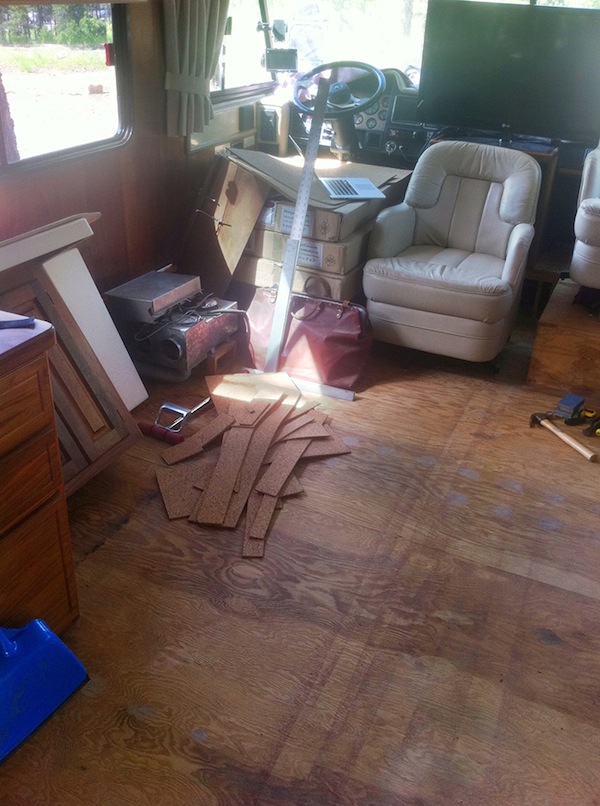
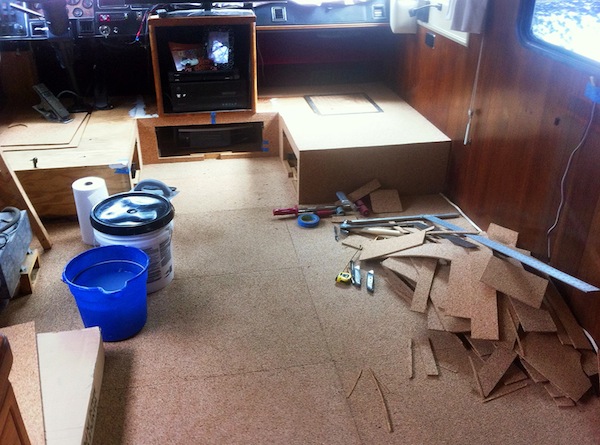
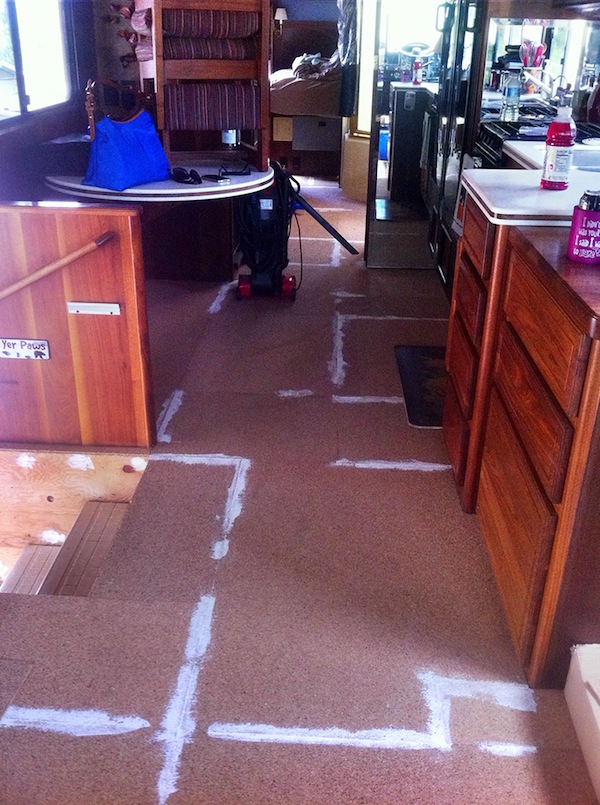
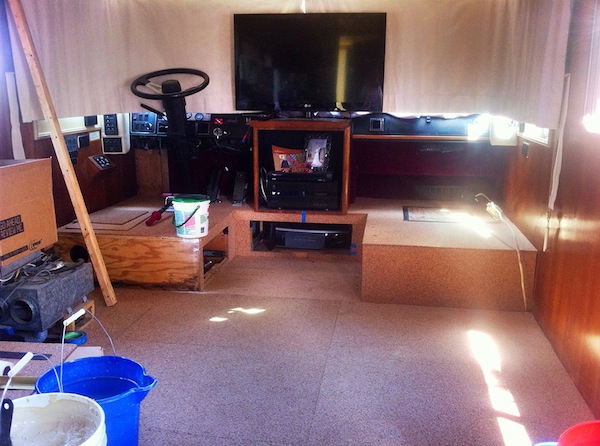
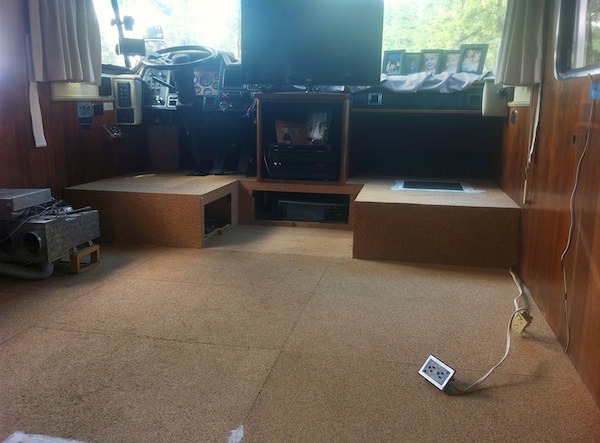
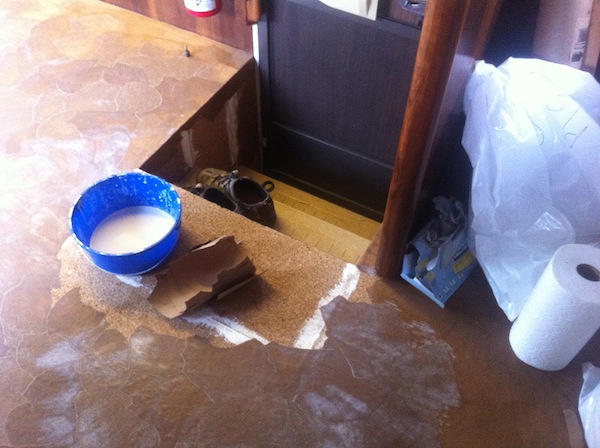
To install we removed the sofa, drivers & passenger chair, the table/cabinet between the chairs, and the chairs. We then ripped up the old carpet, repaired the floor where needed, laid the cork, tore up paper, soaked in 50/50 Elmer’s glue and water, spread out each piece of paper so that no cork was showing through, let dry overnight, then did 4 coats of Min-Wax Polyurethane sanding with 220 grit between coats, whew! Then we let it cure for 72 hours and moved all the furniture back in.
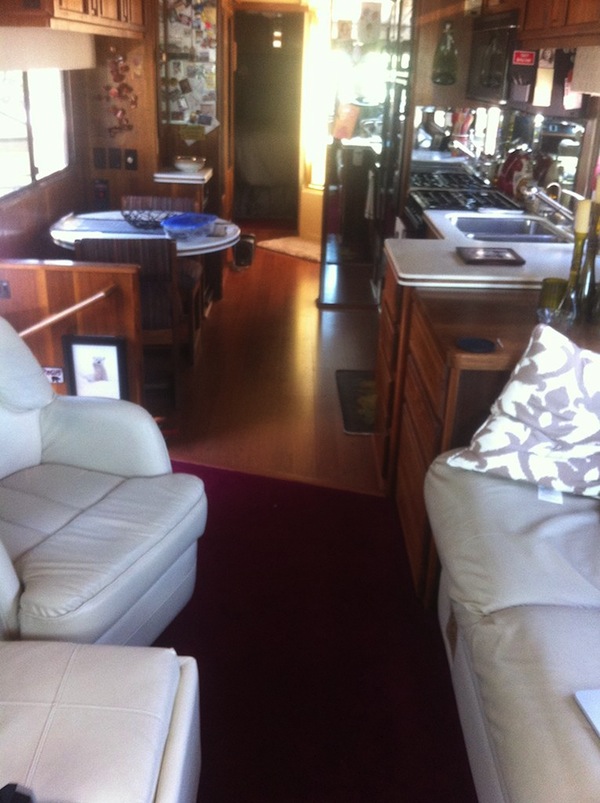
Tearing Out
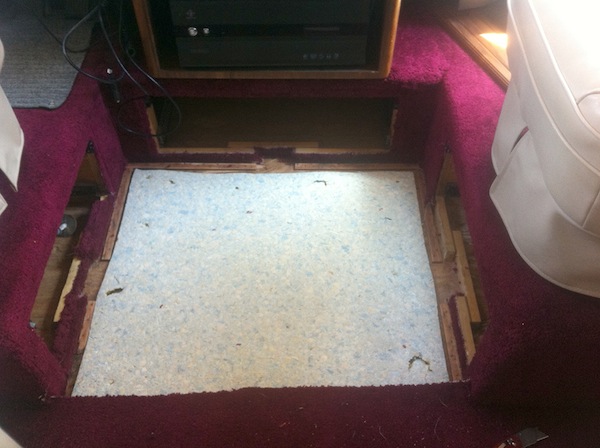
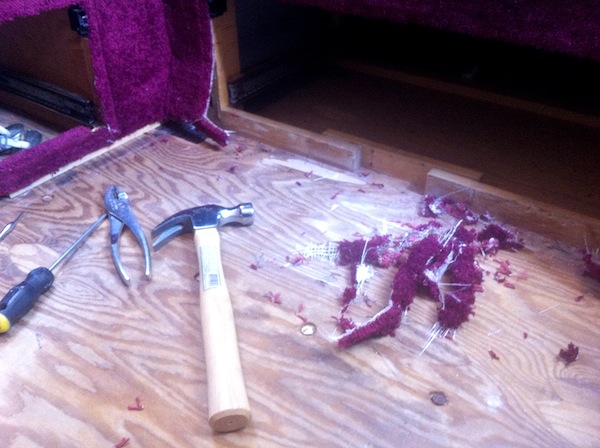
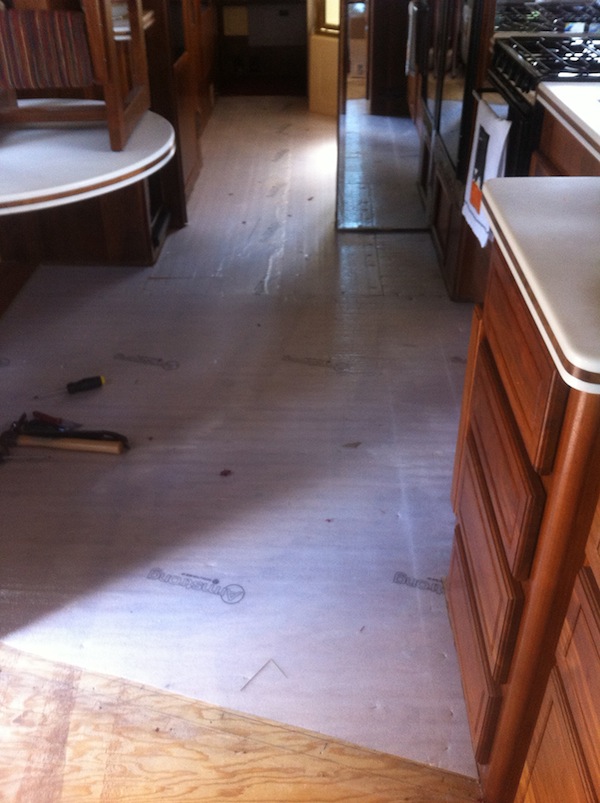
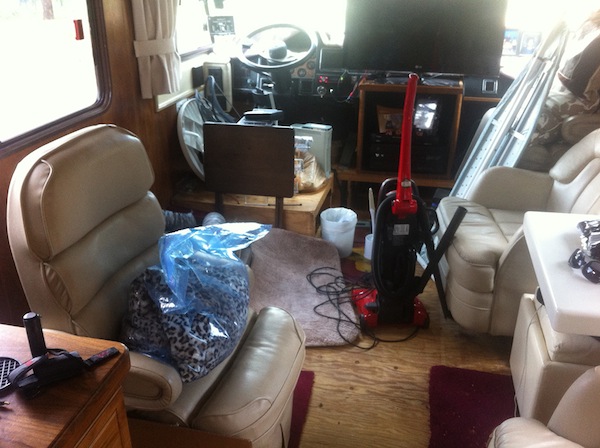
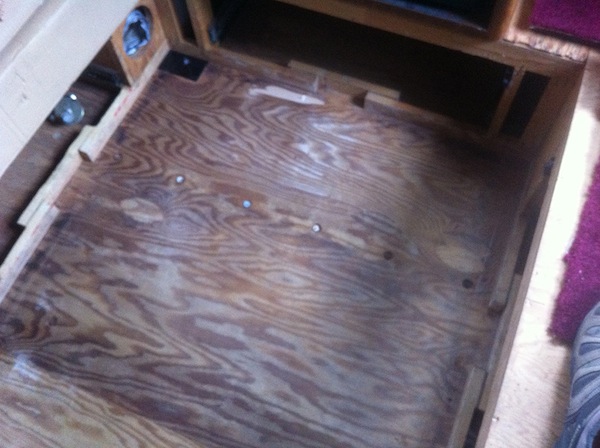
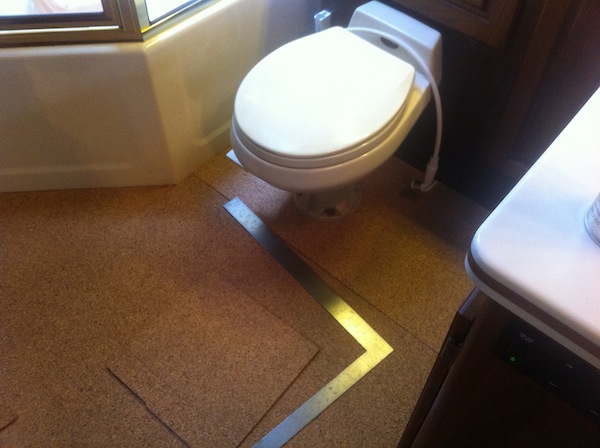
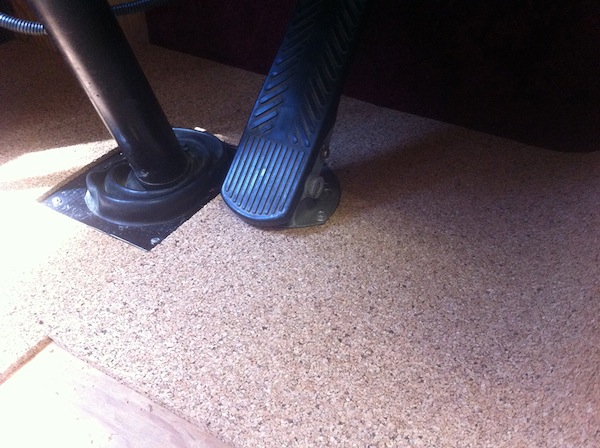
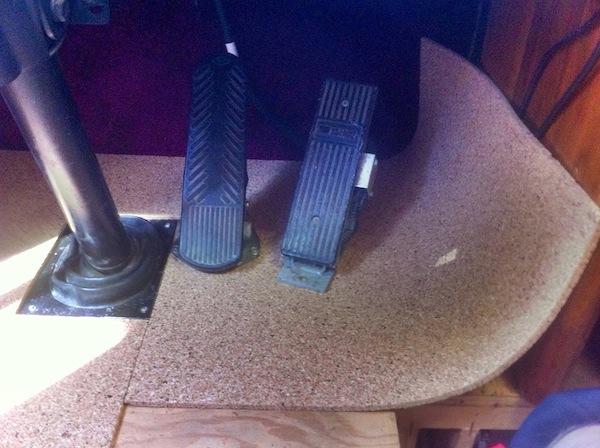
Laying Cork
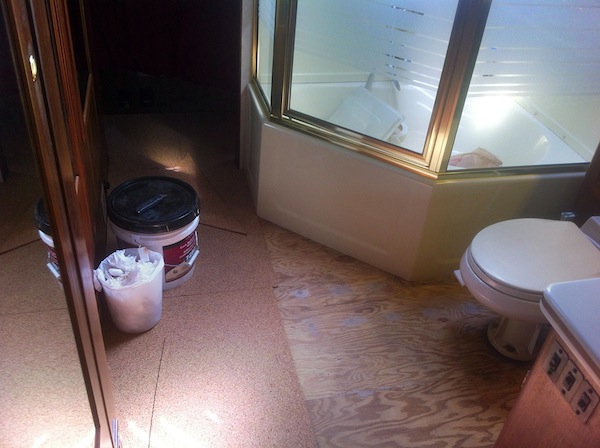
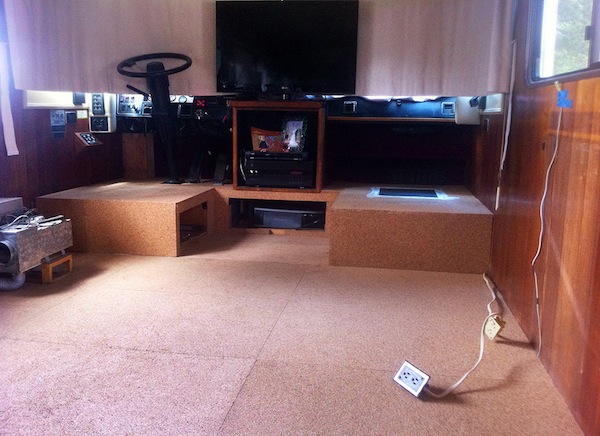
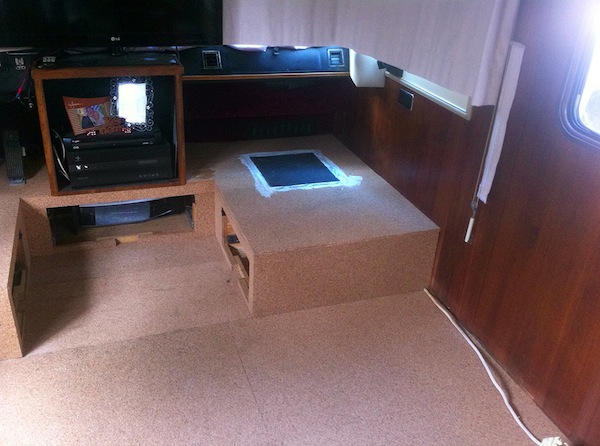
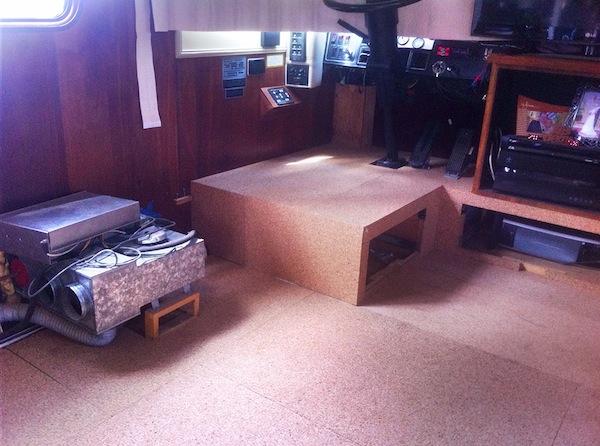
Paper Bagging It
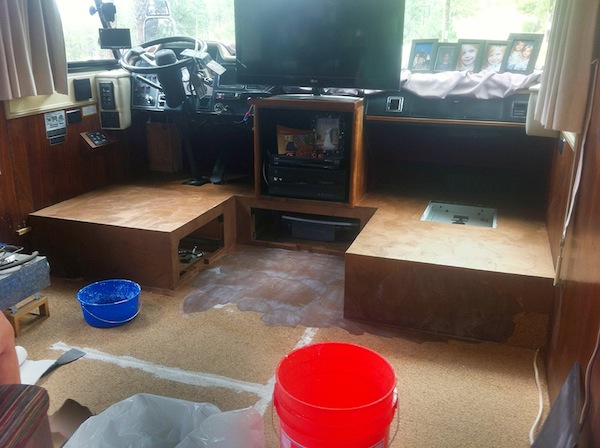
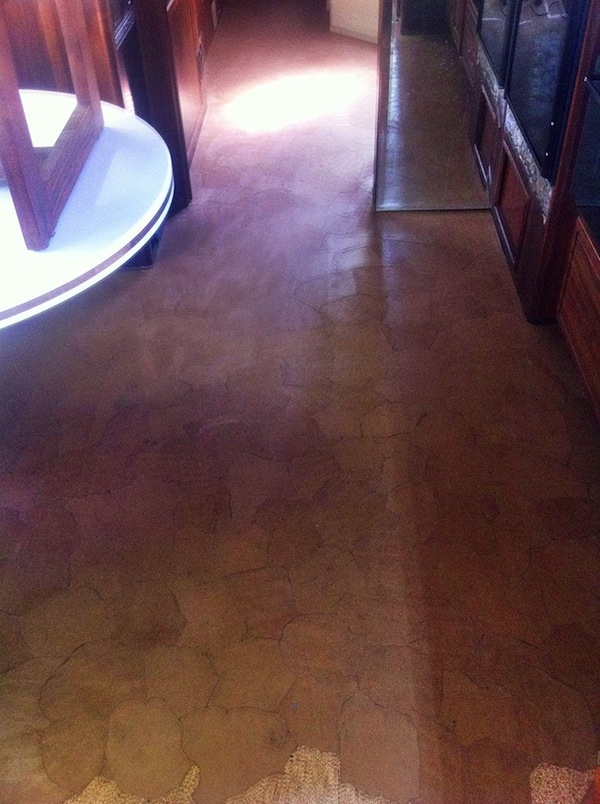
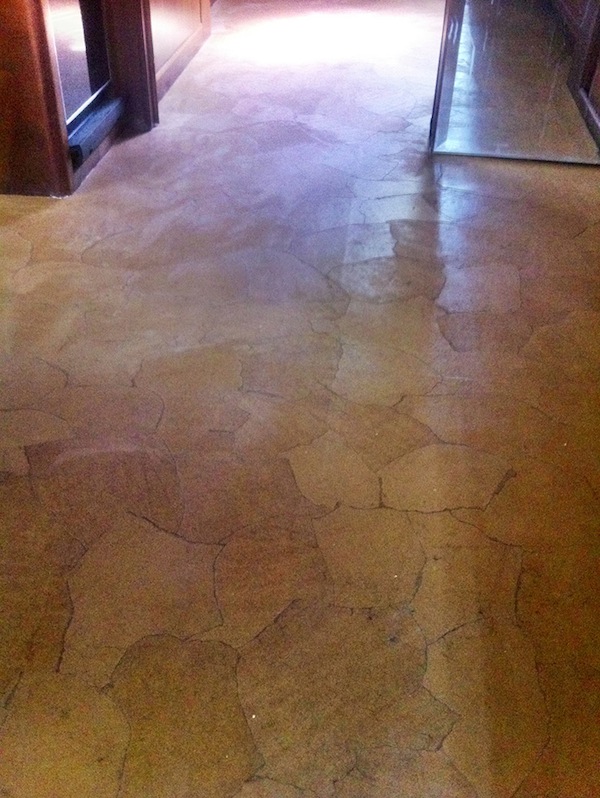
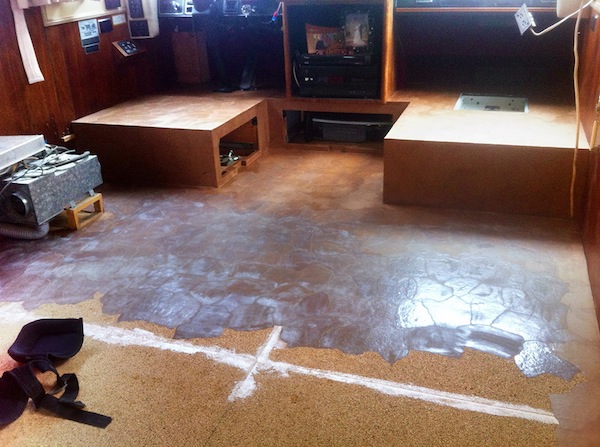
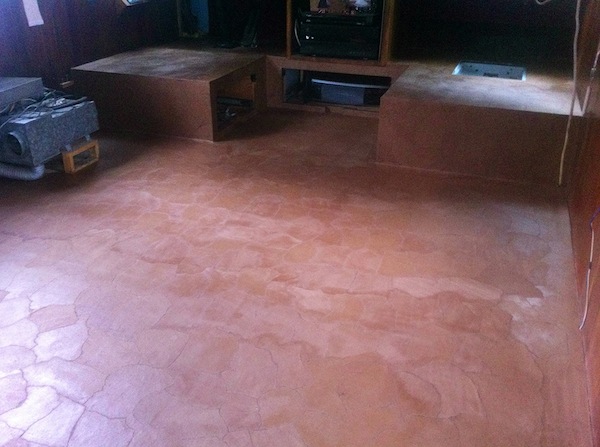
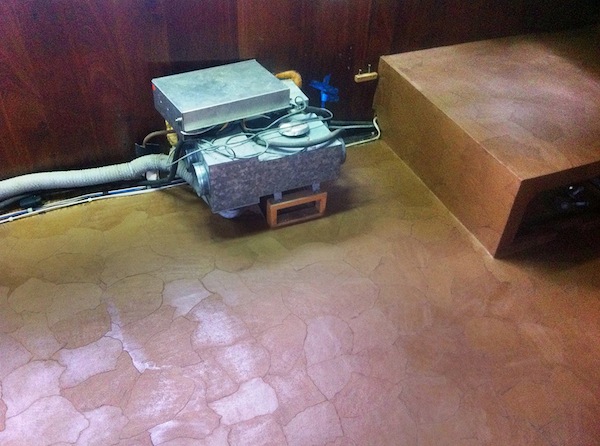
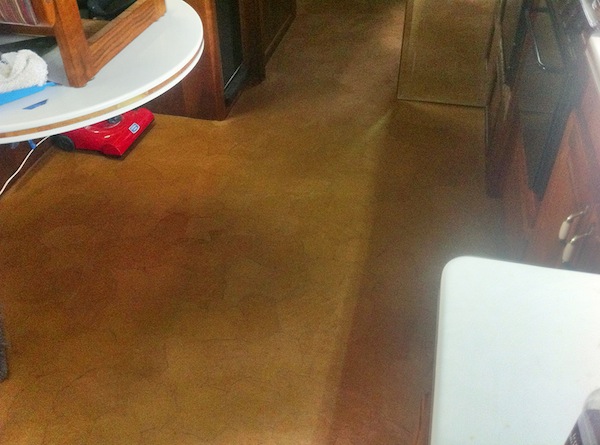
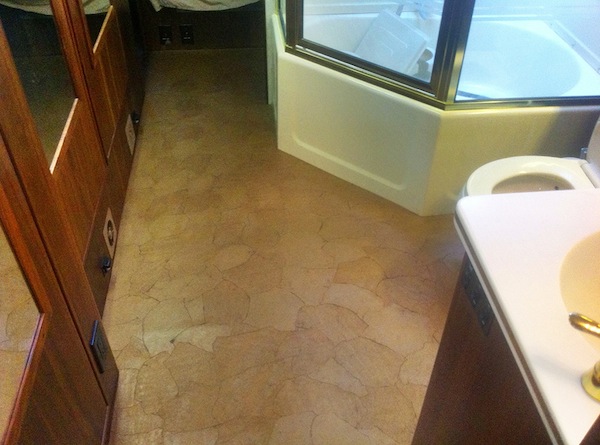
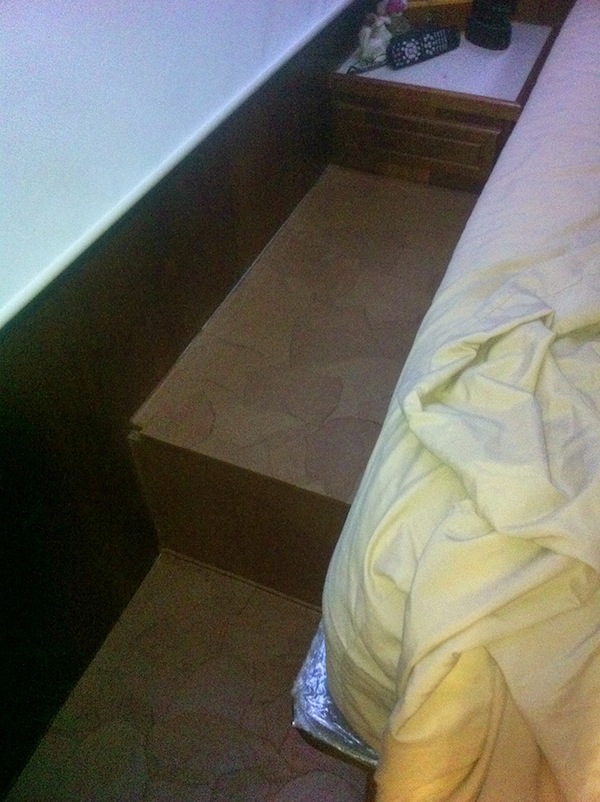
Several coats of polyurethane to protect it
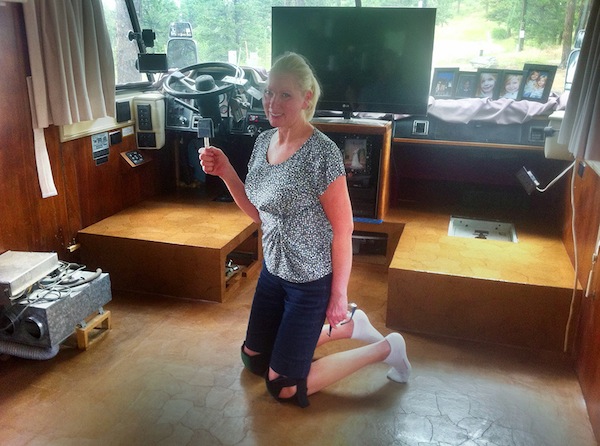
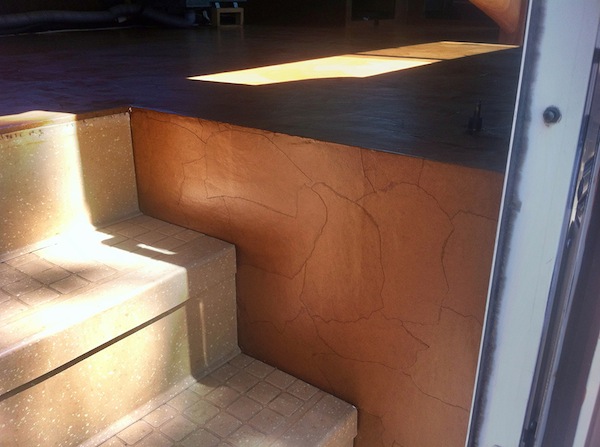
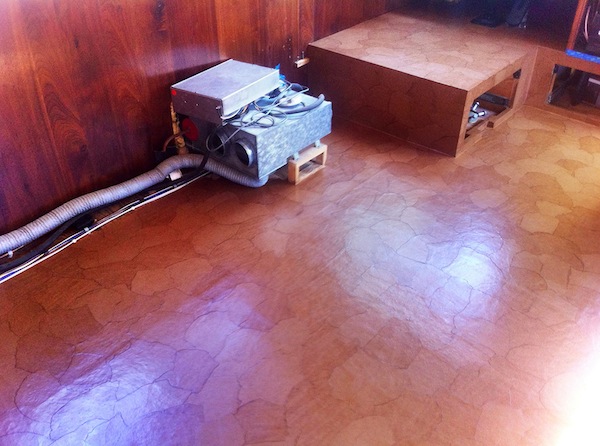
Finished
